
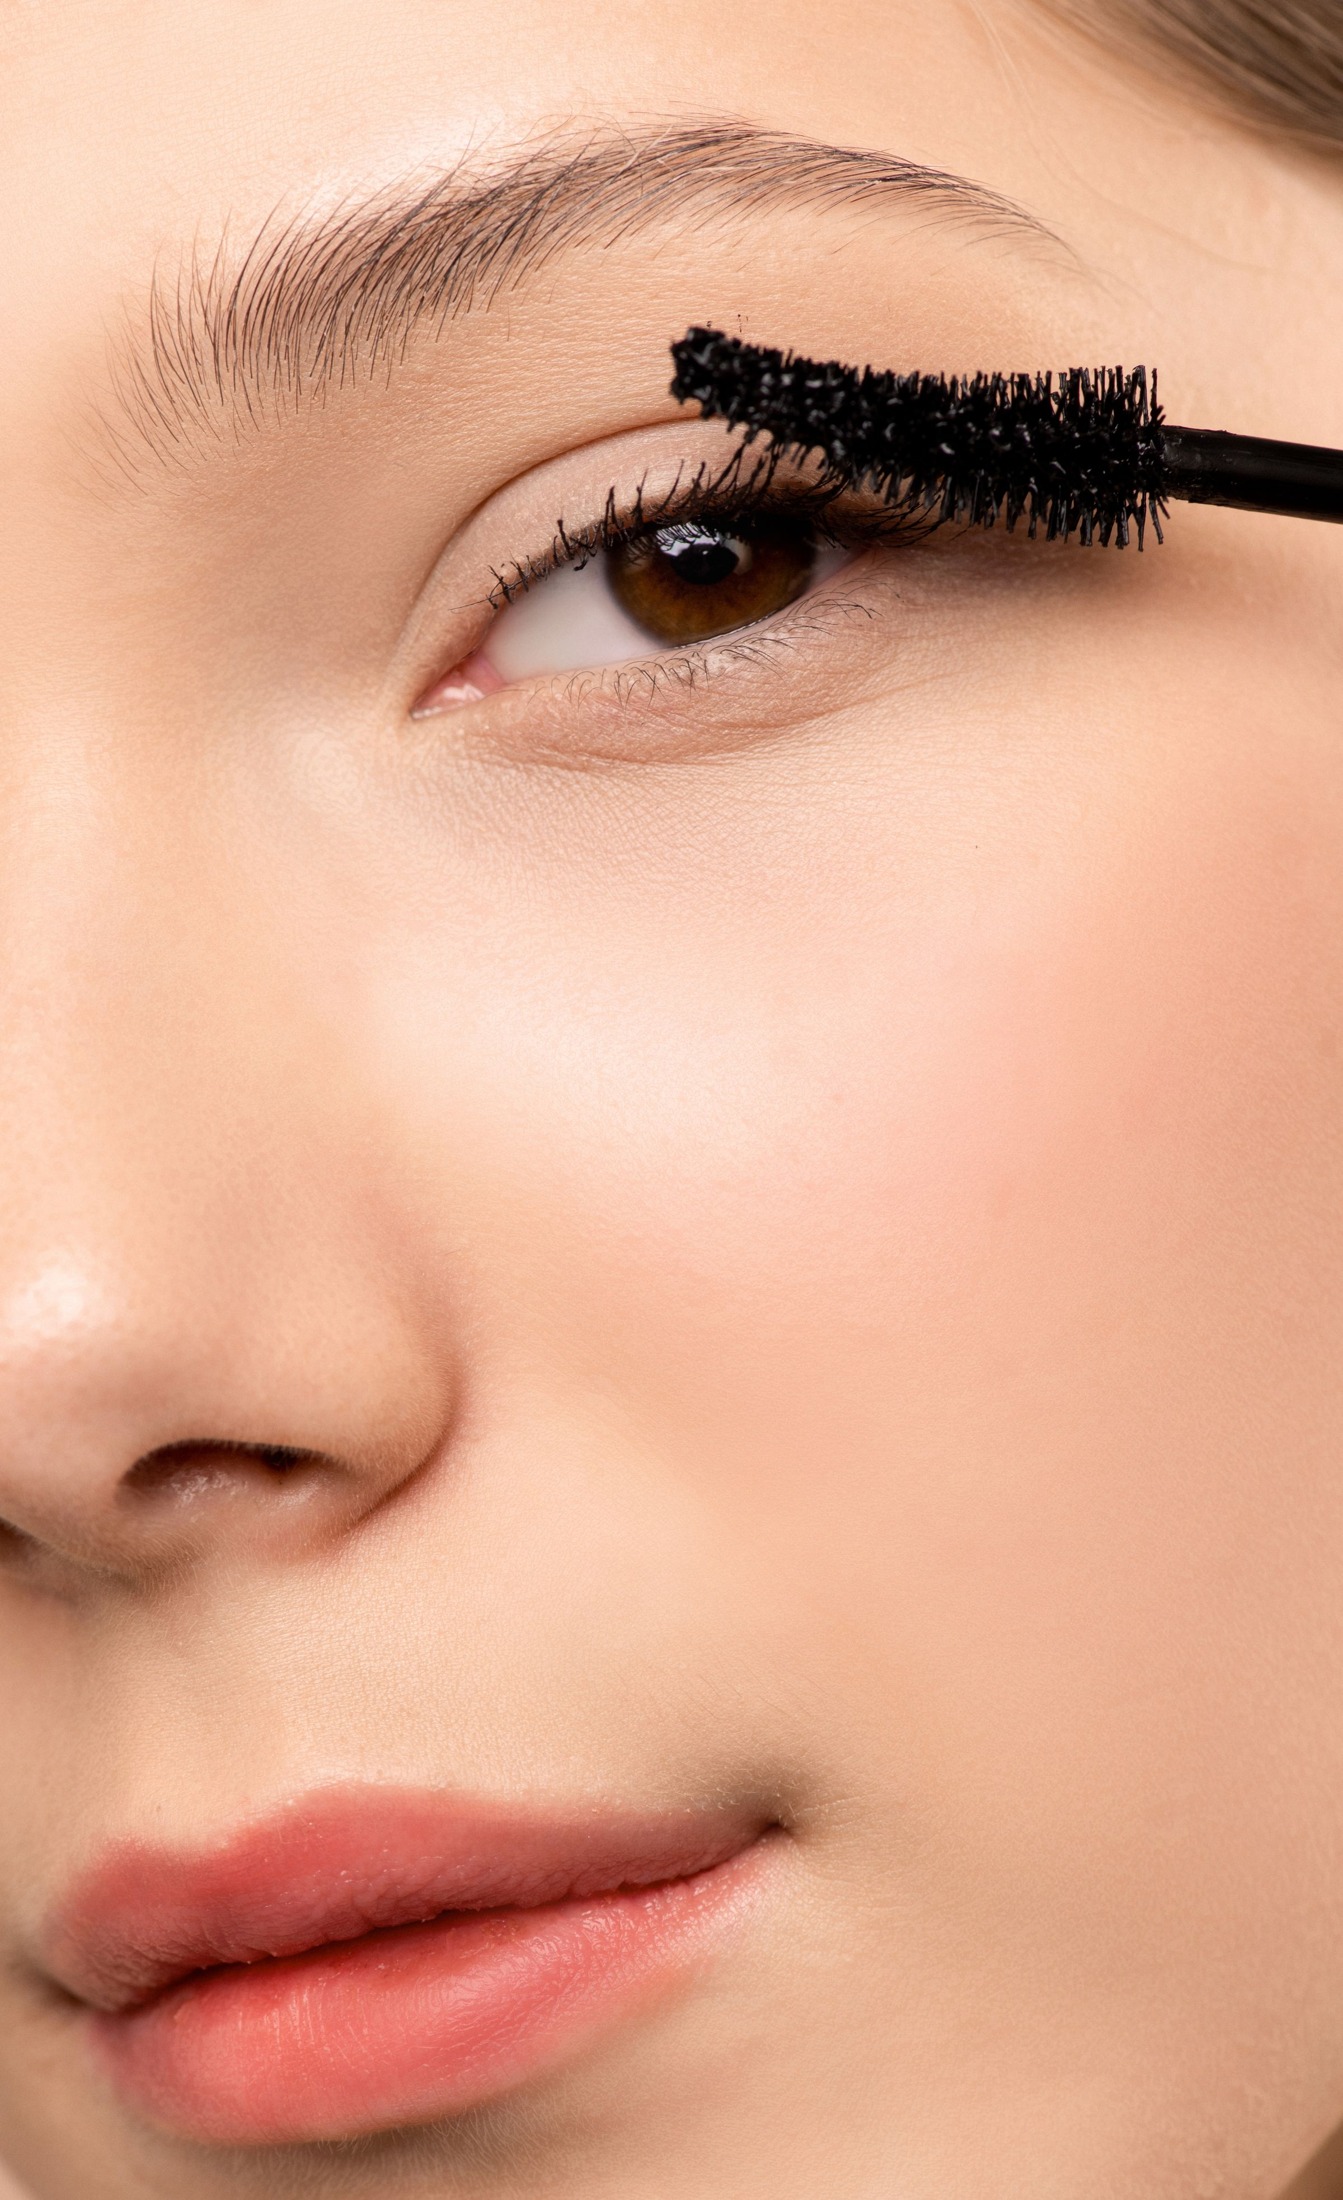
A mascara smudge is useful information if you notice when and where it appears. A mark made while the wand is still wet calls for a different adjustment than a gray crescent that develops beneath the eye later. Before replacing a formula, observe one application from start to finish. You are looking for a small practical change, not a promise that any mascara will stay immaculate through every kind of weather, skin finish, or activity.
Identify the type of mark
Check the mirror immediately after application, again after the mascara has dried, and later in the day. A dot high on the lid immediately after application may be a wand touch or a wet lash contacting the skin. A gradual shadow beneath the outer eye may involve later transfer. Small dry specks look different again and may suggest flaking rather than smearing.
Write down the location in plain terms: outer upper lid, lower lash area, or scattered particles. You do not need a complicated wear test or a full makeup diary. One clear observation prevents an unhelpful response such as adding a second coat when the first coat is already depositing more product than you need.
Check what surrounds the lashes
Look at the eye area before mascara. If another cosmetic is visibly wet or slippery near the lashes, give it time to settle. Keep rich complexion products away from the lash hairs themselves. This is about controlling the makeup combination, not about declaring that a particular ingredient or skin type always causes smudges. Different formulas behave differently together.
If you wear under-eye concealer, compare its placement with the eventual mascara mark. You might be able to keep concealer a little lower or use less near the outer lashes without losing the coverage you want. Do not remove necessary sunscreen or reduce its application to improve mascara wear. Adjust the decorative makeup placement or choose a different mascara combination instead.
Take excess off the wand before the first pass
Follow the product’s directions and inspect the brush when it leaves the tube. If there is a heavy bead at the tip, remove that excess on a clean disposable tissue before bringing it near the eye. Work while stationary, with a steady hand. A modest first coat is easier to position than a thick layer that spreads between several lashes.
Set the brush near the lash base without pressing it against the skin, then draw it through the lengths. Use a smaller amount toward the tips if long, heavily coated ends tend to touch your upper lid. Stop and look after one coat. For a softer result, definition at the roots and separation through the lengths may be all you need.
Change the angle, not the shape of your eye
For upper lashes, try placing a mirror slightly below your normal line of sight so you can look down without tightly closing the lid. Keep your expression relaxed. This can give you a clearer view of the lashes while leaving room between the wand and the lid. Do not pull the skin hard to create extra space.
After application, avoid immediately squeezing your eyes shut or looking sharply upward while the product is visibly wet. Let the formula dry according to its behavior and instructions. If you consistently touch one outer corner, coat those lashes with the residue left on the wand rather than the heaviest first load. A location-specific change can solve more than an all-over extra layer.
Decide whether lower-lash mascara adds enough
Lower lashes are optional. If most smudging appears beneath them, try leaving them bare for a day while keeping your upper-lash application the same. This isolates the source without changing your entire makeup routine. You may prefer the cleaner-looking contrast of defined upper lashes and an uncoated lower lash line.
If you do want lower-lash definition, use very little product and touch only the lashes you want to emphasize. A smaller brush may be easier to maneuver, but technique still matters. Avoid painting a thick, continuous fringe. Compare the effect from arm’s length; a few lightly defined lashes may give the appearance you want without as much pigment close to the under-eye skin.
Handle the tube safely rather than reviving it
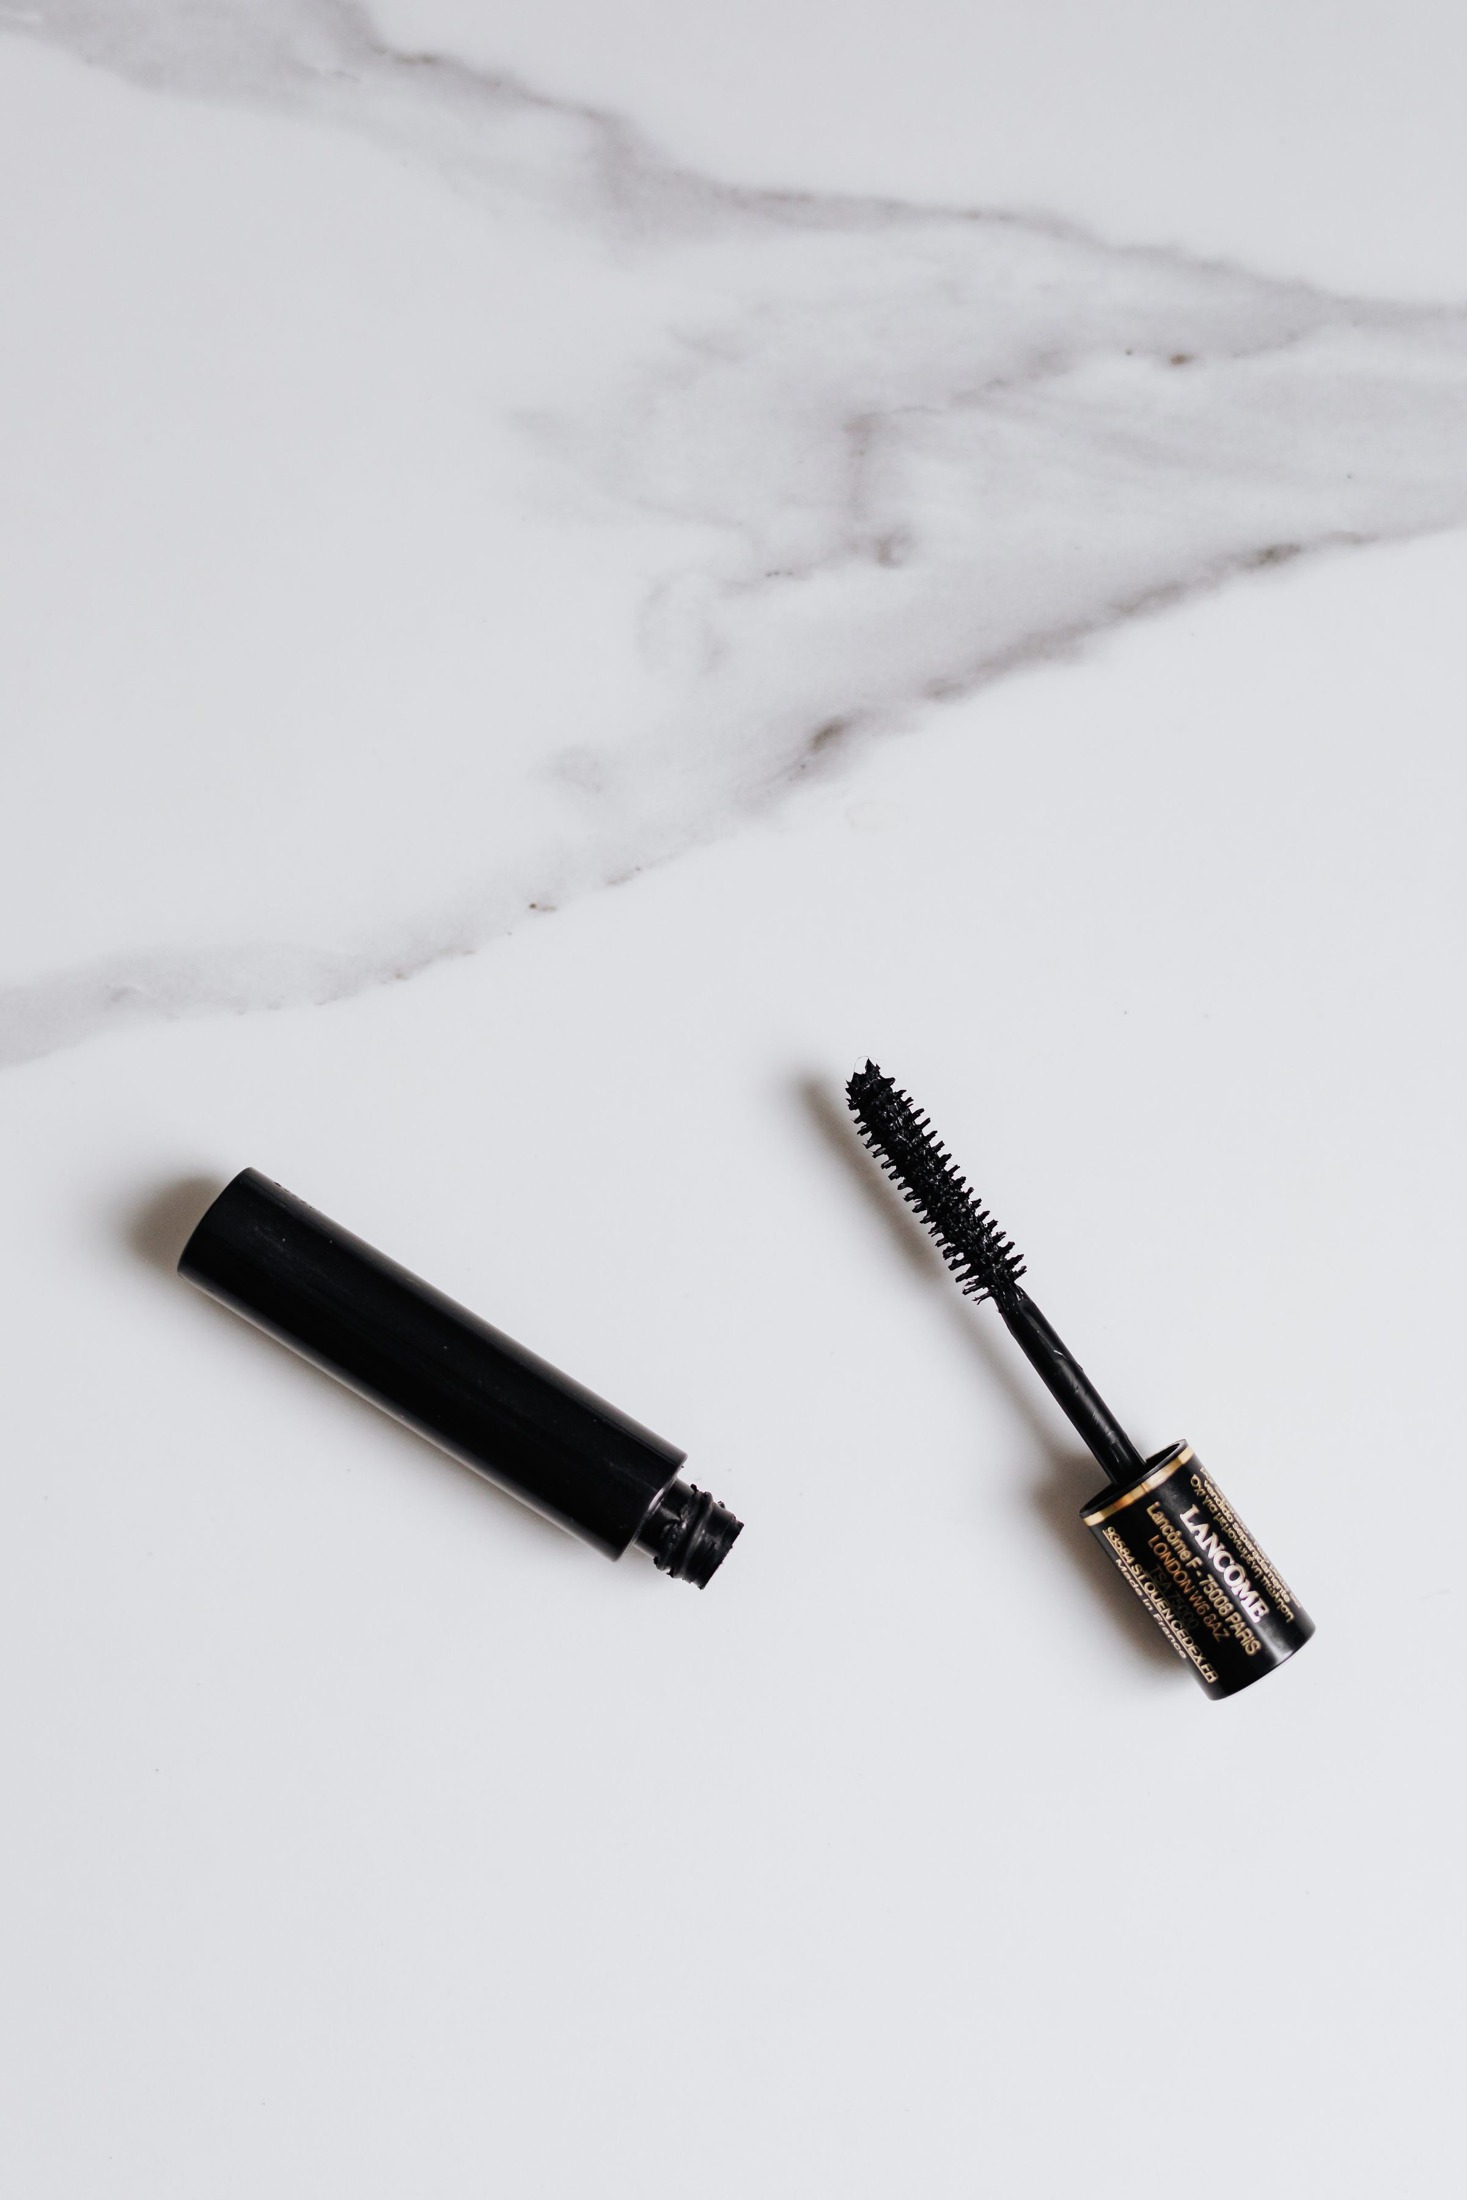
Use clean hands, do not share mascara, and close the tube after use. The FDA’s eye-cosmetic safety Q&A advises discarding mascara three months after purchase and throwing out dried-up mascara. Follow an earlier manufacturer deadline if one applies. Never add water or saliva to make an old tube usable again.
Mark the purchase or opening information somewhere you will actually see it, while keeping the manufacturer’s instructions readable. Stop using eye cosmetics if they cause irritation, and do not use them during an eye infection or on inflamed surrounding skin. These are handling boundaries, not troubleshooting steps to work around for a better finish. Cosmetic wear is secondary to comfort.
Refresh a small smudge without rebuilding the eye
If you make a wet application mark on the surrounding skin, let it become dry before attempting a precise cleanup, provided it is not in the eye or causing discomfort. Use a clean small tool and an appropriate remover if needed, following its directions. Keep the cleanup local. Repeatedly rubbing a broad area can remove the concealer and shadow you intended to preserve.
For persistent later transfer, compare a different labeled wear type on another day rather than piling several formulas together. Water-resistant, waterproof, and tubing descriptions are not interchangeable promises, and removal directions matter. Keep the comparison simple: same preparation, similar application amount, one changed product. The most practical result is a routine that gives you enough definition, manageable removal, and fewer predictable marks without relying on an old or altered tube.