
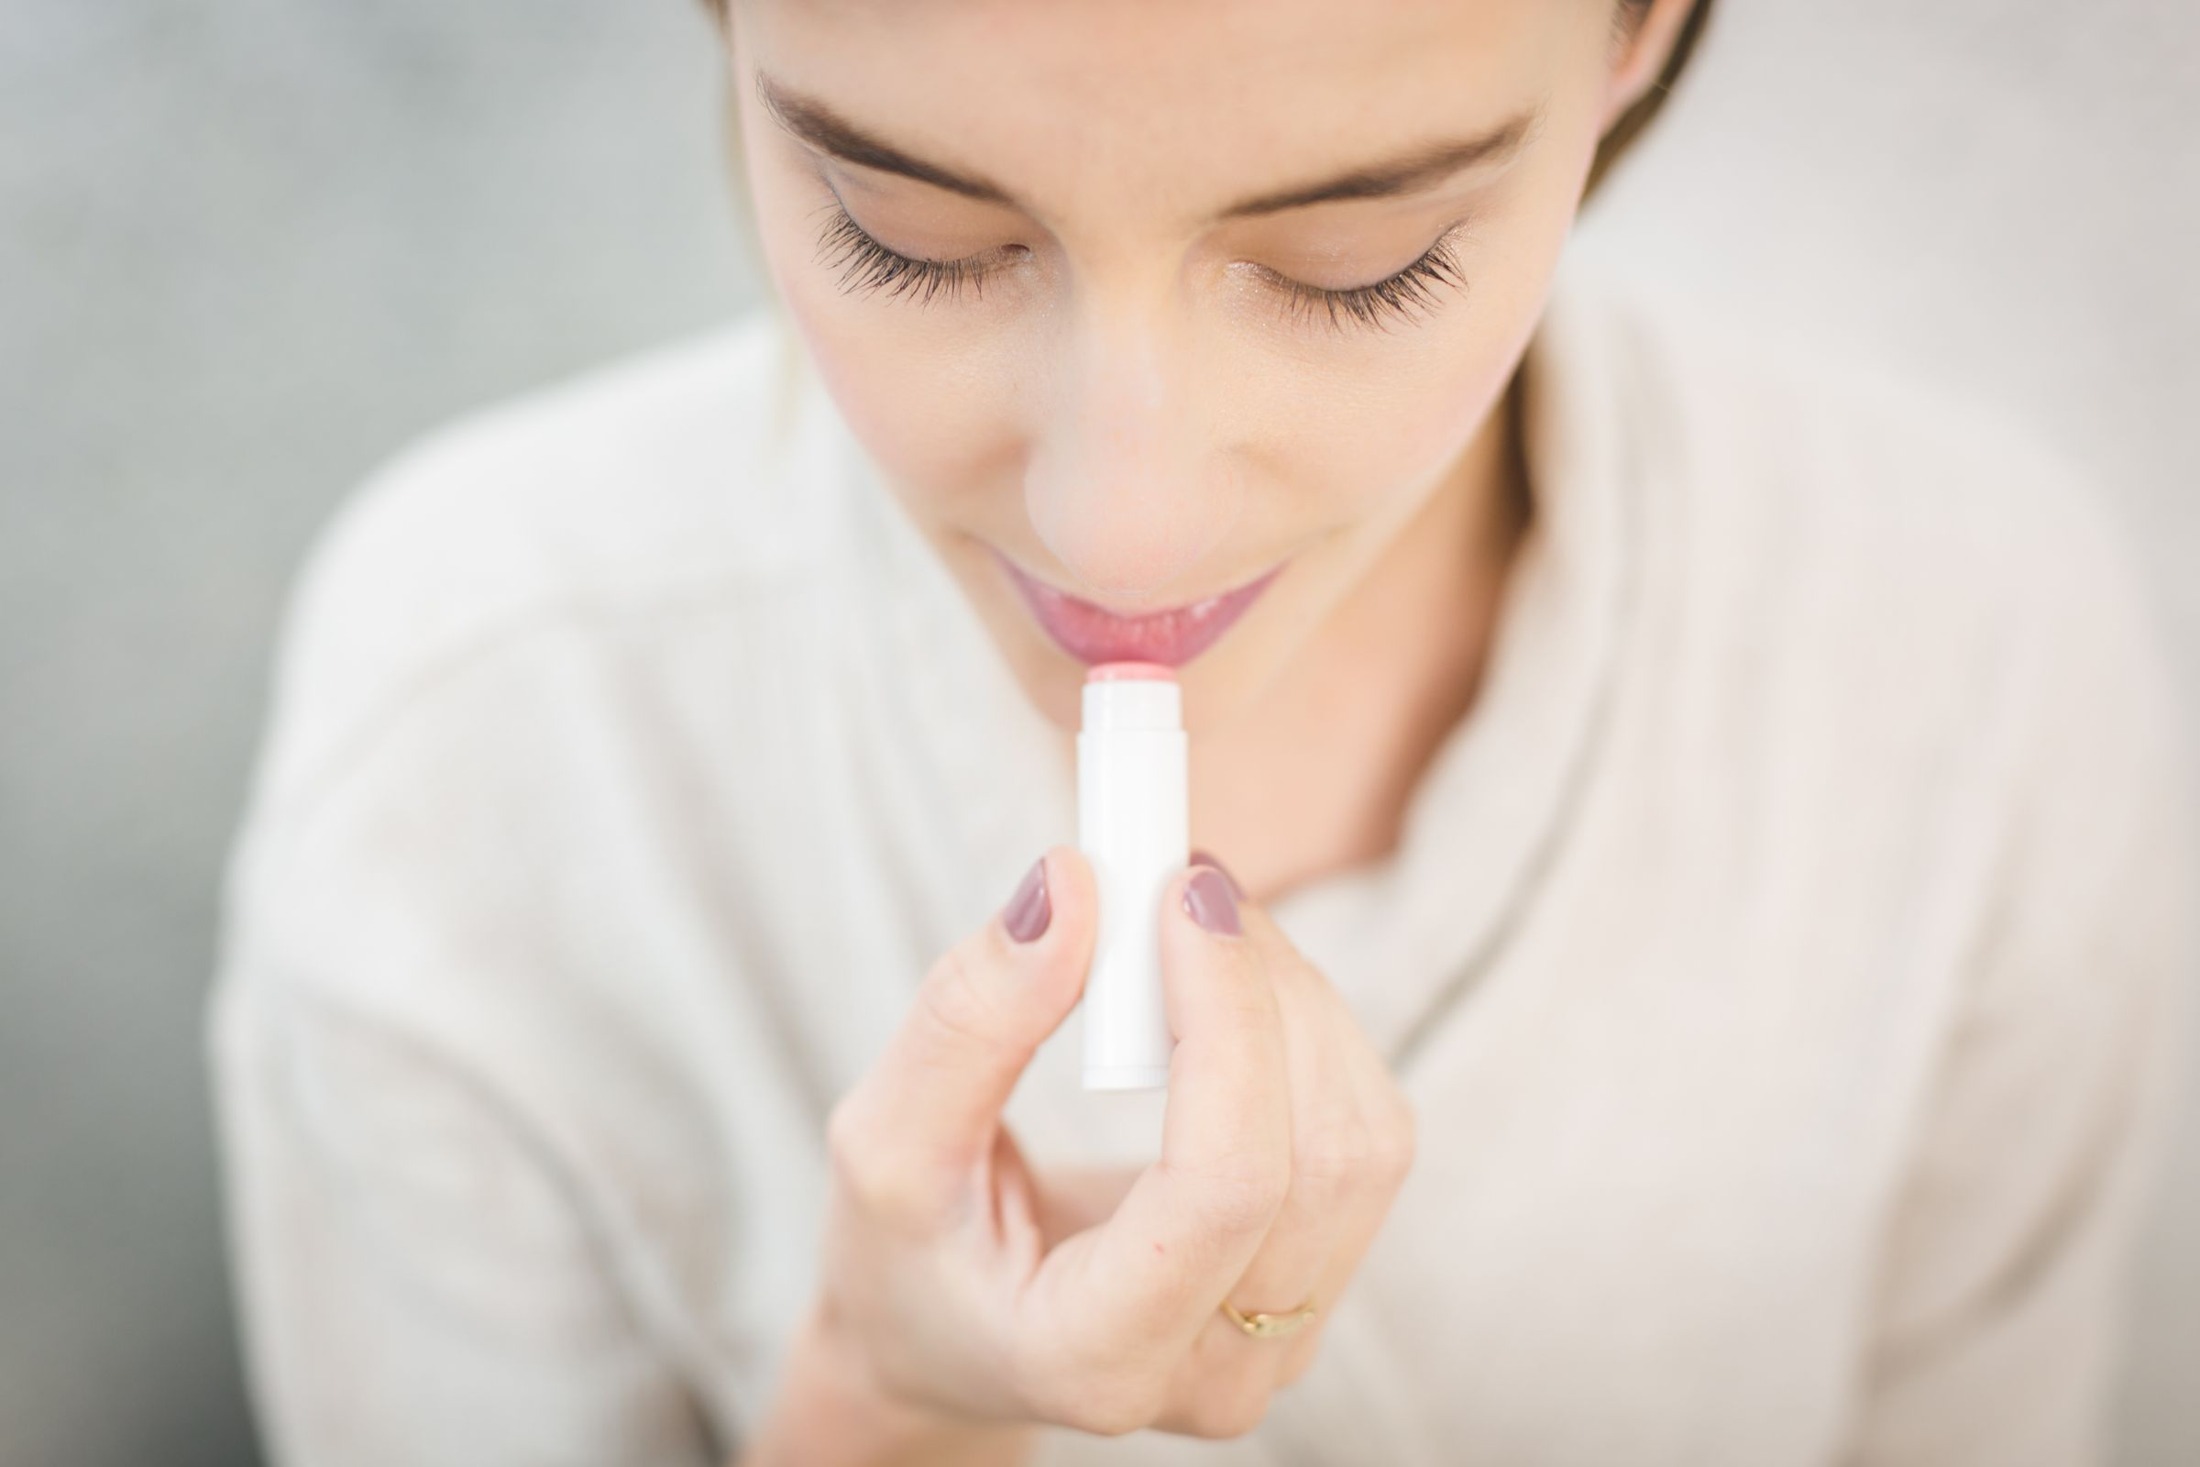
Lip balm and lipstick can cooperate, but a thick shiny layer of balm is not always the best foundation for color. Too much slip may make an edge harder to define or change a lipstick’s intended finish. Too little preparation may leave the surface feeling uncomfortable. The useful middle ground is a modest amount of a suitable balm, enough time to assess it, and a gentle blot if the surface remains overly glossy. This is about texture, not choosing a new lip-color wardrobe.
Look at the surface before adding products
Check your lips in ordinary light with your mouth relaxed. Notice whether the surface looks smooth, whether a few loose flakes are visible, and whether your last application left product gathered at the inner edge. These observations tell you more than automatically reaching for a scrub. A lipstick application does not have to begin by removing every visible bit of texture.
If your lips are uncomfortable, do not turn the preparation into an aggressive smoothing project. Choose a comfortable cosmetic approach or skip lipstick for the moment. The goal is an attractive, wearable finish, not forcing an opaque matte surface over an area that does not feel ready for it. Balm can change the feel of the surface without making every line disappear.
Choose a balm you find comfortable
Use a balm intended for lips and follow its directions. If scent or flavor tends to bother you, a simpler fragrance-free option may be easier to wear. The AAD’s lip-care guidance advises using non-irritating lip products and stopping products that burn, sting, or feel uncomfortable. Tingling is not a requirement for good preparation.
For makeup purposes, consider whether the balm is waxy, oily, glossy, or relatively understated after it settles. These are finish descriptions, not a ranking of ingredient safety. A balm you enjoy on its own may be too shiny beneath a sharply outlined lipstick. You can still use it separately while choosing a lighter application method before color.
Apply less than you would for a glossy balm look
Start with a thin pass across the lips rather than repeatedly circling the bullet. If you use a pot, take a small amount with clean hands or a suitable clean applicator. Keep the first layer within the lip border so it does not leave a slippery ring on the surrounding skin. You can add more later if the surface genuinely needs it.
Let the balm sit while you complete another part of your makeup. There is no single waiting time that fits every formula, so look at the surface rather than following a ritual to the second. The relevant question is whether the lips feel comfortable without being coated in an obvious excess that will interfere with the next product.
Blot excess without rubbing away the preparation
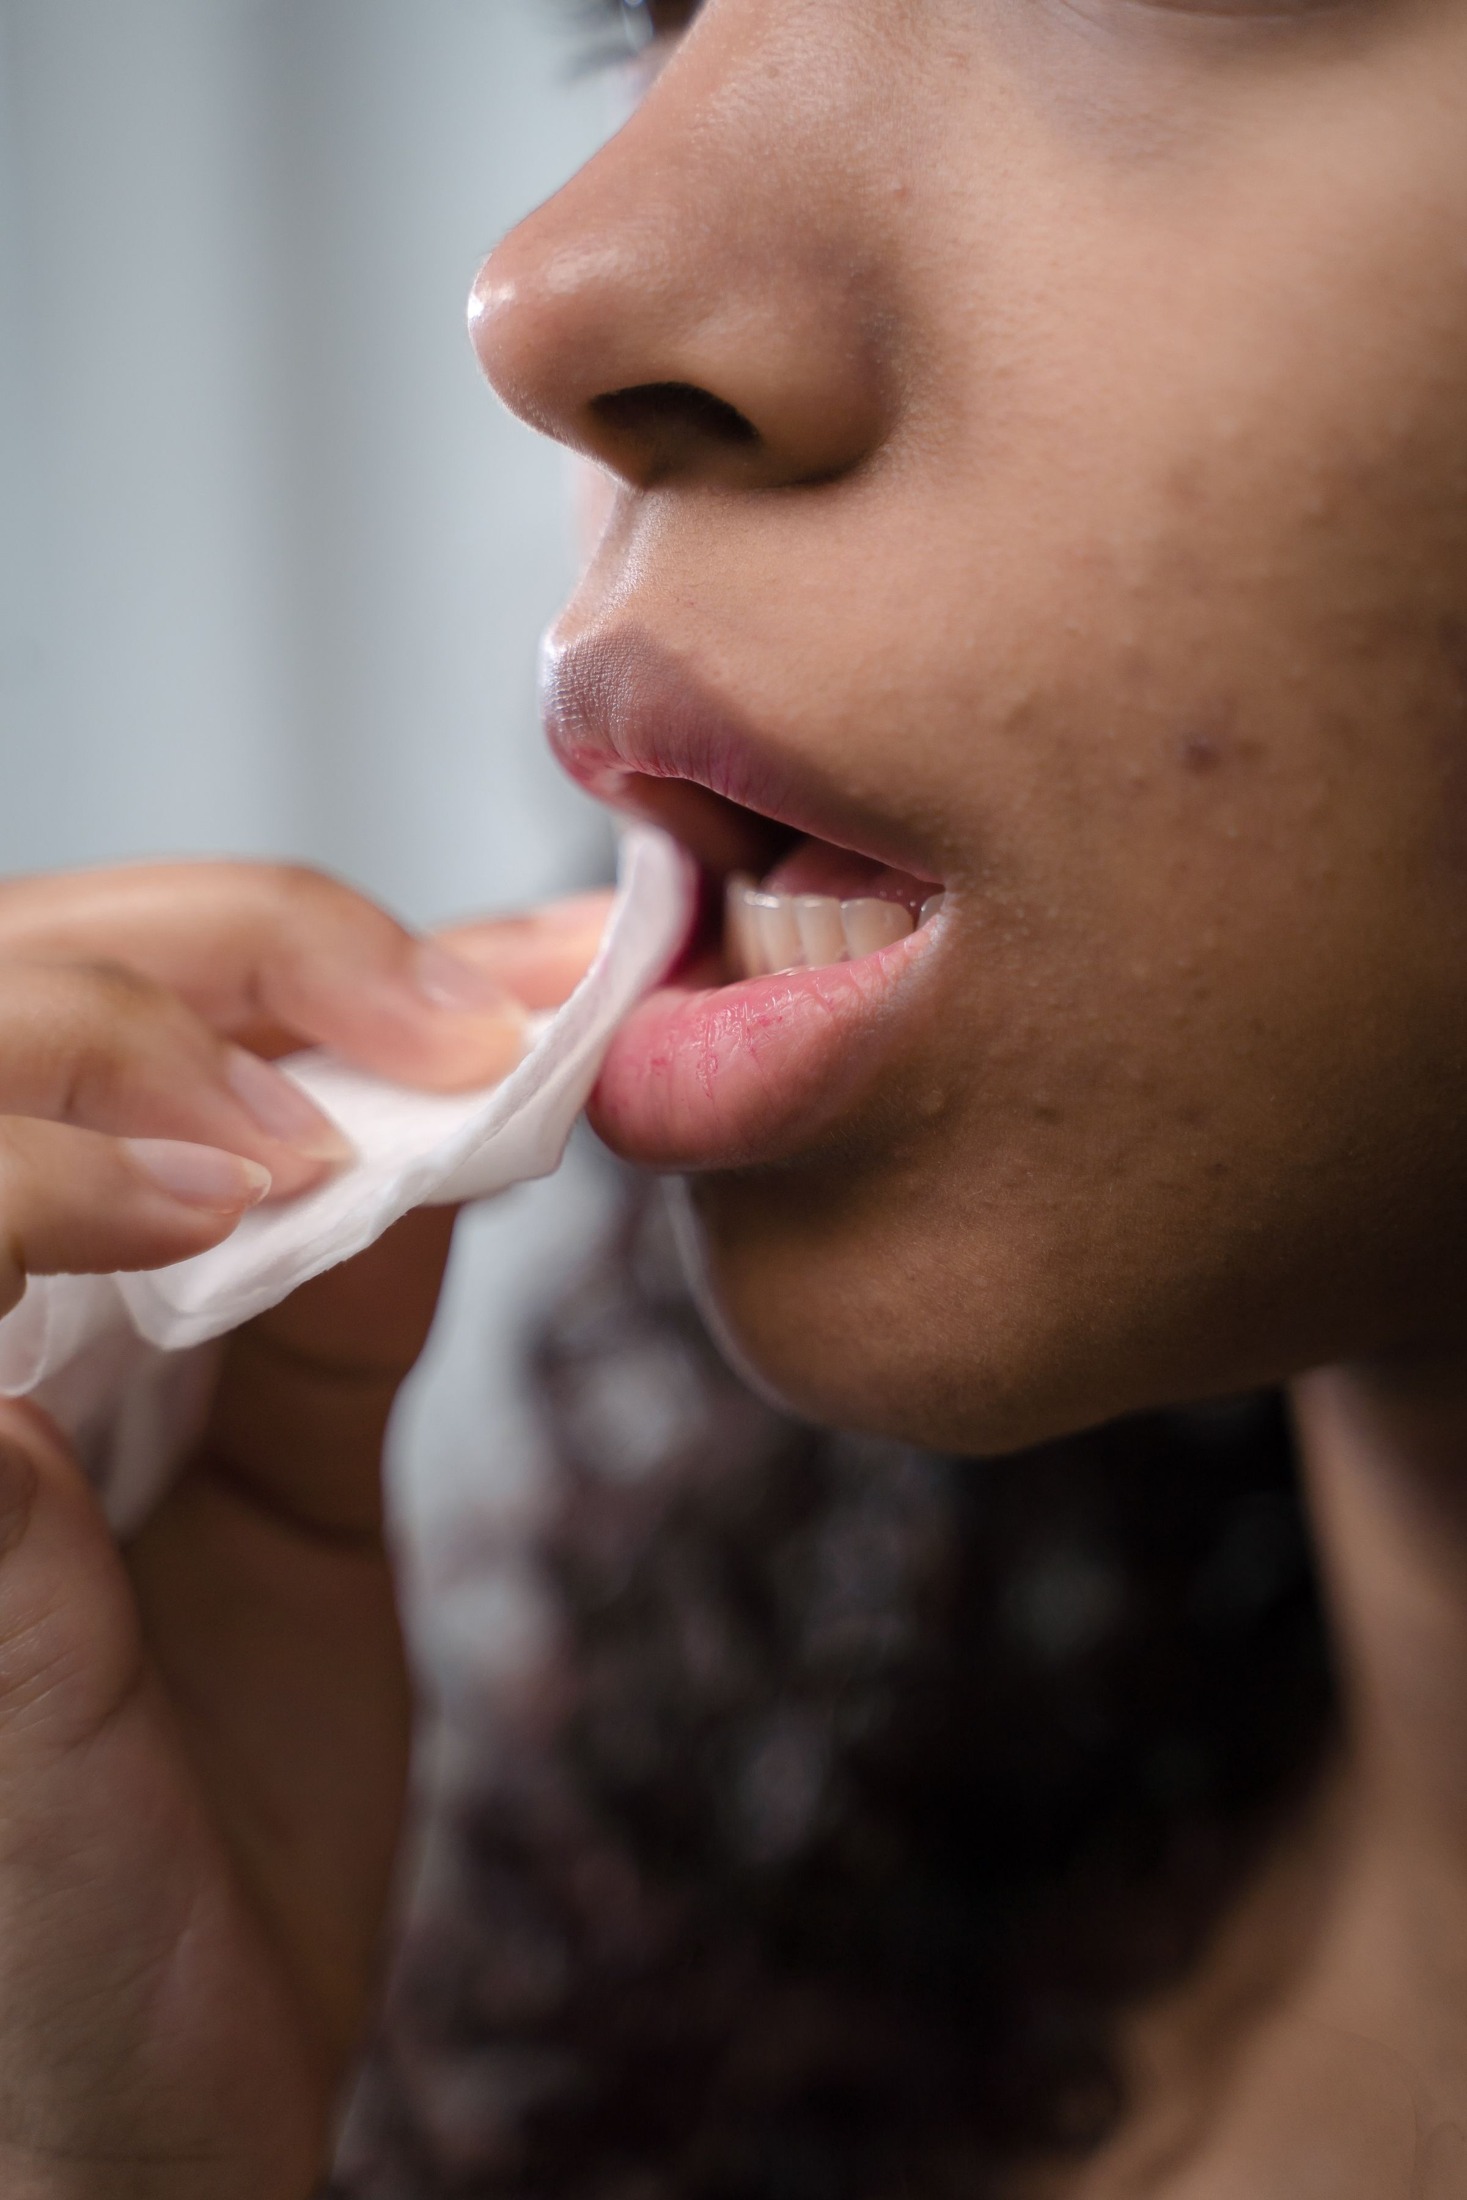
If the balm remains visibly thick or wet-looking, press a clean tissue gently against the lips and lift it away. Avoid sawing the tissue back and forth. You want to remove surplus product, not scrub the surface. One light press may be enough; check before repeating. The lips should not need to feel completely bare or dry before lipstick.
Pay attention to the corners and the inner lip, where product can accumulate. For example, a little balm gathered in the corners may drag lipstick outward when you open your mouth. A precise blot there can help more than blotting the whole mouth several times. Keep each adjustment as small as the issue you can actually see.
Adapt the method to your lipstick’s finish
A satin bullet often works over a thin, blotted balm layer, though the exact combination matters. Apply one pass and assess whether the color sits evenly. If the lipstick skates across the surface without depositing as expected, try less balm at the next application. Do not immediately add multiple thick lipstick coats to compensate for a slippery base.
Sheer color may blend easily with a little remaining balm, giving a softer effect. Liquid matte or long-wear formulas can be more particular about the surface underneath, so follow their instructions. If the label calls for clean, dry lips, do not assume that a rich balm layer will improve performance. You can prepare earlier, then remove the excess as directed before applying the formula.
Keep the edge light and check the moving mouth
Apply lipstick from the center toward the border with controlled pressure. Use less product near the corners, where repeated movement can make a thick application look untidy. If you use liner, check that the lip edge is not still coated in surplus balm before drawing. A precise outline is easier when the pencil is not gliding over a glossy film.
Then speak, smile, and relax your mouth. Look for a pale ring, pooled product, or a softened corner rather than evaluating only a carefully held pose. If one area looks heavy, lift a little with tissue or a clean lip brush. The test is practical: does the lipstick look and feel comfortable through normal movement, not just for the first still photograph?
Refresh the texture instead of stacking everything
When lipstick wears away, assess the remaining layer before putting balm over it. If there is a thick rim or an uneven center, gently remove the worn cosmetic residue with an appropriate lip product first. Add a small amount of balm if wanted, let it settle, blot excess, and apply a fresh light layer of color. This often looks neater than repeatedly adding shine over old pigment.
Keep your expectations tied to the formula. A soft, comfortable application may need a touch-up, and a long-wear finish may require more deliberate removal. Neither is a universal failure. The useful routine is one you can repeat without scraping, overloading, or chasing an unnaturally smooth surface. Balm prepares the texture; lipstick supplies the color; careful amounts help each do its own job.