
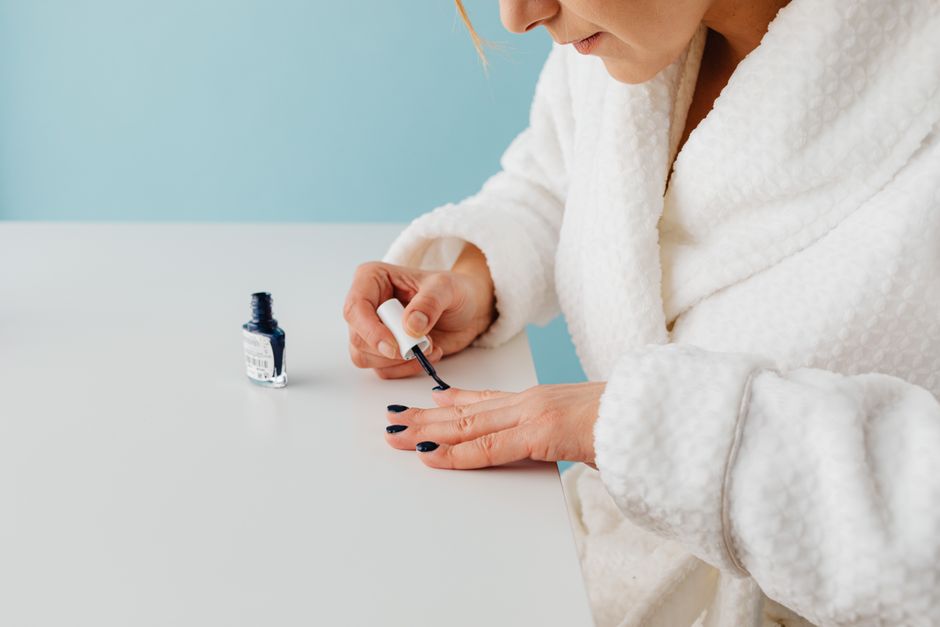
Dark nail polish makes the outline of each nail easy to see, which is part of its appeal. Burgundy, ink blue, and deep plum can look beautifully crisp, but color caught beside the nail can distract from that finish. Applying Dark Nail Polish With a Clean Sidewall is mainly about controlling where the brush opens and keeping pigment out of the narrow fold of skin along each side. You need a clear view, a supported hand, and a way to correct a stray mark without spreading it.
Know which edge you are trying to paint
The sidewall is the lateral edge of the nail, beside the fold of skin that borders it. On a curved nail, part of that edge can disappear from view when you look straight down. Trying to cover that hidden surface by feel often leaves polish on the skin instead.
Paint the nail surface you can see and reach comfortably. A clean boundary matters more than pushing dark color into the groove. There is no need to dig into that space, pull the skin hard, or trim it to create extra painting room.
Check each finger separately. One nail may have a flatter surface while its neighbor curves sharply at the sides. Give those shapes different brush angles instead of expecting an identical stroke to work across your whole hand.
Arrange your hands so the side stays visible
Sit at a table with your forearms supported and light falling across your nails. Place the polish bottle where you can reach it without lifting your painting elbow. Keep a small cleanup brush, polish remover, and a lint-free pad nearby. Use regular air-drying nail lacquer for this method and follow its label directions.
Rest the hand being painted on the table, with the fingers relaxed and slightly separated. Turn an individual finger gently to bring the far side into view. Moving the finger is often easier than twisting your wrist around it.
Give your painting hand a resting point
Anchor the little-finger side of your painting hand on the table or another comfortable support. Let your fingers guide the brush while your wrist stays relatively still. If holding a finger flat feels awkward, rest it on a folded towel that does not shed fibers.
When using your less practiced hand, turn the receiving hand to meet the brush. You can also begin with that more demanding side while your attention is fresh. Pause between nails whenever your grip starts to tighten.
Make the brush narrower before approaching the side
A brush loaded with a hanging bead of dark polish is difficult to steer beside skin. Wipe excess against the inside neck of the bottle, leaving enough lacquer for a smooth stroke without a droplet gathering at the tip. Keep the bottle upright and stable while doing this.
Look at the brush before it touches the nail. A wide, rounded brush may cover the center easily but become too broad when pressed down. Beside the sidewall, use its outer corner with very light pressure so the bristles stay gathered.
If the polish has become stringy or the brush has hardened, stop and check the product directions. Do not add remover to the bottle. A formula that drags in uneven ropes makes precise placement harder, however carefully you hold the brush.
Bring color toward the side in a controlled pass
Apply your base coat according to its instructions, keeping it off the surrounding skin. Once it is ready for color, establish a central strip of dark lacquer. This gives you a visible reference for the side passes without making the border your first landing point.
- Set the brush on the nail surface where you have room to control it, away from the skin.
- Angle the brush slightly toward the side you can see clearly.
- Guide its outer corner along the nail toward the tip, easing pressure as you approach the lateral edge.
- Lift the brush away, then turn the finger to see the opposite side before repeating.
Keep your attention on the brush corner nearest the skin. The rest of the brush can overlap the color already on the nail. That overlap is easier to manage than placing the full width of the brush beside the fold and hoping it will stay contained.
On a strongly curved nail, stop where the surface turns out of sight. Do not chase a hidden stripe by pressing harder. Inspect with the finger turned gently; if the visible outline is smooth, that side is finished.
Avoid steering back into partly set color
Repeated little corrections can leave a raised ridge along the side. If a stroke has started to become tacky, let it settle instead of brushing back through it. Assess coverage when the coat is ready for another layer, following the label’s timing guidance.
With the next coat, use the existing outline as your boundary. Darkening the center does not require widening the sides. Keep the same controlled brush angle rather than expanding the colored area with every pass.
Lift a stray mark without staining the whole fold
If lacquer touches the skin, put the bottle brush down before fixing it. Use a small, clean brush suitable for nail cleanup, lightly dampened with polish remover. Blot excess onto a lint-free pad; a dripping brush can carry dissolved pigment farther along the skin.
Touch the stray lacquer with the brush tip and lift away. Wipe the brush clean before touching the area again. Work on the mark from the skin side, avoiding the finished nail surface as much as possible. Short, deliberate touches give you more control than scrubbing along the entire border.
Do not insert tools beneath the side fold or scrape away stubborn pigment. If cleanup starts to sting or the skin becomes irritated, stop. Let a faint residual stain fade with ordinary gentle washing instead of repeatedly applying remover.
Check the border before adding the finish
Turn each finger slightly in both directions and look for polish touching the skin or a pooled bead beside the nail. Correct only what needs attention. A tiny difference between neighboring outlines is less noticeable than a smeared patch created by overworking them.
Apply top coat as directed, keeping its brush on the nail surface too. Once the manicure is dry enough for normal handling, moisturize the surrounding skin gently. Patch test unfamiliar skin-care products according to their instructions, and avoid polishing over sore or broken skin. See a dermatologist for persistent redness, swelling, pain, or changes around a nail.
The finished effect should look deliberate when your hands are relaxed, not just under close inspection. Let the dark color frame the visible nail, keep the side folds comfortable, and put the brush down when the outline looks clean.