
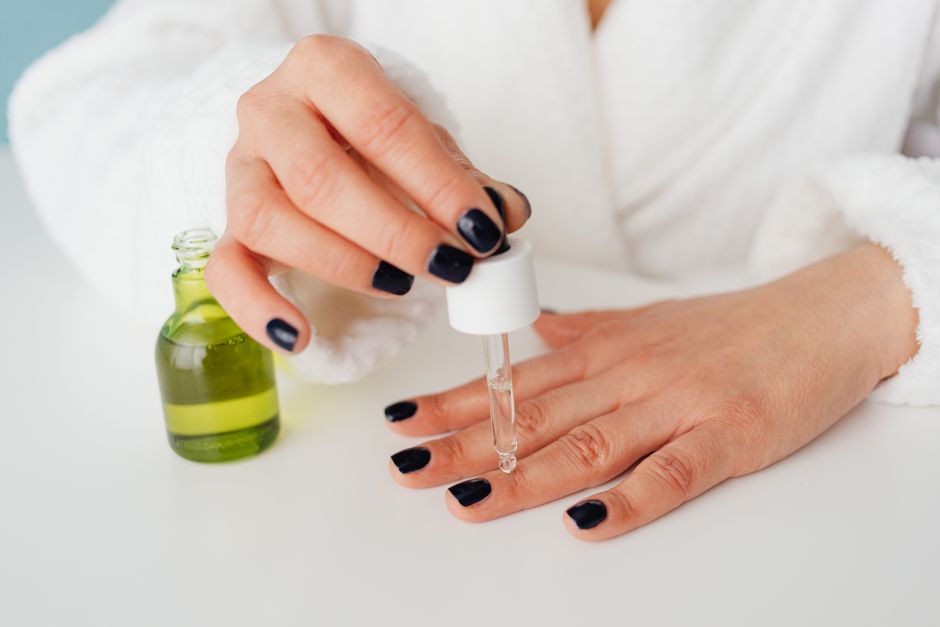
Preparing your nails for polish should leave them clean and comfortable, with as much of their natural surface intact as possible. Yet it is easy to mistake a perfectly smooth nail for a properly prepared one. If your manicure routine includes buffing away every ridge, try giving that step less importance. For ordinary nail lacquer, careful cleaning and a suitable base coat can often do the preparation work without sanding the nail plate.
Decide what actually needs attention
Start with a look at your bare nails in good light. A little uneven texture does not automatically need correcting. Fine lengthwise ridges can become more noticeable as nails change with age, but making them disappear with a buffer means removing some of the higher surface around them. You can leave that texture alone and still enjoy wearing polish.
The goal is a clean surface, not a completely flat one. Before picking up a tool, identify what you are seeing: old color, filing dust, a rough free edge, or a ridge in the nail itself. Each needs a different response. Running a buffer over everything is rarely the gentlest solution.
Remove the previous color patiently
Use a remover intended for your existing polish and follow its directions. For conventional lacquer, let a moistened pad rest against the nail briefly before wiping. Give the remover a chance to soften the color instead of immediately scrubbing back and forth. Move to a clean section of the pad as pigment transfers.
Check around the edges for leftover color. A small piece of remover-moistened cotton can help with accessible residue, but avoid digging into the sidewalls or underneath the nail. If a patch remains, repeat the removal step gently. Scraping it off can take part of the nail surface with it.
This preparation routine is for regular lacquer on natural nails. Gel, dip, and other enhancements require their own removal instructions. Do not peel away a coating or file through an unfamiliar product just to get a bare surface ready for another manicure.
Keep edge work separate from surface work
If a nail catches on clothing, address the free edge rather than buffing the top. Support your finger and use gentle, controlled file strokes where the nail extends beyond the fingertip. Stop once the edge feels comfortable. There is no need to reshape every nail each time you change your color.
A tool with several numbered faces can make filing, smoothing, and shining seem like a compulsory sequence. They are separate actions. You can tidy an edge without completing every stage printed on a manicure block. Put the tool down when the particular job you needed it for is finished.
Leave attached layers alone
A peeling patch can tempt you to smooth its boundary until it blends in. That can enlarge the thin area instead. Avoid pulling at it or sanding the surrounding nail to match. If peeling is confined to the free edge, gently shortening the nail may be more practical than working across its upper surface.
If the nail feels sore, looks unusually thin, or is lifting, skip polish and buffing. Seek a dermatologist’s advice for persistent problems, unexplained discoloration, or a new or changing dark line. Leaving the nail visible helps you notice changes while you arrange appropriate advice.
Wash away residue and let nails dry
After removal and any edge filing, wash your hands gently with soap and water. Rinse away loose dust and everyday grime. Use a soft cloth around the fingertips if needed; sharp cleaning tools and vigorous scrubbing are unnecessary. Pat your hands dry, paying attention to the skin around each nail.
A long soak is not essential preparation. Allow your nails to dry fully after washing, and avoid moving straight from a bath or washing dishes to painting. While you wait, clear a stable surface and set out the products you need. Check that no moisture remains tucked around the nail folds before continuing.
Make buffing an optional decision
Try leaving the buffer out of your next regular-polish manicure. Assess the result after gentle cleaning and base coat, rather than judging the bare nail against an artificially glossy finish. A nail does not need to shine on its own to be ready for lacquer.
If you choose to buff, use a tool labeled for natural nails and follow its instructions. Keep pressure very light and the work minimal. Avoid coarse abrasive faces and electric filing tools for this task. Do not keep going to erase a ridge, remove staining, or make all your nails look equally reflective.
Buffing removes nail material that polish cannot replace. Repeating it at every color change can compound the wear. If you suspect you have already overdone it, stop abrading the surface and treat the nail gently as it grows. Tenderness or persistent damage warrants professional advice rather than another smoothing session.
Let base coat help with appearance
Choose a base coat intended for natural nails and compatible with your lacquer. If ridges bother you, a ridge-filling formula may soften their appearance. Follow its directions and keep expectations realistic: it can improve the look of the finish without repairing a damaged nail or removing every groove.
There is no need to stack several hardeners, preparation liquids, and treatments. Keep the routine understandable so you know what you are applying and why. Patch test unfamiliar skin-contact products as directed, avoid irritated skin, and stop using anything that causes burning, redness, or itching. See a dermatologist if irritation persists.
Check readiness before opening the color
A quick final check can replace the habit of reaching automatically for a buffer. Your nails are ready when these basics are in place:
- Old lacquer and visible filing dust are gone.
- The free edges feel comfortable and do not snag.
- The nails and surrounding folds are fully dry.
- No oily film or hand cream remains on the nail surface.
- There is no soreness or irritation you are about to cover.
Save rich hand cream and nail oil for after the polish has dried sufficiently, following its directions. Then enjoy the finish without expecting your natural nails to be perfectly uniform underneath. At the next color change, return to the same gentle checks. A manageable preparation routine leaves room for natural texture and gives you fewer reasons to wear away the surface.