
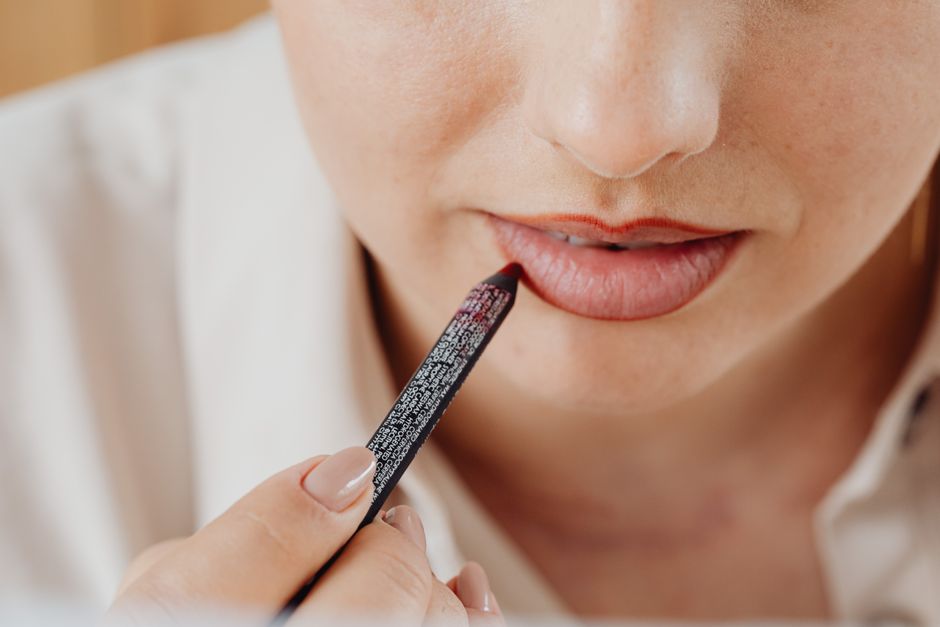
Lip liner can give your mouth a little definition without announcing itself as a separate outline. The trick is to control how much pigment lands at the border and how gently it fades toward the center. If your liner looks harder than you intended, you may not need a different shade or a completely new routine. A lighter touch, shorter marks, and a little attention to the inner edge can make the same pencil much easier to wear.
Keeping liner soft is especially useful when your natural lip border has become less distinct or its shape varies from one side to the other. You can work with those details without drawing a thick, perfectly symmetrical frame. Aim for definition that looks comfortable when you speak and smile, as well as when you sit still in front of the mirror.
Decide what you want the liner to do
Before you begin, choose one main job for your pencil. You might want to make a faint section of your lip border easier to see, connect uneven patches of natural color, or give a sheer lip color a little structure. Trying to enlarge, reshape, darken, and sharpen everything at once makes it easy to apply more than you need.
Look at your mouth with your face relaxed. Notice where the border is already clear and where it disappears. You do not have to give every section equal attention. A few light marks through the faint areas may be enough, while a full outline could make an already defined section look unnecessarily heavy.
Choose a shade that allows a gentle transition
For an understated result, compare the liner with the natural color of your lips, rather than the skin around your mouth. A pencil that resembles your surrounding skin can look pale or chalky against the lip itself. A shade close to your lip color gives you more room to blend without leaving an obvious ring.
Depth matters as much as whether a shade looks pink, peach, or brown. A liner can have a flattering undertone and still look very dark at the border. If that happens, try applying less before deciding the color is wrong. Check the result in ordinary daylight, since a bright mirror light can disguise contrast.
Look for controlled movement
A useful pencil should leave color with light pressure. If you have to drag it across your lips, it becomes harder to keep the line delicate. At the other extreme, a very slippery pencil may deposit a broad stripe before you have time to adjust. Test the feel gently on clean skin and look for a texture you can move a little without having it smear everywhere.
Patch test unfamiliar lip products according to their directions, particularly if your skin reacts easily. Stop using a product that causes burning, itching, or irritation. If discomfort, cracking, or a rash persists, see a dermatologist rather than trying to cover the problem with more makeup.
Use the side of the point and a lighter grip
A sharp pencil can still create a soft result; pressure and angle make the difference. Hold it a little farther from the tip and tilt it so that a small section of the side touches your lip. This makes it easier to lay down a fine veil of pigment instead of pressing a narrow groove of dark color into the border.
Rest your elbow if your hand feels unsteady. Keep your mouth relaxed and slightly parted rather than stretching your lips into a wide smile. A stretched surface may seem easier to draw on, but the line can look different when your mouth returns to its normal position.
Build the outline in small sections
Start where you can clearly identify your natural border, often near the center of the upper or lower lip. Make a short, light mark, lift the pencil, and look again. Continue with small strokes that meet loosely. There is no need to pull one uninterrupted line from corner to corner.
- Mark the central upper lip lightly, following the curves you can actually see.
- Add a little definition beneath the center of the lower lip.
- Connect toward the sides using less pressure as you approach the corners.
- Step back from the mirror before filling any remaining gaps.
If one side appears fuller, resist automatically drawing outside the other side to match it. First check whether the difference comes from shadow or uneven natural pigment. Keeping both sides close to their own borders often looks more relaxed than correcting every small variation.
Let the corners stay quiet
The corners can become dark quickly because several strokes overlap in a small space. Stop short of the deepest fold, then use a clean lip brush to carry the remaining pigment toward it if needed. Avoid repeatedly tracing into the crease. A little less definition here can help the whole mouth look softer.
Blend inward while preserving the outer boundary
Soften the inside edge of the liner, not the skin outside your lips. With a clean, small lip brush, make tiny strokes from the pencil line toward the center of your mouth. Keep the movement short. You are creating a gradual transition from the border into the lip, rather than spreading pigment across the surrounding skin.
Work on one section at a time if your pencil sets quickly. Blending does not have to make the outline disappear completely. Leave enough definition to see your shape, but remove the abrupt inner edge that can make the pencil look like a drawn frame.
Check the line with your mouth gently closed, then speak or smile. If a section suddenly looks heavy, touch it with the clean brush and redistribute what is already there. Adding another layer over the entire outline usually makes that small problem harder to correct.
Keep the liner connected to the rest of your lip color
If you wear lipstick over liner, bring a small amount up to meet the blended area. Leaving an uncolored strip between the two can make even a subtle pencil stand out. Use the brush to join the textures without repeatedly sweeping across the outer boundary.
You can also wear liner with a lightly shaded lip. After defining the border, use the pigment remaining on your brush to shade a little farther inward. Keep the center lighter if you like, but avoid a sudden jump from a dark perimeter to completely bare lips. The transition is what makes the definition feel easy.
Refresh only the part that needs it
After eating or drinking, look at the center as well as the outline. If the center has faded and the pencil remains, restore a little color inside before adding any more liner. If only one section of the border has worn away, touch up that section with short strokes and blend inward again.
For an overly dark patch, gently lift a little pigment with a clean tissue instead of scrubbing. Then reassess from a normal conversational distance. Your lips do not need to look perfectly traced under magnification. A comfortable shape, a gentle transition, and a border that moves naturally with your expression are enough to make liner feel like part of your face.