
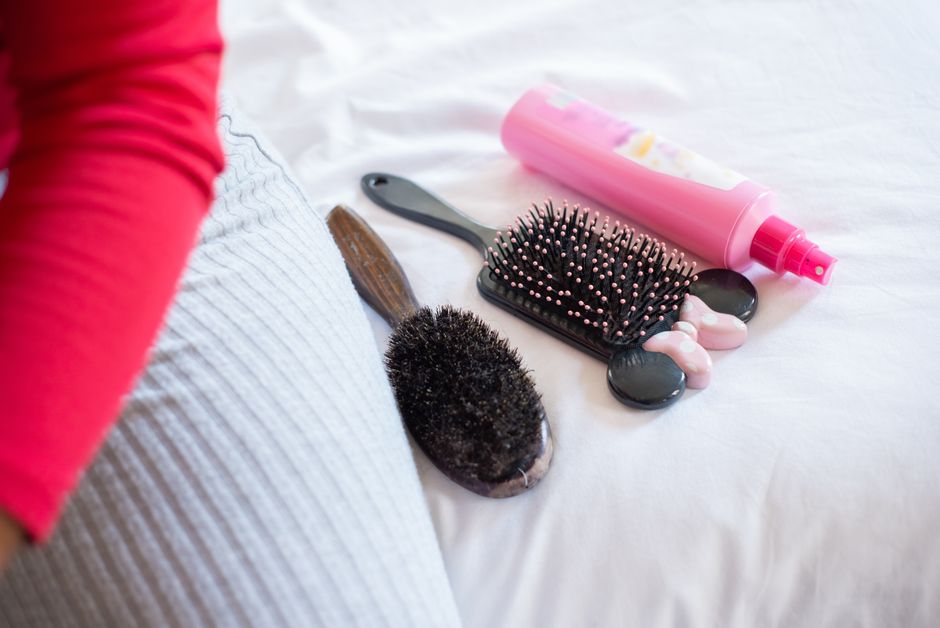
A cushion hairbrush can collect a surprisingly stubborn mix of loose hair, lint, and styling residue. Giving it a bath might seem like the quickest solution, but a padded base needs a more careful approach. Water can slip around the bristles or through an opening and become difficult to remove. Cleaning a hairbrush without soaking the cushion means working in small sections, controlling the moisture, and allowing plenty of time for drying. You can make the brush feel fresher without putting the whole thing under the tap.
Check the brush before you bring out the water
Start with the maker’s care instructions if you have them. Some brushes tolerate damp cleaning; others, especially those with wooden parts, natural bristles, or delicate finishes, require a different method. The instructions take priority over a general cleaning routine. If wet cleaning is discouraged, stick to removing loose hair and debris with dry tools.
Look closely at the cushion and the points where the pins or bristles enter it. A small opening may be an intentional air vent rather than a missing pin. Do not plug it, poke into it, or use it as a place to flush water through the brush. Check for splits, lifting edges, loose pins, and damaged tips, too.
If the cushion is torn or separating from the frame, cleaning may push moisture into places you cannot reach. A brush with sharp, exposed pins or badly damaged bristles may be ready for replacement rather than a more determined scrub.
Set up a small, controlled cleaning station
You do not need a sink full of water. A shallow bowl lets you dampen a cloth or cleaning tool while keeping the hairbrush itself well away from immersion. Choose a work surface where you can see the spaces between the bristles clearly.
- A clean towel to protect the surface and absorb drips.
- A comb or purpose-made brush rake for lifting loose hair.
- A soft, clean toothbrush reserved for cleaning tools.
- A lint-free cloth and a few cotton swabs for narrow spaces.
- Lukewarm water and, if the brush instructions allow it, a little mild shampoo.
Keep a second cloth nearby for removing cleanser. The useful distinction is damp versus dripping. Anything you put against the brush should carry only enough moisture to loosen surface residue, with no drops falling from it.
Remove trapped hair while everything is dry
Lay the brush on the towel and use your fingers to lift away the easiest strands. Then slide a comb or brush rake gently beneath the remaining hair, working from the outer edges toward the middle. Lift small amounts at a time rather than trying to pull the whole mat away in one movement.
Keep the tool near the surface. Digging down against the cushion can scratch it, disturb the bristle holes, or bend the pins. If a strand is wrapped tightly around a pin, ease it loose with your fingers instead of using the pin as leverage.
Deal gently with lint around the bristles
Those fuzzy little collars near the base of the bristles often need separate attention. Sweep them upward with the dry toothbrush, using light strokes. Turn the brush as you work so you can approach each row from a comfortable angle. Remove the loosened debris with your fingers or the cloth.
Do as much as possible at this dry stage. Hair and lint are easier to gather before they become wet and cling to the cushion. Avoid sharp needles or blades around the padded base; a stubborn bit of fluff is not worth a puncture.
Clean the bristles without flooding the base
If damp cleaning is suitable for your brush, mix a small amount of mild shampoo into the bowl of lukewarm water. Keep the mixture lightly soapy. A concentrated lather creates more residue to remove, which can lead to repeated wetting of the cushion.
Dip the toothbrush into the mixture, then blot it thoroughly on the towel. Hold the hairbrush with its bristles angled downward so any accidental droplet travels away from the cushion. Support it securely without pressing or repeatedly flexing the padded base.
- Work across a small section of bristles with gentle strokes, moving from near the base toward the tips.
- Use a well-wrung cloth to wipe loosened residue from the bristles.
- For a visible mark on the cushion surface, touch it lightly with a barely damp cotton swab, keeping clear of openings and seams.
- Move to the next section, checking that no moisture is collecting around the bristle holes.
Let repeated light passes do the work. Avoid scrubbing hard, bending bristles sideways, or pressing cleanser into the cushion. With natural bristles, follow their direction and be especially sparing with moisture. If residue will not lift with the method the manufacturer permits, stop rather than escalating to harsher cleaners.
Remove the cleanser with fresh, barely damp tools
Empty the soapy water and prepare clean water for the wiping stage. Rinse the toothbrush separately and blot it well, or use a fresh cloth that has been dampened and thoroughly wrung out. Wipe the cleaned sections in small passes, refreshing the cloth as it picks up residue.
Do not rinse the hairbrush under running water to speed things up. That makes it difficult to keep water away from the cushion openings. Instead, inspect the bristles in good light and repeat a controlled wipe wherever you can still see foam or feel a slippery film on accessible surfaces.
Wipe the handle and the outside of the frame according to their material and care instructions. Pay attention to the seam where the cushion meets the frame, but avoid pushing a wet swab into the gap. Finish by blotting accessible surfaces with a dry cloth.
Give the cushion time to dry
Rest the brush with the bristles facing downward, supported so they are not crushed or bent. Choose a dry, ventilated place and leave it uncovered. A closed drawer, travel pouch, or steamy bathroom cupboard makes it harder to judge whether the brush has dried fully.
Skip the hair dryer, radiator, and strong direct sun. Gentle air drying is the more cautious choice for a brush made from several materials. There is no single drying time that suits every cushion and bristle arrangement. Check the base and bristle roots carefully, and wait longer if anything feels damp.
If water accidentally gets inside, stop cleaning and blot what you can reach. Follow the manufacturer’s drying advice, and avoid squeezing or pumping the cushion to force water out. A persistent musty smell or trapped moisture is a reason to stop using the brush and seek care advice or replace it.
Make the next clean easier
Pull out loose hair regularly, and give the brush a quick dry sweep when lint becomes visible. Clean according to what you see and how much styling product reaches the brush, rather than waiting for a thick layer to develop. Store it only when dry, with enough space to protect the bristles.
A clean brush should also feel comfortable against your scalp. Stop using one that scratches or catches your hair. If you develop persistent scalp itching, soreness, or flaking, see a dermatologist rather than assuming a deeper brush clean will solve it. For ordinary upkeep, gentle handling and carefully limited moisture are enough to keep the routine manageable.