
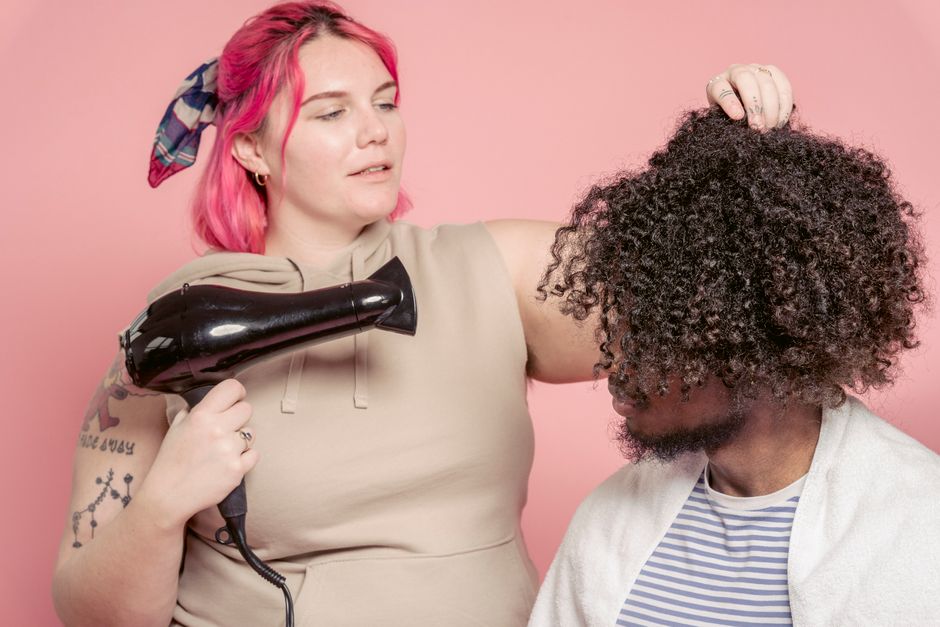
A diffuser can help your curls dry with their curves intact, but the attachment is only part of the process. How you place it, when you switch the airflow on, and how often you move your hair all affect the finish. The aim is to remove moisture while giving curl groups as little disturbance as possible. You do not need to keep squeezing your ends or chase every flyaway. A steady routine, a comfortable setting, and a little patience can make the process easier to manage.
Arrange your curls before you begin
Diffusing works best when you have already done your detangling and arranged your part. Detangle gently while conditioning, using your fingers or a suitable wide-tooth comb, and avoid pulling through resistance. After rinsing, let your curls gather into their natural groups. Brushing repeatedly once those groups have formed can separate them before you even reach for the dryer.
Apply your usual styling product according to its directions while your hair is evenly damp. Smooth it through gently, then cup the ends upward if that helps your curls settle. Avoid adding several unfamiliar products at once: it becomes difficult to tell what is helping. Patch test new products as directed, and stop using anything that irritates your skin or scalp.
If your hair is dripping, lightly blot it with a soft towel or cotton T-shirt. Bring the fabric to your hair and press without rubbing or twisting. You want enough moisture for the curls to stay together, without water running down your neck. If one section has dried out during styling, dampen that area lightly before you begin.
Choose gentle settings and a comfortable position
Make sure the attachment fits your dryer securely and follow the appliance instructions. Choose low airflow to start, with a cool or low-heat setting that feels comfortable. Strong airflow can scatter loose hairs even through a diffuser. Extra heat is not a substitute for careful placement, particularly if your ends feel fragile or your scalp is sensitive.
Keep the dryer’s air intake clear of hair and fabric. Use the appliance away from water, with dry hands, and never rest a running dryer on a towel or other soft surface. If the attachment becomes uncomfortable to handle, switch off and let it cool. Your scalp should never feel hot, prickly, or sore during drying.
You do not need to hang upside down to diffuse successfully. Stay upright or tilt gently to one side so the roots are accessible. If bending forward makes your neck ache or leaves your hair tangled when you return upright, skip it. Support your elbow where practical, and pause whenever your arms or shoulders need a break.
Hover first to limit early disturbance
For the first stage, hold the diffuser near your hair without scooping curls into its bowl. Begin with a little distance and watch how the strands respond. If they flutter or separate, lower the airflow or move farther away. Guide the air around your head slowly, avoiding concentrated warmth in one place.
This hovering stage is useful when curls are very wet and easily stretched out of shape. Give attention to the roots and outer surface while leaving the lengths largely alone. You are looking for the curls to become less wet and more settled, rather than trying to finish each section immediately. Keep your free hand from repeatedly checking or rearranging the ends.
Support the lengths with the diffuser bowl
Once the curls feel less delicate, you can use the bowl to support the lengths. This is helpful when your hair benefits from being held in its curved shape as it dries. Work with modest sections that fit comfortably into the bowl. Packing in too much hair can fold curls awkwardly and leave the inner layers damp.
- Switch the dryer off before bringing the diffuser into a section.
- Lower the ends into the bowl, allowing the curls to gather naturally.
- Raise the diffuser gently without pushing hard against your scalp.
- Turn on low airflow and hold comfortably, checking for excess warmth.
- Switch off again before lowering the bowl and releasing the curls.
Turning the airflow off during placement and release helps keep loose strands from blowing across neighboring sections. Think of the bowl as a resting place for your curls. Pumping it up and down repeatedly can disturb the shape you are trying to preserve. Move to another section when needed, then return later if the first still feels damp.
Adapt the technique around your head
Your fringe, crown, and underneath sections may all dry differently. Shorter or finer pieces may need only hovering, while longer curls may welcome support from the bowl. Move away from areas that have finished drying instead of giving every section equal time. If you have gray strands or changing texture, respond to how each area behaves rather than assuming everything needs more heat or product.
Reach the roots without stirring the ends
Roots can remain damp even when the ends appear finished. Return to hovering around the scalp, approaching from different sides without dragging the attachment through your hair. A small head tilt may give you access beneath the top layer. Keep the diffuser prongs from scraping your skin or catching at the roots.
If your hair lies close to your head, resist lifting it repeatedly with your fingers while it is wet. Let the airflow reach the root area with minimal handling first. Once your hair is fully dry, you can decide whether gentle lifting is needed. Drying and final shaping are easier to control as separate steps.
Let curls dry and cool before softening them
Check for remaining moisture gently at the roots and inside thicker sections. Hair that still feels damp needs more drying or time to finish naturally before you handle it extensively. There is no universal drying time: density, length, starting moisture, and your appliance all make a difference.
Once your curls are dry, allow them to cool before adjusting them. If your styling product has left a firm coating, cup the curls with clean, dry hands and squeeze gently to soften it. Separate only the curls you want to loosen, following their existing divisions instead of pulling them apart at random.
Change one thing when the finish needs adjusting
If the finish looks fuzzy, try lower airflow, less movement, or a longer hovering stage next time. If curls look compressed, use smaller sections and bring the bowl up less firmly. Changing one step at a time makes the result easier to judge. Persistent scalp discomfort, irritation, or unusual breakage deserves advice from a dermatologist.
A few soft flyaways do not mean the routine has failed. Look for curls that feel comfortable, move naturally, and keep a shape you enjoy. Once you find a gentle sequence that suits your hair, repeating those simple movements can make diffusing feel far less fussy.