
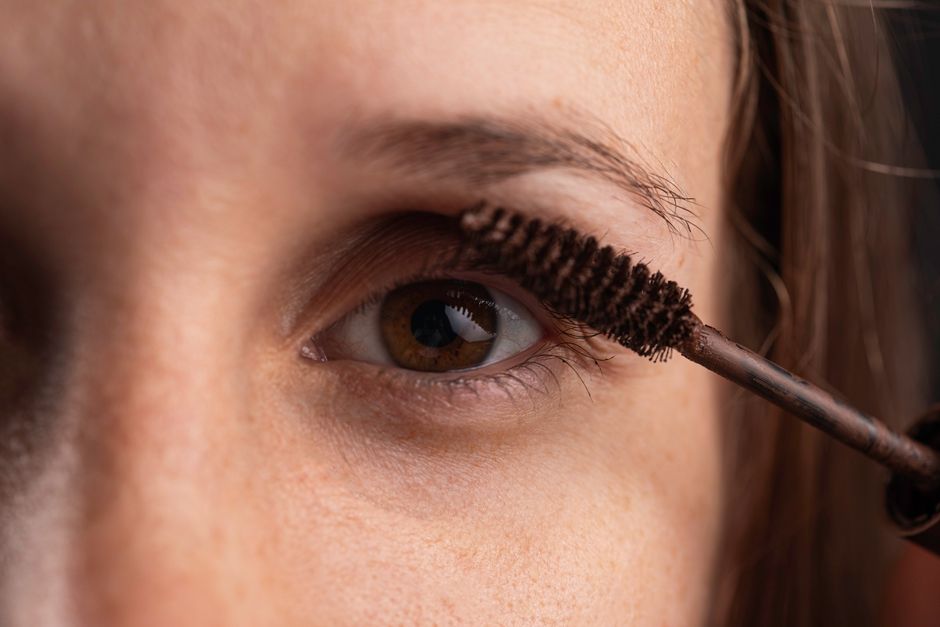
Brown mascara can give fair lashes lovely definition, yet sometimes the result seems to disappear when you step away from the mirror. The answer is not always another coat. Pale roots, missed tips, a very light shade, or a brush that skips fine hairs can leave the color less noticeable than you intended. Making Brown Mascara Visible on Fair Lashes starts with even coverage where it matters, followed by a check at a normal conversational distance.
Decide what you want to see
There is a useful difference between lashes that look darker and lashes that look heavily made up. Brown mascara can make the lash line easier to see while keeping individual hairs distinct. On blonde, strawberry blonde, white, or pale gray lashes, a modest change in depth can frame your eyes. You do not need a thick fringe to get that effect.
Before applying anything, look straight ahead with your face relaxed. Notice where your lashes disappear: close to the lid, through the middle, or at the ends. This gives you an application target. If your tips are almost transparent, coating only the lower half of each lash leaves much of its apparent length hidden.
Choose a brown with enough depth
Look beyond the shade name
Brown shades range from light caramel to deep espresso. A light, warm brown may look beautifully soft but offer less contrast than you want. A deeper brown is often the most straightforward choice when visibility is your main concern. Descriptions such as chocolate or espresso can help narrow the options, although shade names are not consistent across formulas.
A reddish brown may read as noticeably warm, while a neutral brown can create a quieter outline. Neither is automatically better for fair coloring. Your brow shade, eye makeup, and personal taste all influence what looks balanced. Silver hair does not require you to choose the palest mascara available. Choose the depth you enjoy seeing around your eyes.
Consider the brush
A brush you can position accurately is useful when pale lashes are fine or closely spaced. A compact head may make the inner lashes easier to reach. Separated bristles can help distribute mascara through individual hairs. A large brush can work, too, but it may be awkward if it hides the area you need to coat.
Start with an even surface
Apply mascara to clean lashes without leftover makeup. If you have used eye cream, let it settle and gently remove any excess that has reached the lash hairs. There is no need to strip or scrub the eye area. The aim is simply to avoid applying color over an uneven layer of old mascara or oily residue.
Comfortable, even lighting helps you spot pale hairs. Use a mirror you can approach without leaning awkwardly. Magnification can help with placement, but step back afterward. A close mirror is useful for finding gaps; it is less useful for deciding how much mascara your face needs overall.
Give the roots a deliberate first pass
Remove the wand slowly and wipe excess from its tip against the opening. A heavy bead of mascara can join several fine lashes together before you have coated them properly. Work while seated or standing still. If your hand needs support, resting your elbow on a stable surface may help.
Look slightly downward into the mirror so you can see the upper lash roots. Bring the brush to the hairs near their base without pressing against the lid or touching the eye. Use a small, controlled movement, then draw the brush outward along the lashes. Color near the base helps prevent a pale-looking gap beneath darker ends.
Work across the lash line in manageable sections. The middle lashes are often easiest to reach, so check the inner and outer sections deliberately. Aim for consistent coverage without repeatedly brushing the same area just because it is easier to access.
Carry the color through the tips
Once the roots have color, guide the brush toward the ends with a lighter hand. Fair tips can remain almost invisible even when the base looks dark enough. Watch for those last pale sections as you lift the wand away. Slow strokes offer more control than brushing rapidly back and forth.
Check these details before adding more mascara everywhere:
- Pale roots: revisit the missed section carefully, keeping the brush clear of the skin.
- Faint ends: draw a small amount through the tips that still look transparent.
- Joined hairs: stop adding color and gently separate them while the formula remains workable.
- Uneven corners: adjust the brush position to reach the lashes you skipped.
A clean lash comb can help separate coated hairs if you use it carefully and keep it away from your eye. Do not tug through hardened mascara. If the formula has dried with lashes stuck together, gently removing it and starting again is preferable to pulling at them.
Make the second coat a choice
Step back and look at both eyes before deciding on another coat. If one section looks sparse, focus there. Applying more product to every lash may create bulk without correcting the missed patch. Follow the application directions for your formula, since some mascaras layer more easily than others.
For a stronger finish, another light pass through the upper lashes may be enough. Lower lashes are optional. If you coat them, use the small amount remaining on the brush and aim for individual definition. A fully coated lower fringe changes the balance of the look, so assess it separately.
Give the lashes room to show
Heavy eye makeup can make soft brown lashes harder to distinguish. To show their shape, try a quiet lid color and keep dark shadow near the lash line restrained. You can still enjoy stronger eye makeup; simply recognize that subtle mascara becomes a supporting detail within that look.
Check the result in ordinary daylight as well as your bathroom mirror. Look for a more defined lash line and visible ends without inspecting them closely. If coverage is even but the effect remains too faint for your taste, choose a deeper brown next time instead of continuing to pile on coats.
Keep the routine comfortable
Use mascara as directed, never share it, and follow its replacement guidance. Do not add water or other liquids to revive a drying tube. Remove it gently with an eye-area makeup remover suitable for the formula. Follow patch-test instructions for unfamiliar cosmetics and stop using anything that causes irritation. Seek professional advice for persistent eye irritation, or see a dermatologist for ongoing eyelid skin problems.
Let your final check be simple: can you see the lashes you meant to define? Even coverage from root to tip, enough color depth, and a brush you can control give brown mascara a chance to show its character. Stop when the definition feels right for your face.