
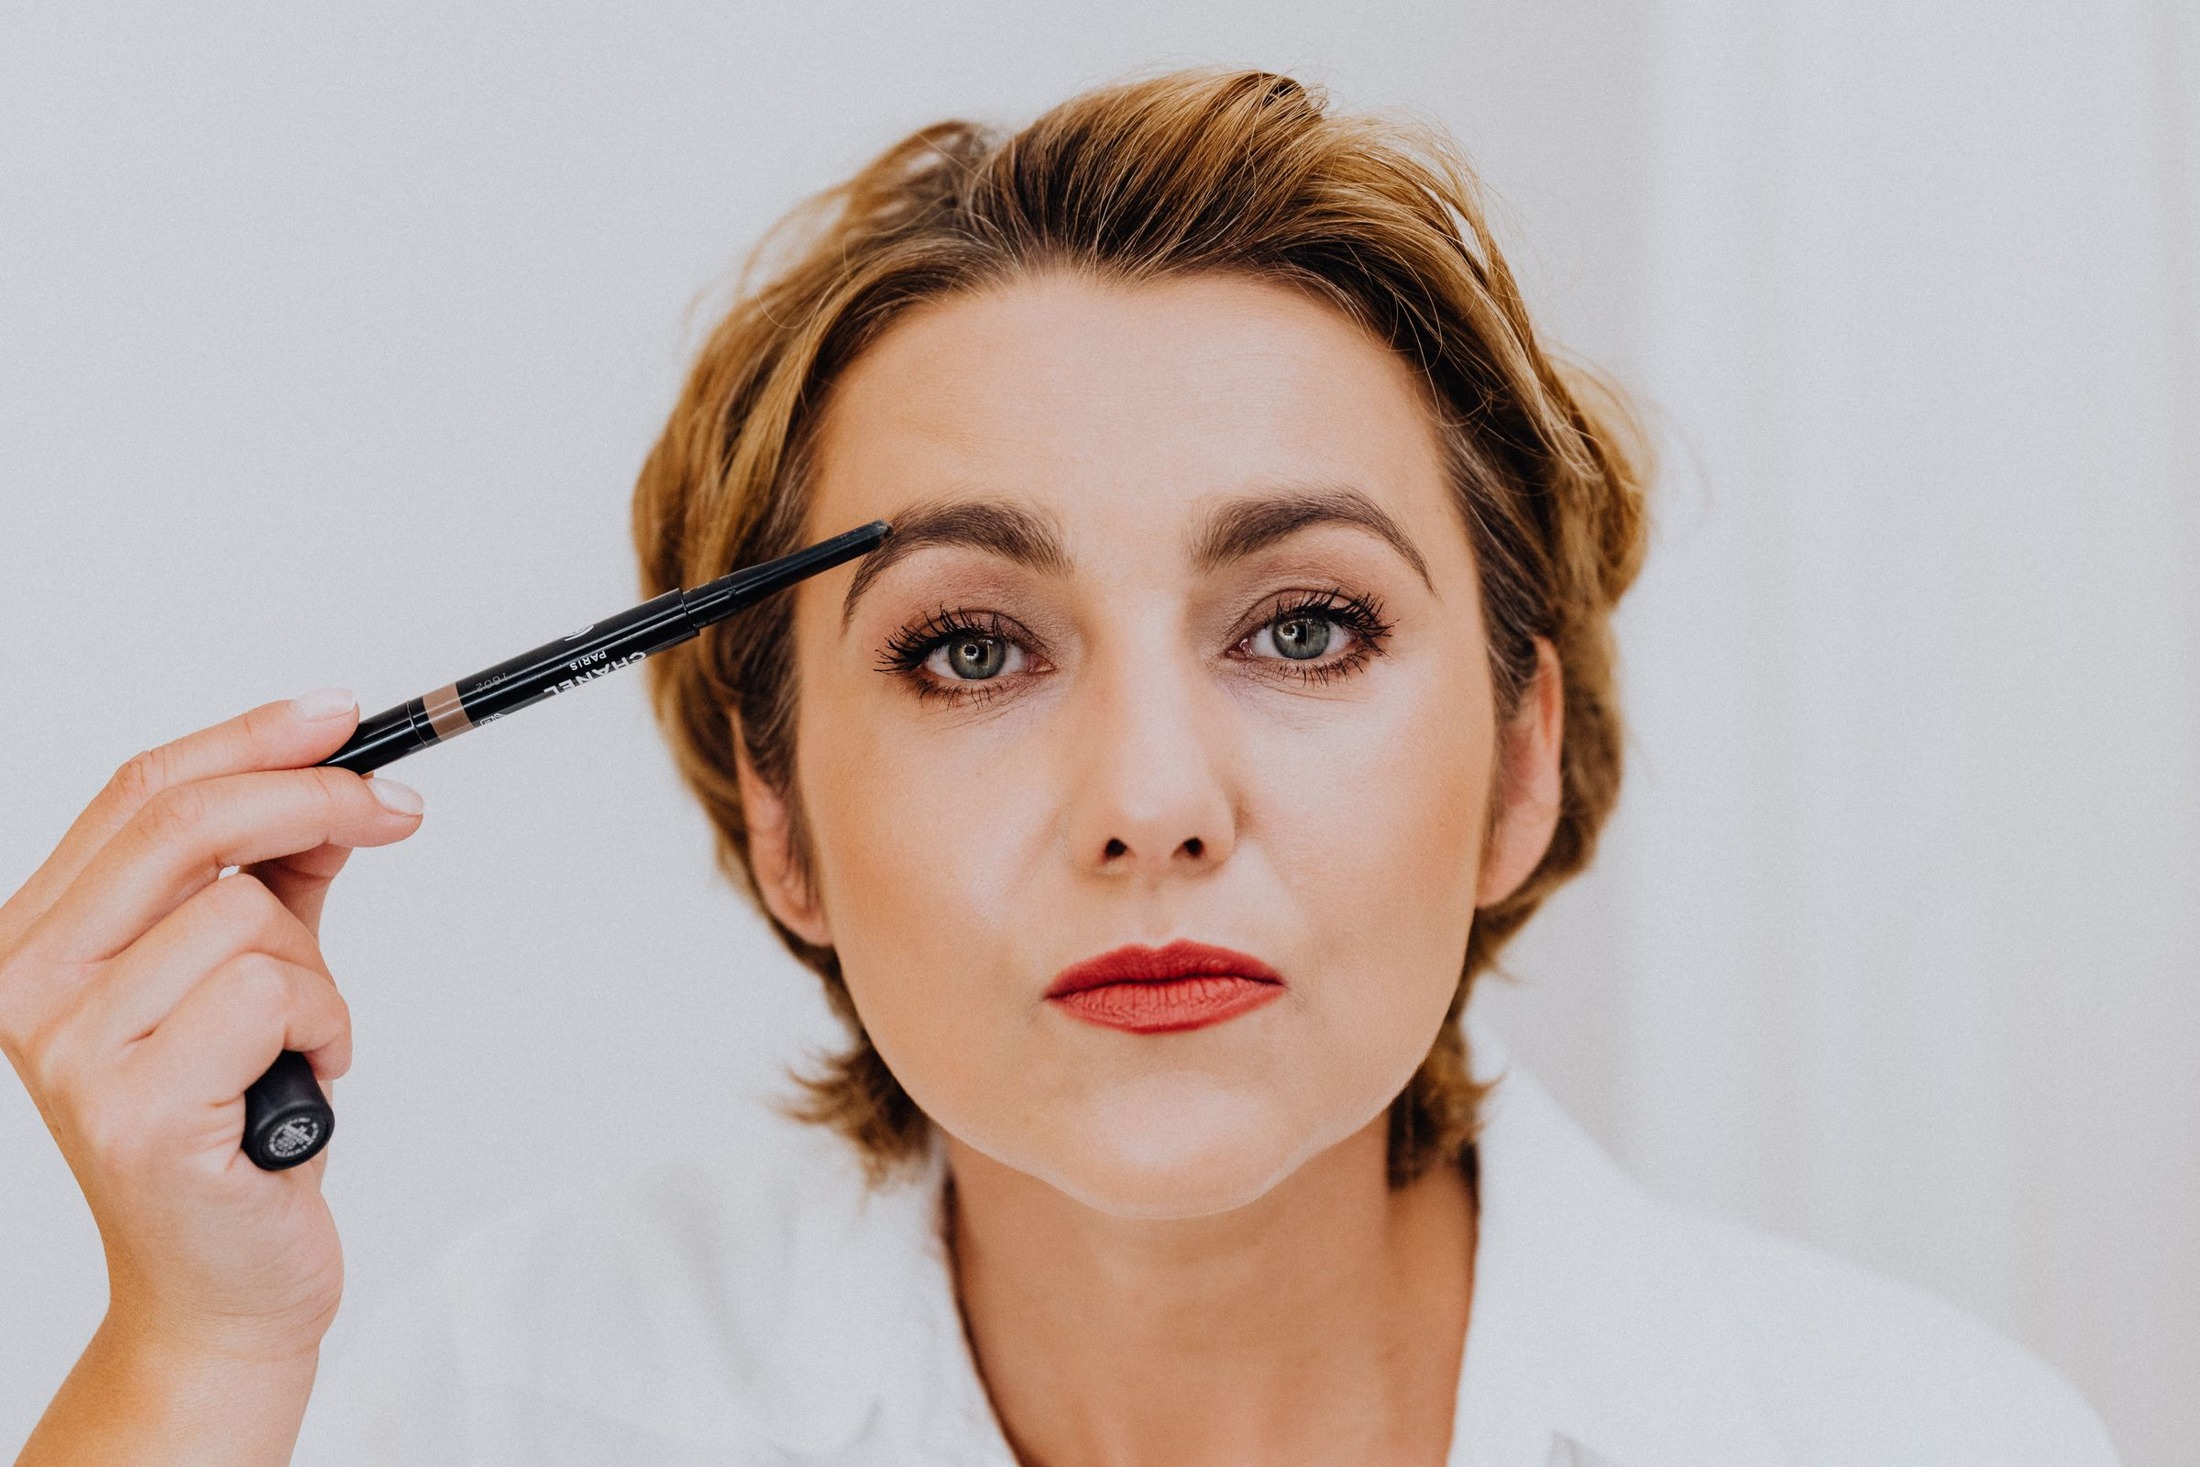
A brow pencil works best when it supports the hairs already there instead of hiding them under an even block of pigment. Sparse gaps can occur at the front, through the arch, or near a short tail, and each location needs a slightly different touch. Begin with the brow you have today. You are making a cosmetic drawing, not promising hair growth or rebuilding a permanently different shape. A few selective marks can be enough to make the outline feel more complete.
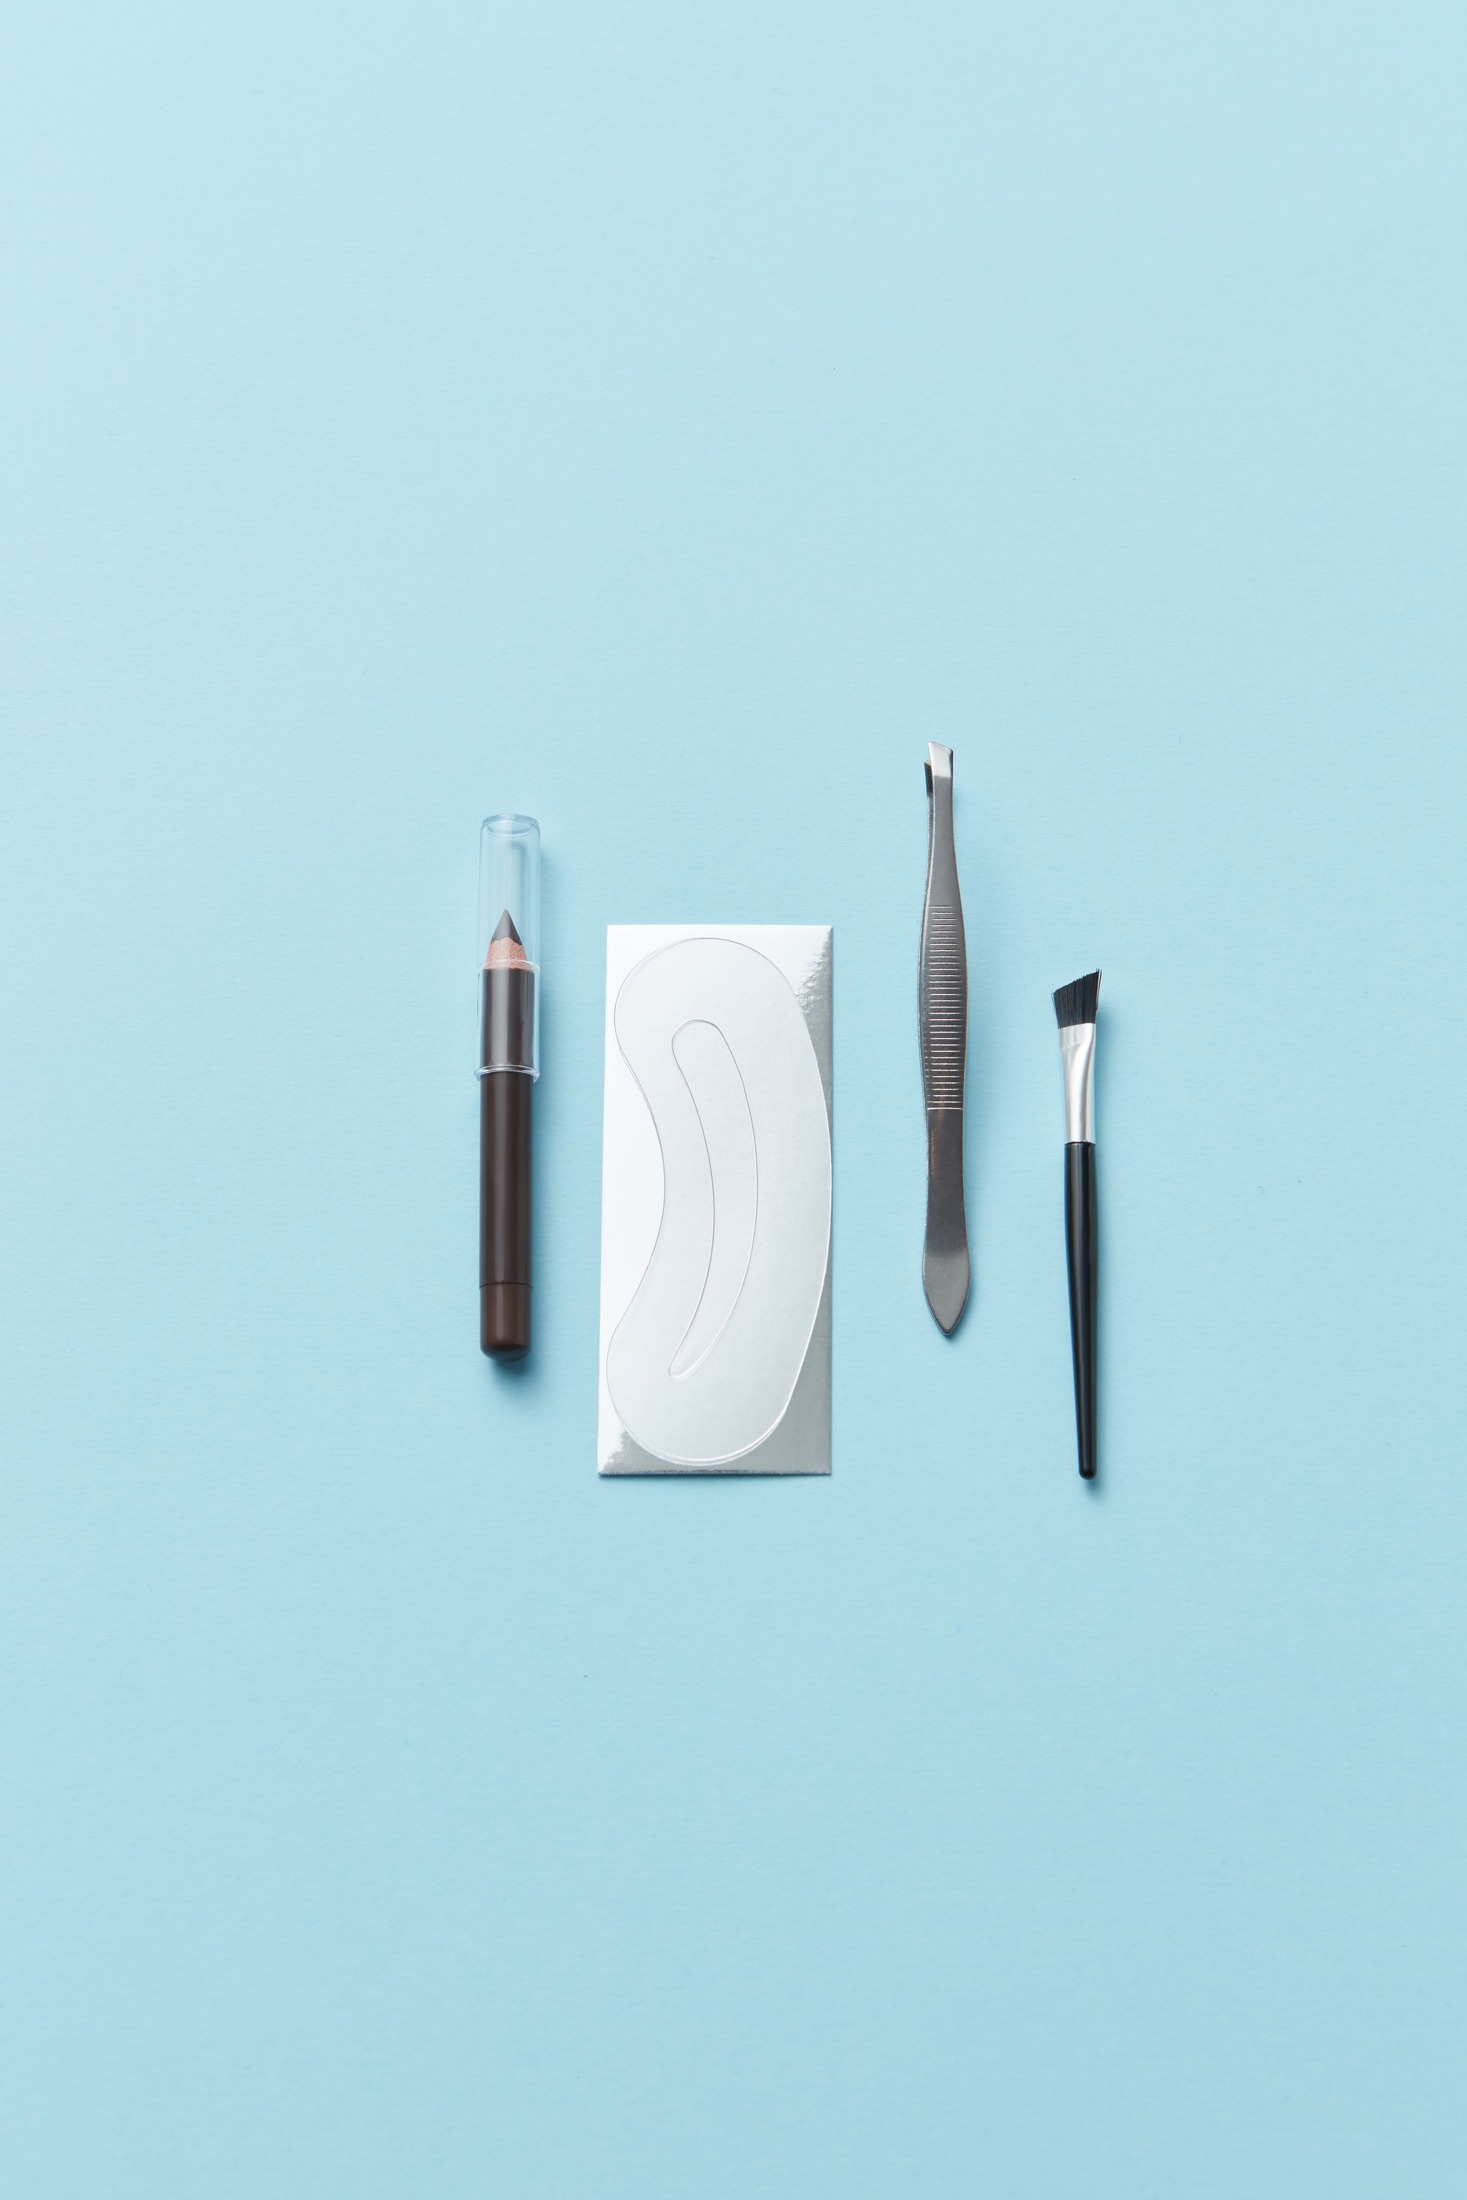
Read the brow before drawing an outline
Brush the hairs gently into the position you normally wear them. Look straight ahead and identify actual spaces between hairs rather than treating every pale area as a gap. Some parts of a brow naturally show more skin. If you fill all of that skin, the result can become much denser than the surrounding hair, even with a perfectly matched pencil.
Choose one or two priorities. Perhaps the arch has a small interruption and the tail becomes faint sooner than you prefer. Leave the front alone for the first pass. This limited plan gives you a comparison point: after filling the arch and tail, you may find that the existing front looks balanced without any extra pigment.
Match the effect, not just the hair color
Pencil pigment sits on skin between hairs, so it may look stronger than the same color seen in individual strands. Start with a shade that creates a quiet shadow rather than an obvious stripe. Deep brows do not always need the darkest available pencil; lighter brows do not always need a warm blond. Judge the mark against your own brow in natural light.
Undertone is especially noticeable when the pencil covers bare skin. A reddish brown can stand out against an otherwise cool-looking brow, while an overly gray shade may appear dusty. Make a small trial stroke in the area you intend to fill, then step back. If it announces itself before the hair does, consider a lighter pressure or a different shade.
Prepare a tip that can make individual marks
A fine point gives you options that a rounded tip does not. Sharpen a conventional pencil as directed, or expose only a small amount of a retractable tip. Too much exposed product can make the pencil harder to control. Test the point on a clean makeup palette so you know whether the first touch produces a hairlike line or a broad smear.
Hold the pencil a little farther from the tip if your hand tends to press hard. Resting your elbow can also make short strokes steadier. Neither adjustment requires artistic skill; both reduce the amount of force going into each mark. If the pencil is very soft, use an especially light touch and accept that a softer shaded effect may suit it better than crisp imitation hairs.
Fill the middle gaps in the direction of growth
Start in the sparse area rather than at the front border. Observe the neighboring hairs and follow their general direction. Near the front, hairs may point upward; through the middle, they may angle outward; toward the tail, they may lie more horizontally. Your own pattern matters more than a universal diagram of the ideal brow.
Make two or three short strokes, then pause. Leave narrow spaces between them. For example, an interruption below the arch may need only a few diagonal marks connecting the visible hairs on either side. Drawing a dark lower border across the entire brow can make that small repair look unnecessarily structured. Keep the correction as local as the original gap.
Let the front stay less defined
Once the middle looks more continuous, evaluate the front again. If it still needs support, use whatever light residue remains on the pencil tip and create a few separated upward marks. Avoid drawing a vertical wall at the inner edge. A little visible skin at the front often helps the penciled area connect naturally with the rest of the face.
If you prefer a more defined brow, build that definition gradually toward the middle rather than making the front equally dark. Think of the front as a transition, not a stamped beginning. Compare the brows with your eyes relaxed and your forehead smooth. Raised brows can disguise differences in height that become more noticeable when your face returns to its usual expression.
Extend the tail only as far as it remains convincing
A faint tail can be strengthened with a narrow line that tapers as it travels outward. Keep the extension modest at first. A long, downward tail may create an expression you did not intend, while a thick tail can look disconnected from a fine natural brow. Check its direction with your whole face in view before adding length.
If the end becomes blunt, soften it with a clean spoolie or remove a little pigment from the tip rather than drawing more around it. One brow may need less extension than the other. Aim for similar visual balance, not identical measurements. Repeatedly chasing perfect symmetry can leave both brows broader and darker than your starting goal.
Blend once, then inspect the gaps again
Run a clean spoolie lightly through the penciled sections to diffuse obvious marks. Brush in the direction you want the hairs to sit rather than scrubbing back and forth. Then check whether the original gaps remain distracting from conversational distance. If only one small interruption is still visible, add a single stroke there instead of redrawing the entire shape.
For touch-ups, repair the missing mark rather than layering pigment over every existing hair. At removal time, take off the brow makeup with the rest of your cosmetics instead of treating a penciled outline as a permanent guide. Starting fresh lets you respond to the actual position of the hairs each day. The finished result should look like your brow has a little more continuity, not like every space has been colored in.