
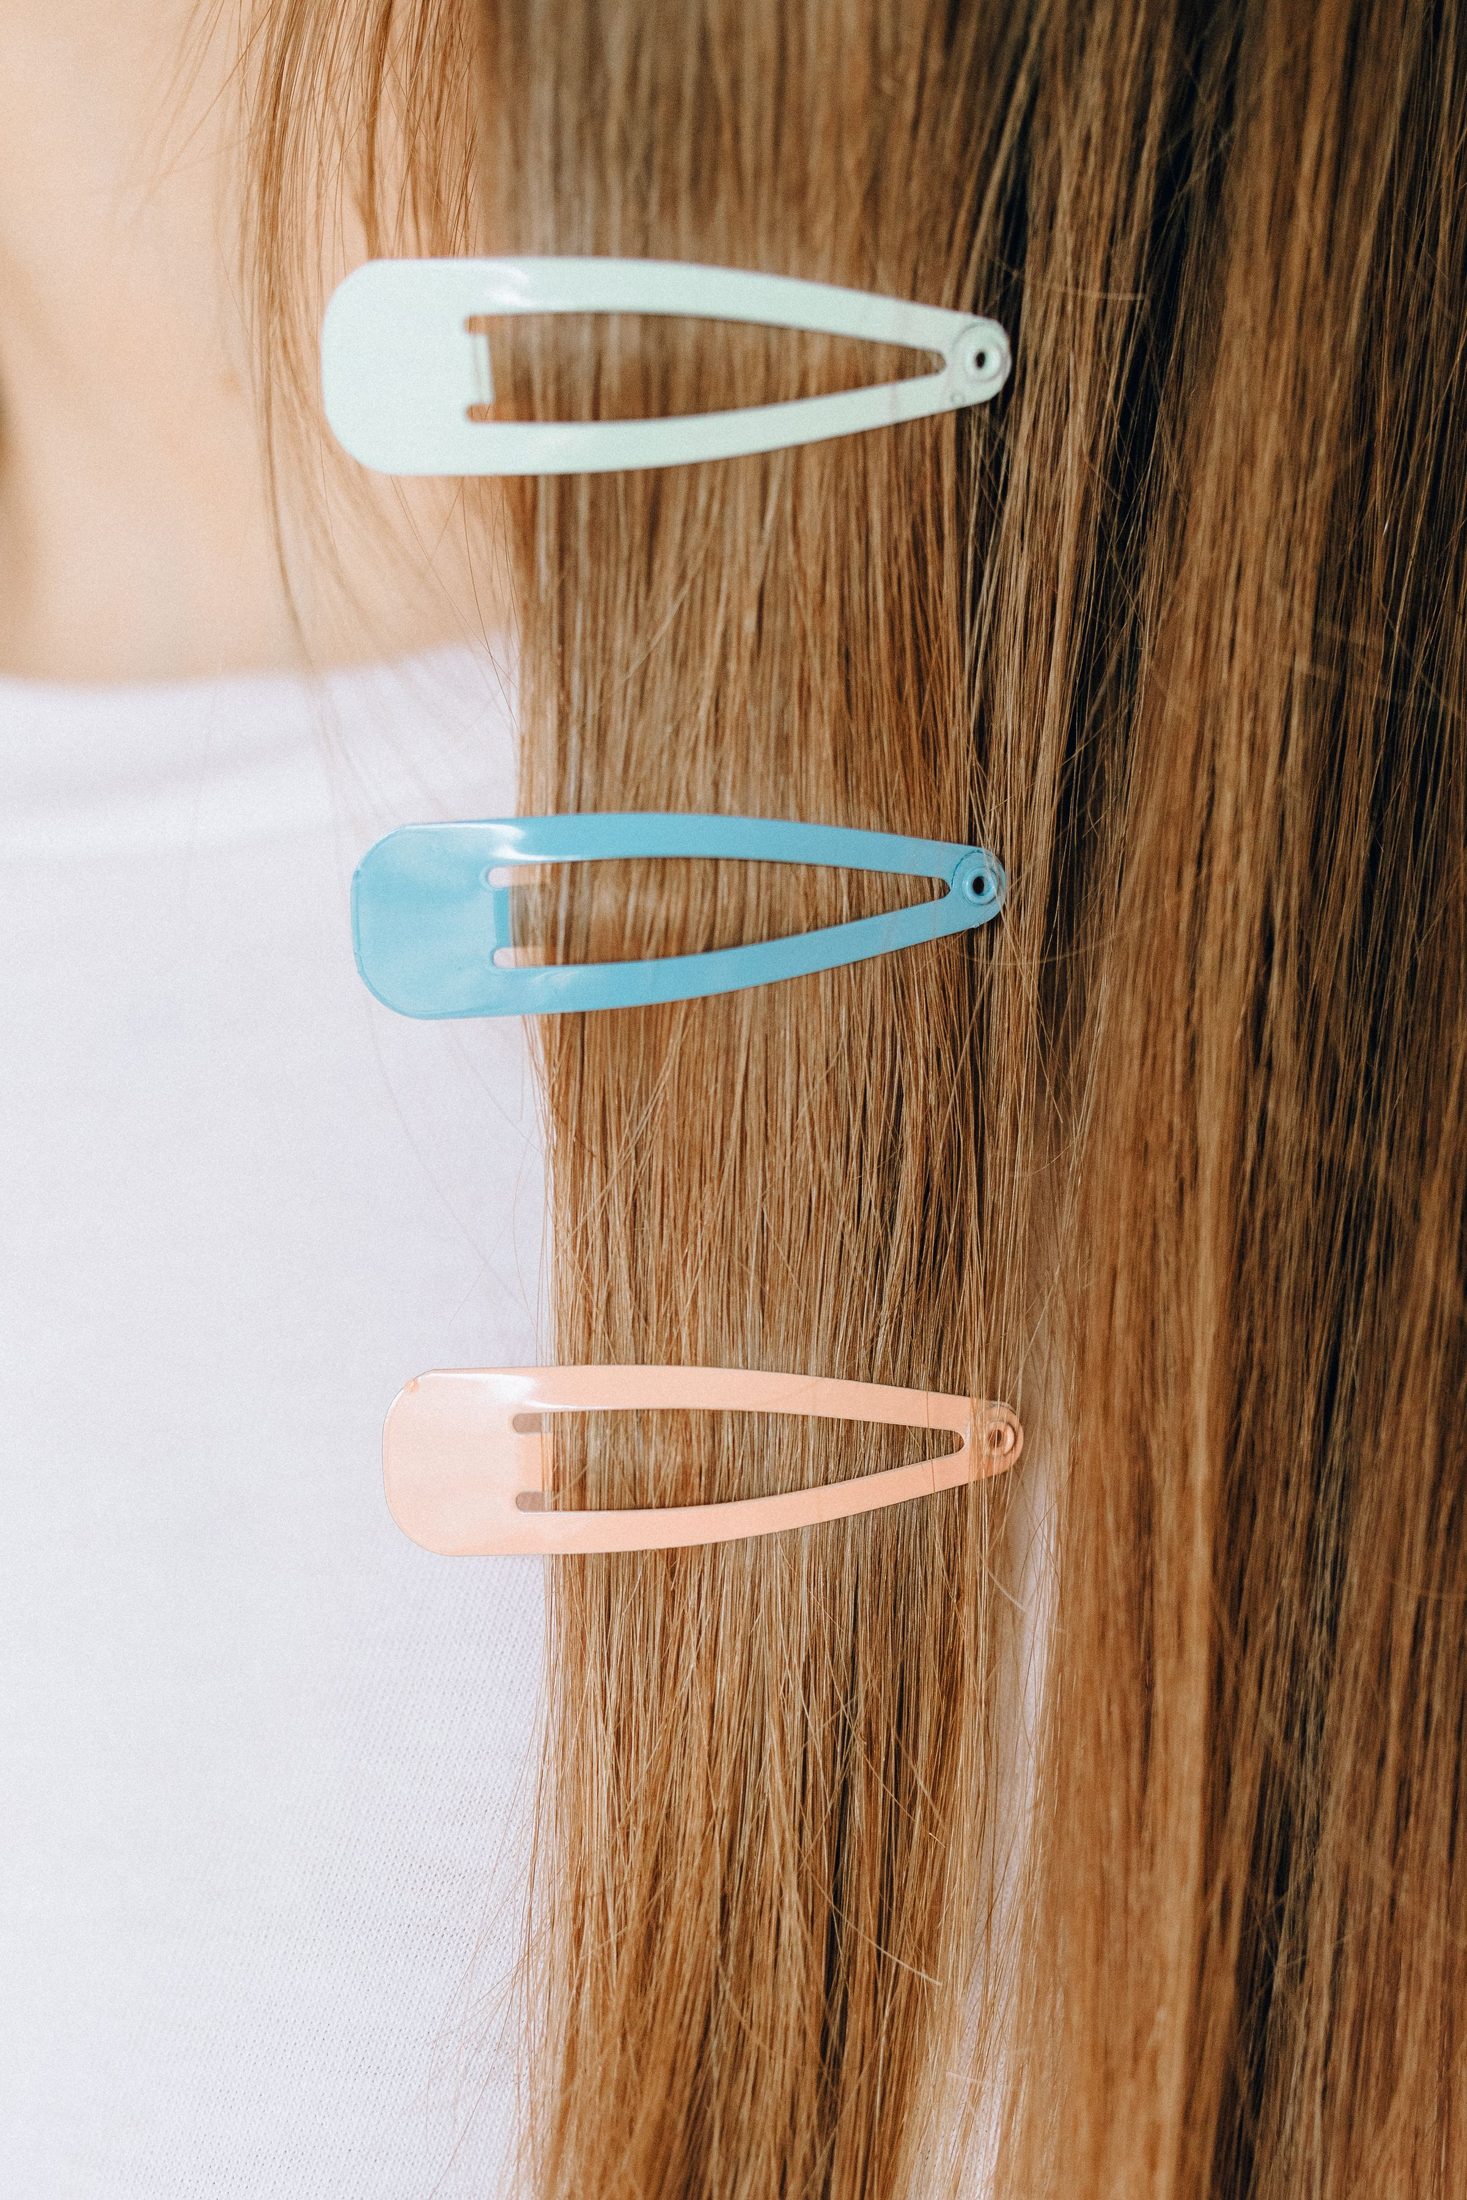
A polished hair finish does not have to involve a full restyle. Sometimes the useful change is a clearer part, one front section placed intentionally, and a simple accessory that stays where you put it. This approach works with the hair texture and length you already have. It is not about forcing every strand flat or making a specific face shape look different. Start by deciding which part of the hairstyle feels unfinished, then change only that.
Choose the shape you want from the front
Look in the mirror with your hair sitting naturally. Notice whether you prefer some forehead visible, a little height at one side, or hair softly framing both cheeks. Those preferences guide the part more usefully than a rule assigning one style to every round, square, or oval face. Your glasses, fringe, and natural growth pattern also affect what feels balanced.
For example, if hair repeatedly falls over one lens of your glasses, a small side section secured above the ear may solve the issue without changing the whole part. If the front looks aimless after air-drying, a slightly clearer line near the forehead may be enough. Name the specific visual problem before collecting several accessories to cover it.
Move the part a little before moving it dramatically
Use a comb or your fingers to try a slight shift to one side. Start near the front and let the rest of the hair fall where it wants before extending the line farther back. A small adjustment may change the balance more than expected. You do not need a ruler-straight part reaching all the way to the crown.
If the hair resists the new direction, do not keep dragging a comb through it. You may prefer a softer, less defined part that follows the existing pattern. On curls or coils, separating a few sections gently with your fingers can preserve the intended shape better than repeatedly combing through the finished style. Choose definition that suits the way you wear your texture.
Decide between a clear line and a soft separation
A clear part can make a smooth style feel deliberate, while a soft separation can look more relaxed and work well with volume. Neither is inherently more polished. Compare the whole silhouette rather than inspecting only the scalp line. A perfectly straight part may not be your best choice if it leaves one side looking much flatter than you enjoy.
Try taking a quick front-view photo for your own reference, then look back at the mirror. The camera can help you notice whether a section is obscuring an eye or whether an accessory sits farther forward than intended. It should not become a demand for perfect symmetry. Hair moves, and a slightly irregular part can still look thoughtfully arranged.
Choose an accessory that fits the section
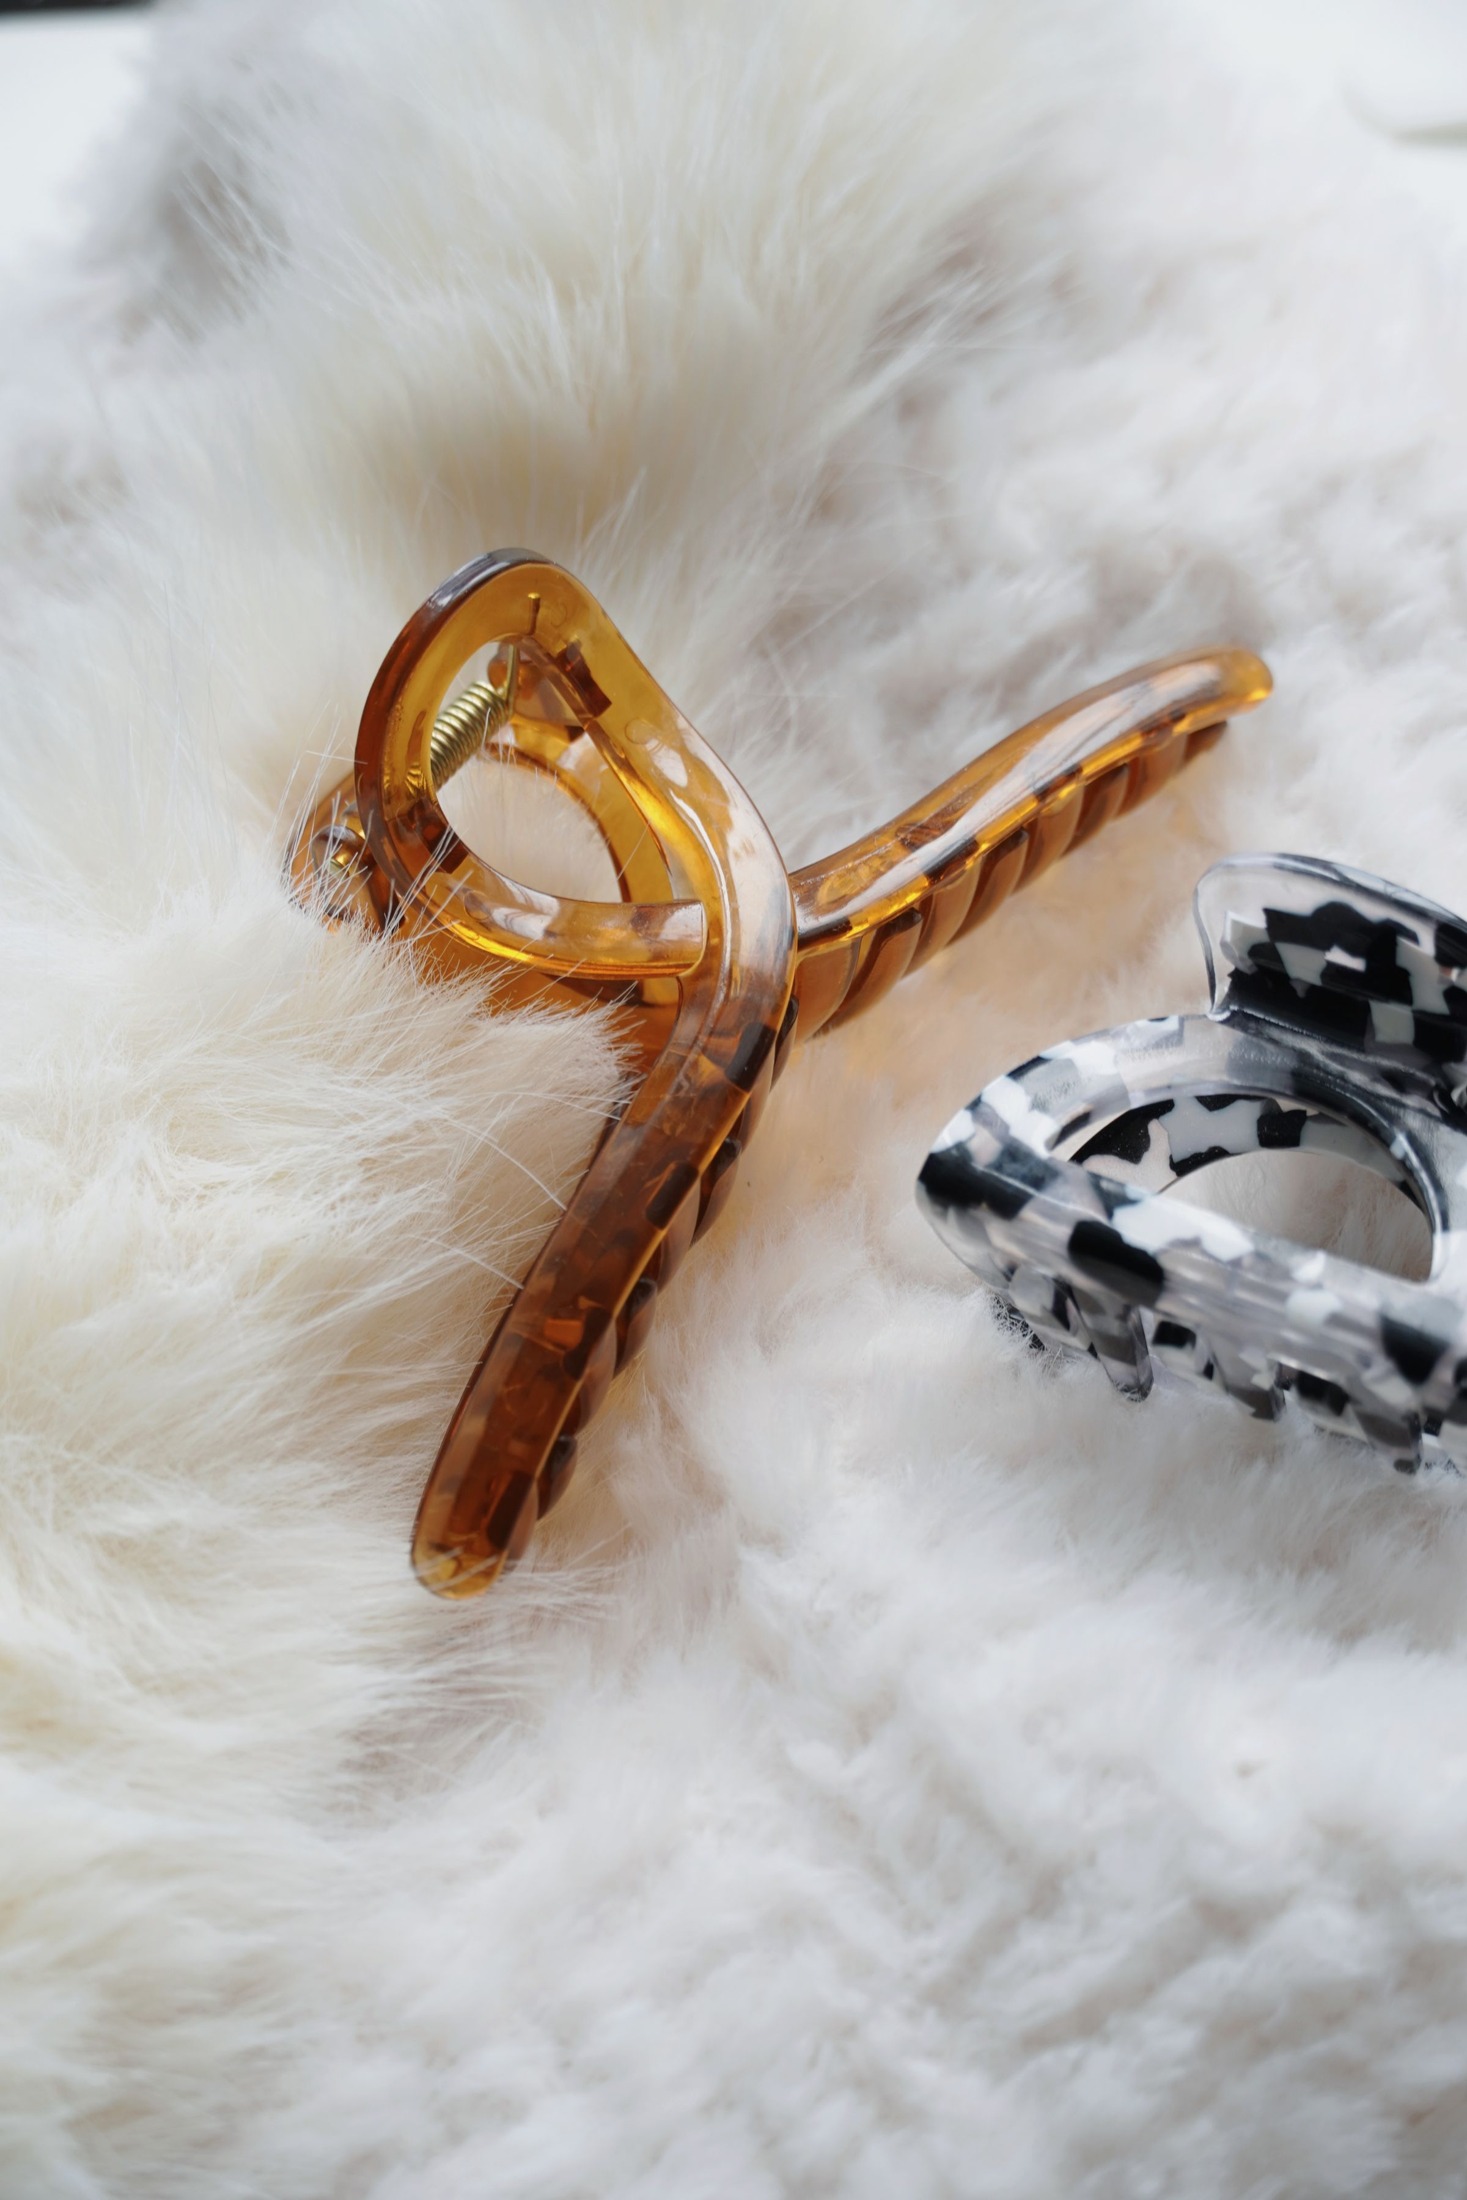
A small barrette suits a modest side section; a larger claw clip needs enough hair to hold without being forced closed. A headband can define the front without requiring a separate fastening point. Compare the accessory’s shape with the amount and texture of hair you want it to hold. Decorative size and actual holding capacity are not always the same.
Inspect the closure and teeth before use. Avoid an accessory with obvious rough or broken parts that catch as you open and close it. You do not need to match every accessory to your jewelry. One simple material or finish can be enough, particularly when the goal is a tidy everyday hairstyle rather than a decorative focal point.
Place the clip, then check the side view
Gather only the section you want to move. Set the accessory slightly behind the front edge so it looks integrated into the hair rather than perched at the hairline. Open and close it carefully according to its design. If you have to twist the section tightly just to make the accessory stay, try a different section size or a better-fitting clip.
Look at the side view with a second mirror if available. A barrette that appears subtle from the front may create an unexpected bump at the side. Adjust the section once, then check again. With a headband, make sure the front shape still has the softness or height you wanted instead of pushing everything back automatically.
Keep the hold comfortable rather than tight
A polished finish does not require tension. The AAD’s guidance on hairstyles that pull advises avoiding tight styles and identifies pain as a warning sign. If an accessory pinches, pulls, or leaves the style uncomfortable, remove or reposition it. Do not treat discomfort as the price of making hair look controlled.
For an everyday example, a side clip can hold the front section with a little softness at the root rather than pulling it flat against the scalp. A headband can sit comfortably without being forced backward to create maximum tension. Choose the least restrictive arrangement that achieves your cosmetic goal. If the accessory cannot do that, it is not the right tool for this style.
Finish the silhouette, not every individual hair
Take one final look from the front and both sides. Adjust only the strands that interrupt the shape you chose. If you use a styling product, follow its directions and begin with a small amount. You do not need to coat the entire head just to settle one front section. Natural texture and a few loose strands can remain part of a polished result.
Move your head and check that the accessory stays comfortable. If the section immediately falls out, change the clip or the amount of hair rather than repeatedly fastening it tighter. Remember the combination that worked: perhaps a soft off-center part and one small barrette, or a loose center separation with a plain headband. A repeatable, comfortable detail can make the hairstyle feel complete without turning it into a different hairstyle altogether.