
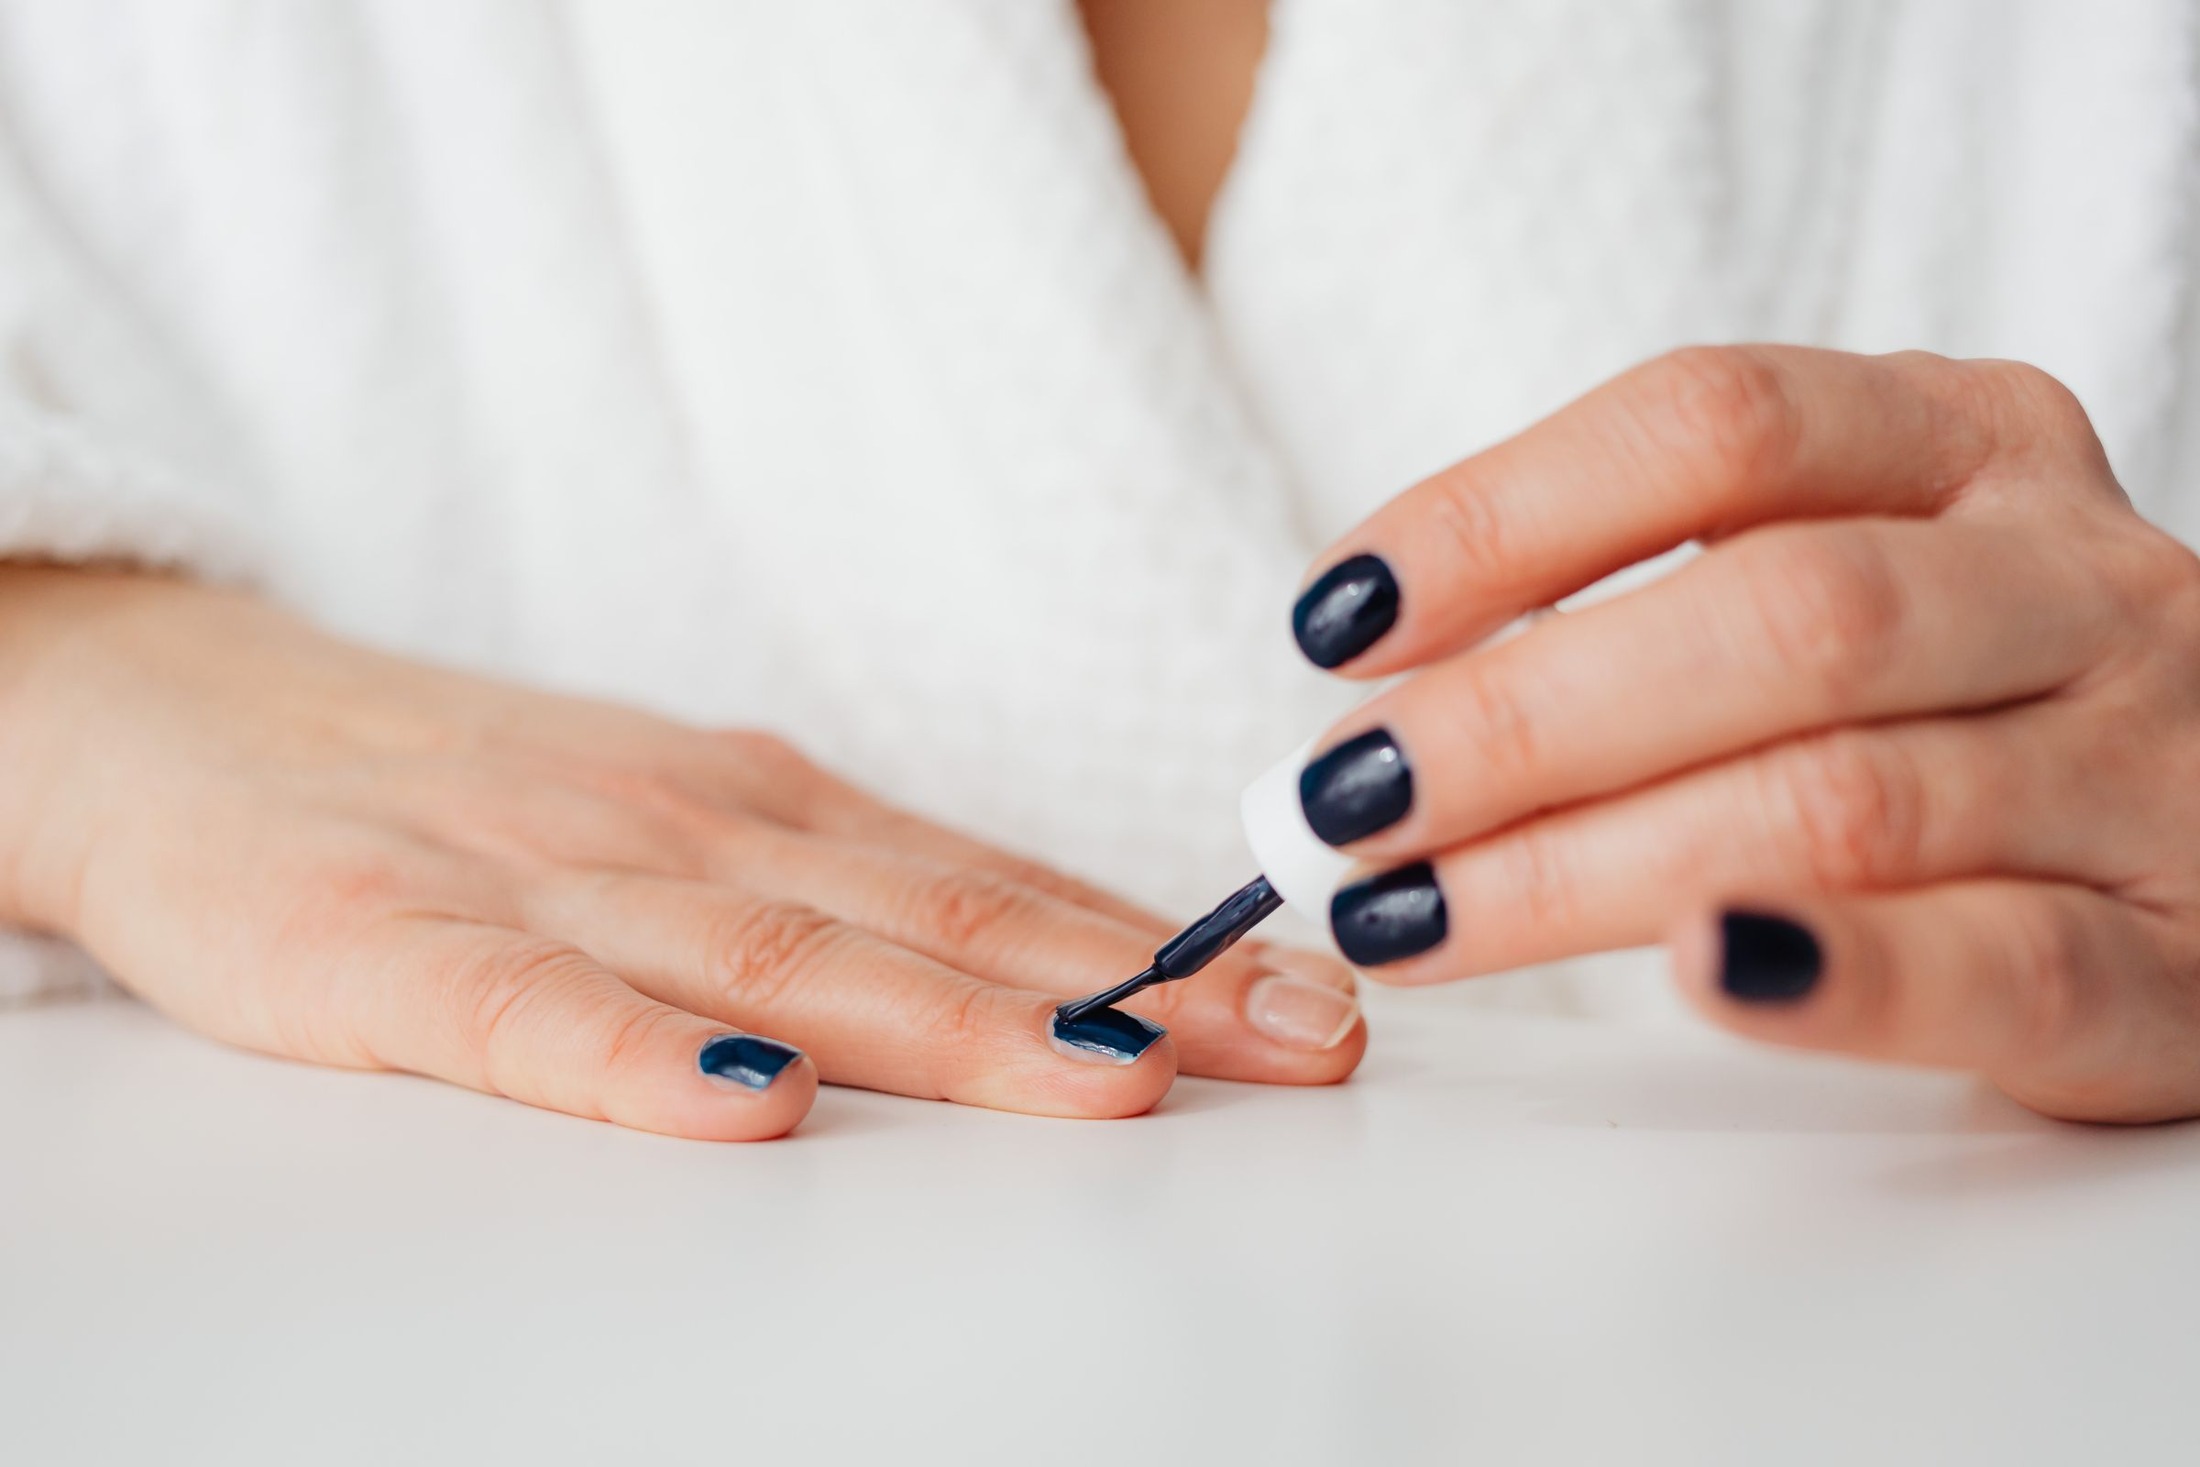
A tidy manicure is often easier when the first coat is allowed to look slightly sheer. Trying to achieve full opacity in one pass can leave a thick ridge near the cuticle and excess color along the sides. With ordinary air-drying nail polish, a few controlled strokes and a narrow clear margin offer more control. This guide concerns regular polish, not gel systems, curing lamps, extensions, or techniques that require a different set of product instructions.
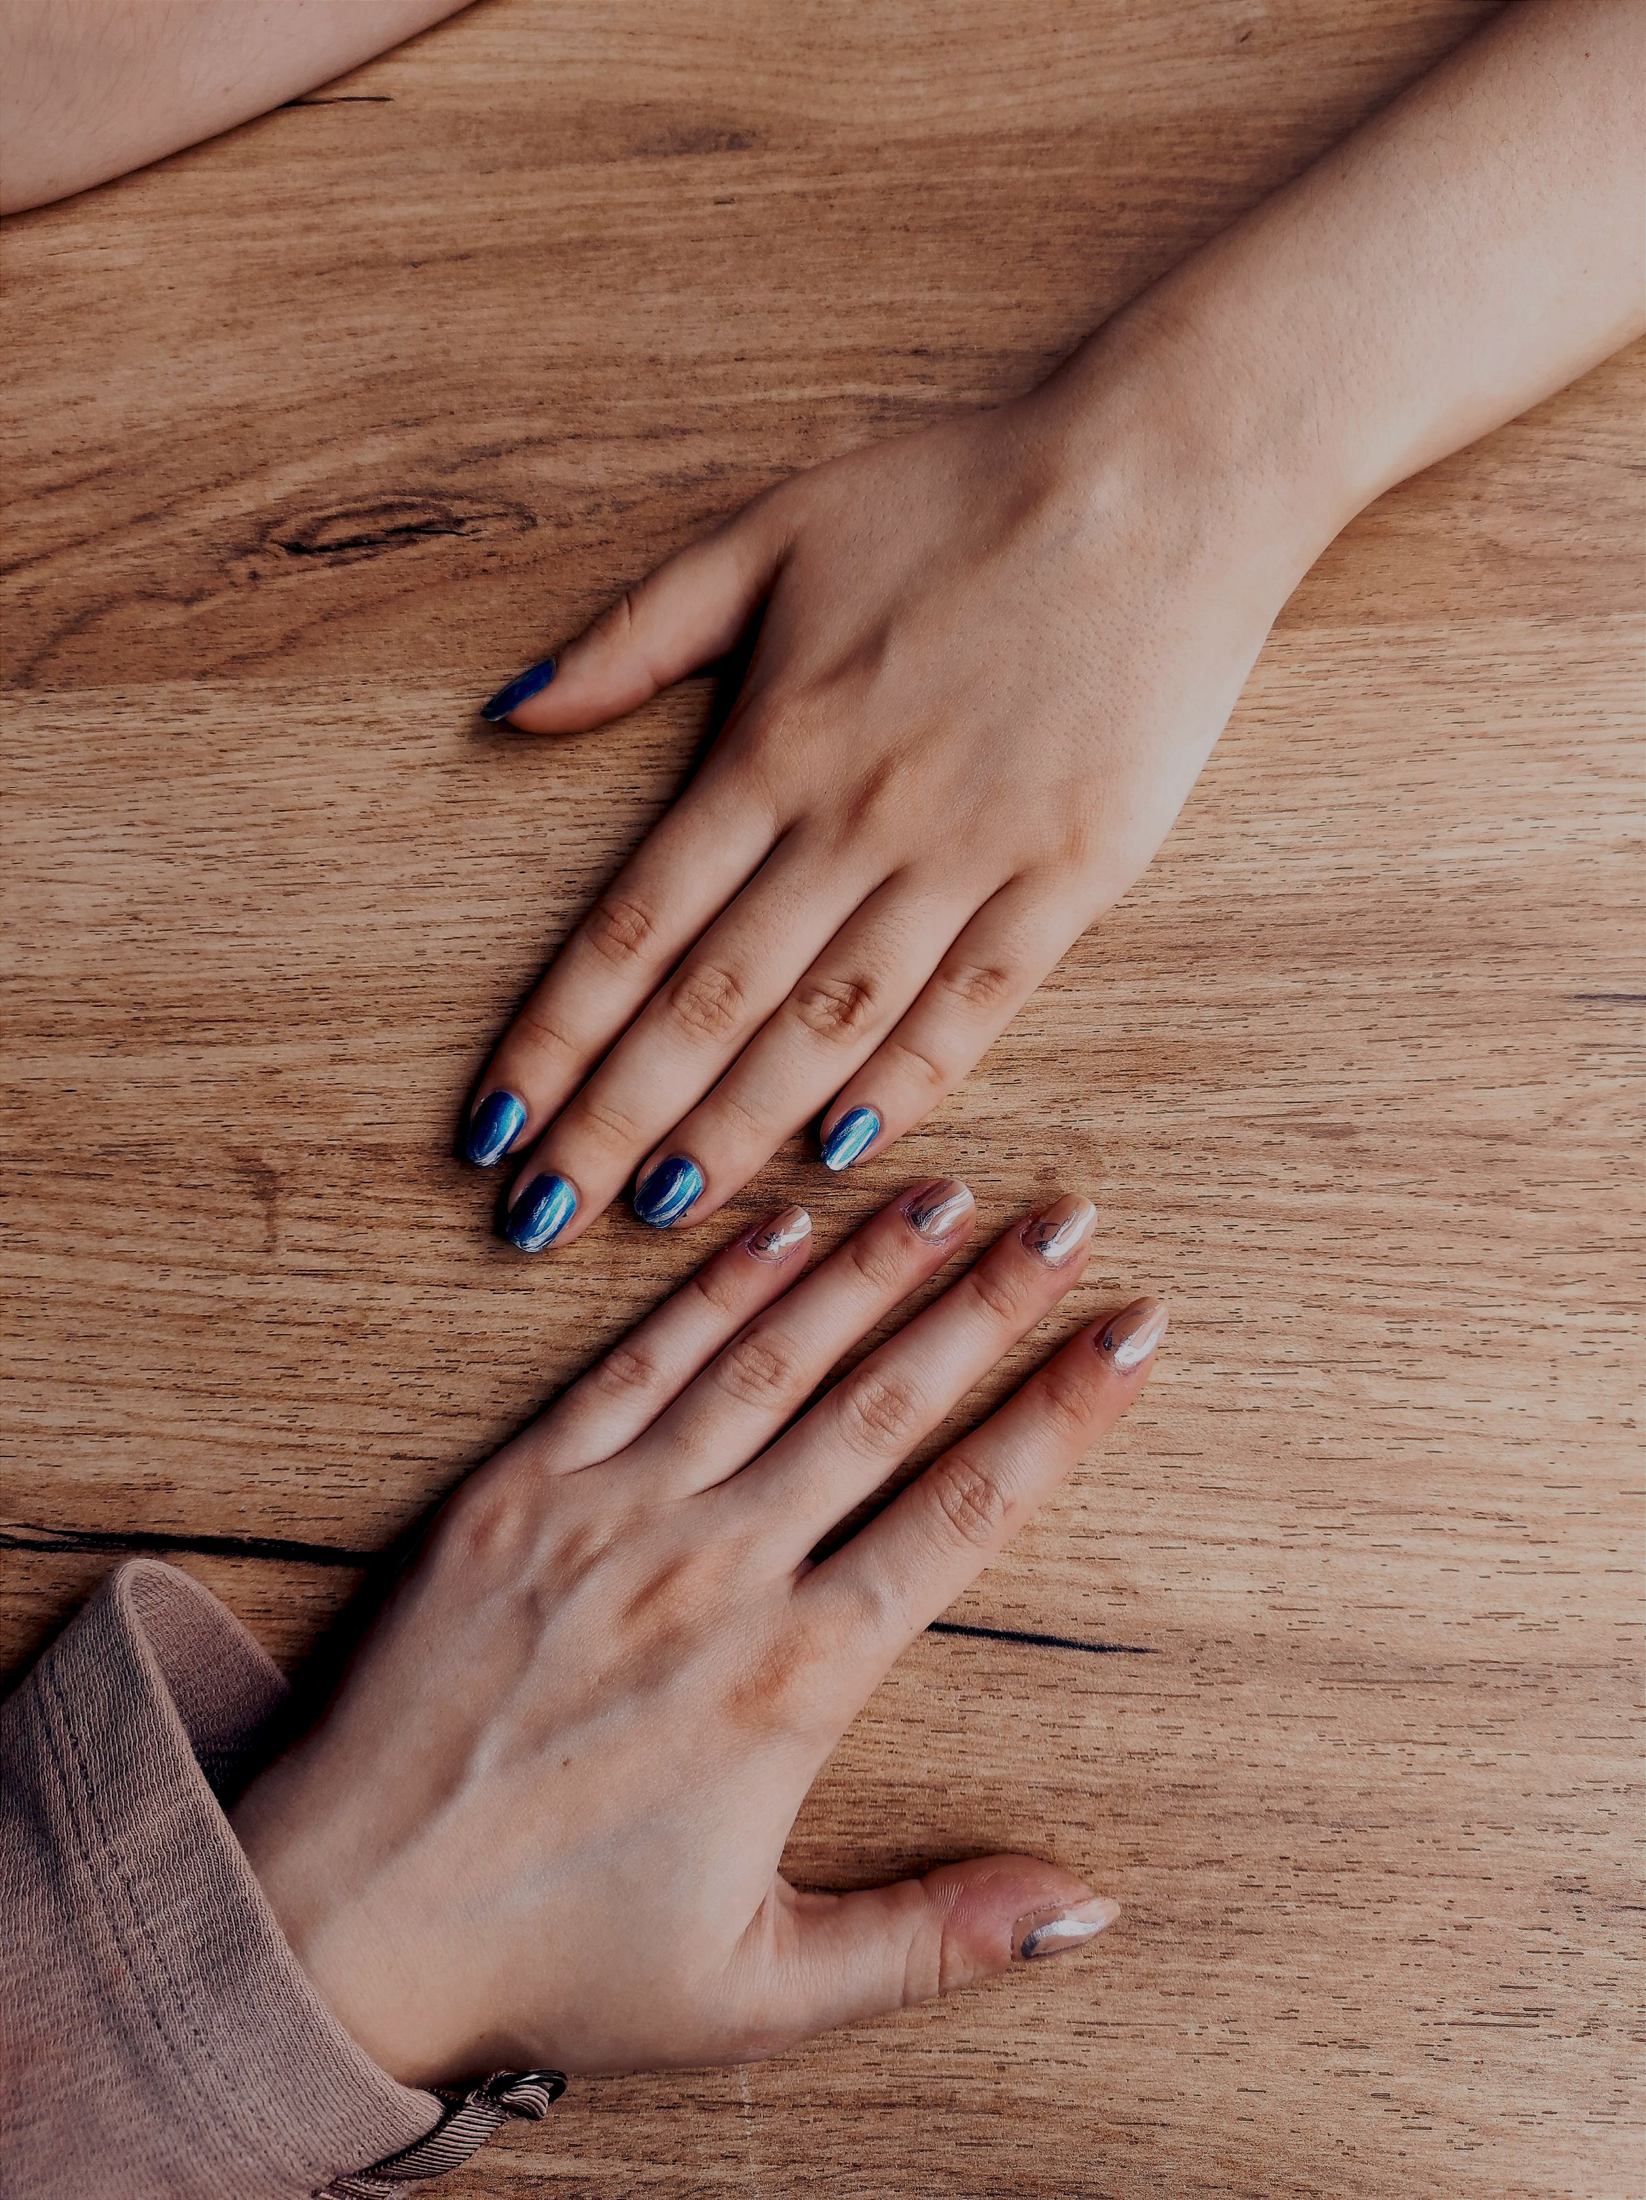
Prepare the shape before opening the color
Remove old polish according to the remover’s directions, and shape the free edges before beginning your new application. Choose a length you can paint comfortably rather than a shape that requires awkward stretching. Keep the nails clean and dry for polish, following the product’s preparation instructions. Any cream or oil used earlier should not leave a slippery layer on the nail plate.
Leave cuticles intact. The AAD’s manicure guidance advises against cutting or forcefully pushing them back. A neat painted edge does not require removing that skin. Work within the visible nail surface instead of treating a larger exposed area as the goal. This keeps the cosmetic task focused on polish placement rather than aggressive preparation.
Set up a position that steadies both hands
Rest the hand being painted on a stable surface with the fingers comfortably separated. Support the painting hand too if possible. A brush is easier to control when neither hand is hovering. Arrange the bottle where you can reach it without crossing over wet nails, and keep the remover closed until you actually need it.
Use nail products in accordance with their labels, including ventilation and any flammability precautions. Have a small cleanup brush or other appropriate tool ready before painting. Starting with the hand that is harder for you to paint can be useful because your attention is fresh. There is no need to rush through all ten nails simply because the bottle is open.
Load the brush for the size of the nail
Lift the polish brush and wipe surplus from one side against the bottle opening, as appropriate for its design. You want enough product to travel smoothly, not a large drop waiting to flood the nail. A little finger needs less polish than a thumbnail. Adjust the load instead of trying to make one identical brushful work everywhere.
If a bead forms at the tip, reduce it before approaching the cuticle. Hold the brush over the bottle while you assess the amount rather than letting the excess land on the nail first. The exact brush shape varies, so learn how yours fans under light pressure. It should spread usefully without being pressed flat against the skin.
Make the first coat narrow and controlled
If your regular-polish system calls for a base coat, apply it before the first color coat and let it reach the stage specified in its directions. Then begin the first color coat. Place the brush a small distance above the cuticle, then gently guide it close enough to leave a narrow clear margin. Draw the polish toward the free edge. Add a stroke down each side if needed, keeping those strokes inside the nail boundary. The goal is a deliberate shape, not a coat that touches every possible edge.
Leave a slight gap along the sidewalls too. For example, on a short rounded nail, three controlled strokes may make a cleaner outline than repeated attempts to push color into the corners. Do not keep brushing a section once it begins becoming tacky. The first coat may look translucent or mildly streaky; that alone is not a reason to keep loading it.
Let the next coat supply coverage
Follow the polish instructions for timing between coats. Apply the second coat in the same general footprint as the first rather than widening the outline to cover every tiny inconsistency. This preserves the neat margin you established. If the formula needs another thin coat for your preferred opacity, assess that only after the previous coat has reached the directed stage.
A pale or sheer polish may never look like an opaque cream, and it does not have to. Decide whether you want a translucent finish before adding endless coats. More product changes the appearance and drying demands. If the desired opacity requires an unexpectedly heavy buildup, a different regular-polish formula may suit that particular look better at your next manicure.
Clean the border locally
For a small side mark, use a suitable cleanup tool with a controlled amount of remover, following the remover’s label. Keep it on the unwanted polish rather than sweeping broadly over the entire fingertip. Wipe the tool between passes so you do not drag dissolved color onto a clean area. Precision matters more than repeated scrubbing.
If a whole nail has flooded at the cuticle, removing that nail’s polish and starting again may be neater than trying to carve a perfect outline through a thick wet layer. You do not have to sacrifice the other nine nails. Treat each nail as its own small application, and avoid adding another coat simply to hide a misplaced first one.
Finish patiently and judge the actual result
Apply top coat according to the directions for the product you use. Keep each layer controlled, including the top coat, so it does not pool around the border. Allow the full directed drying time and remember that a surface that seems touch-dry may still mark under pressure. Arrange the manicure for a moment when you can leave the finish alone.
Check the nails in ordinary light from the distance you normally see your hands. A consistent shape and tidy margins usually matter more than a microscopic irregularity on one side. After removal, the AAD recommends moisturizing the nails. For the painted result itself, keep the repeatable lesson simple: smaller brush loads, thin coats, a little clear space, and local correction produce a more controlled finish than one heavy attempt at instant coverage.