
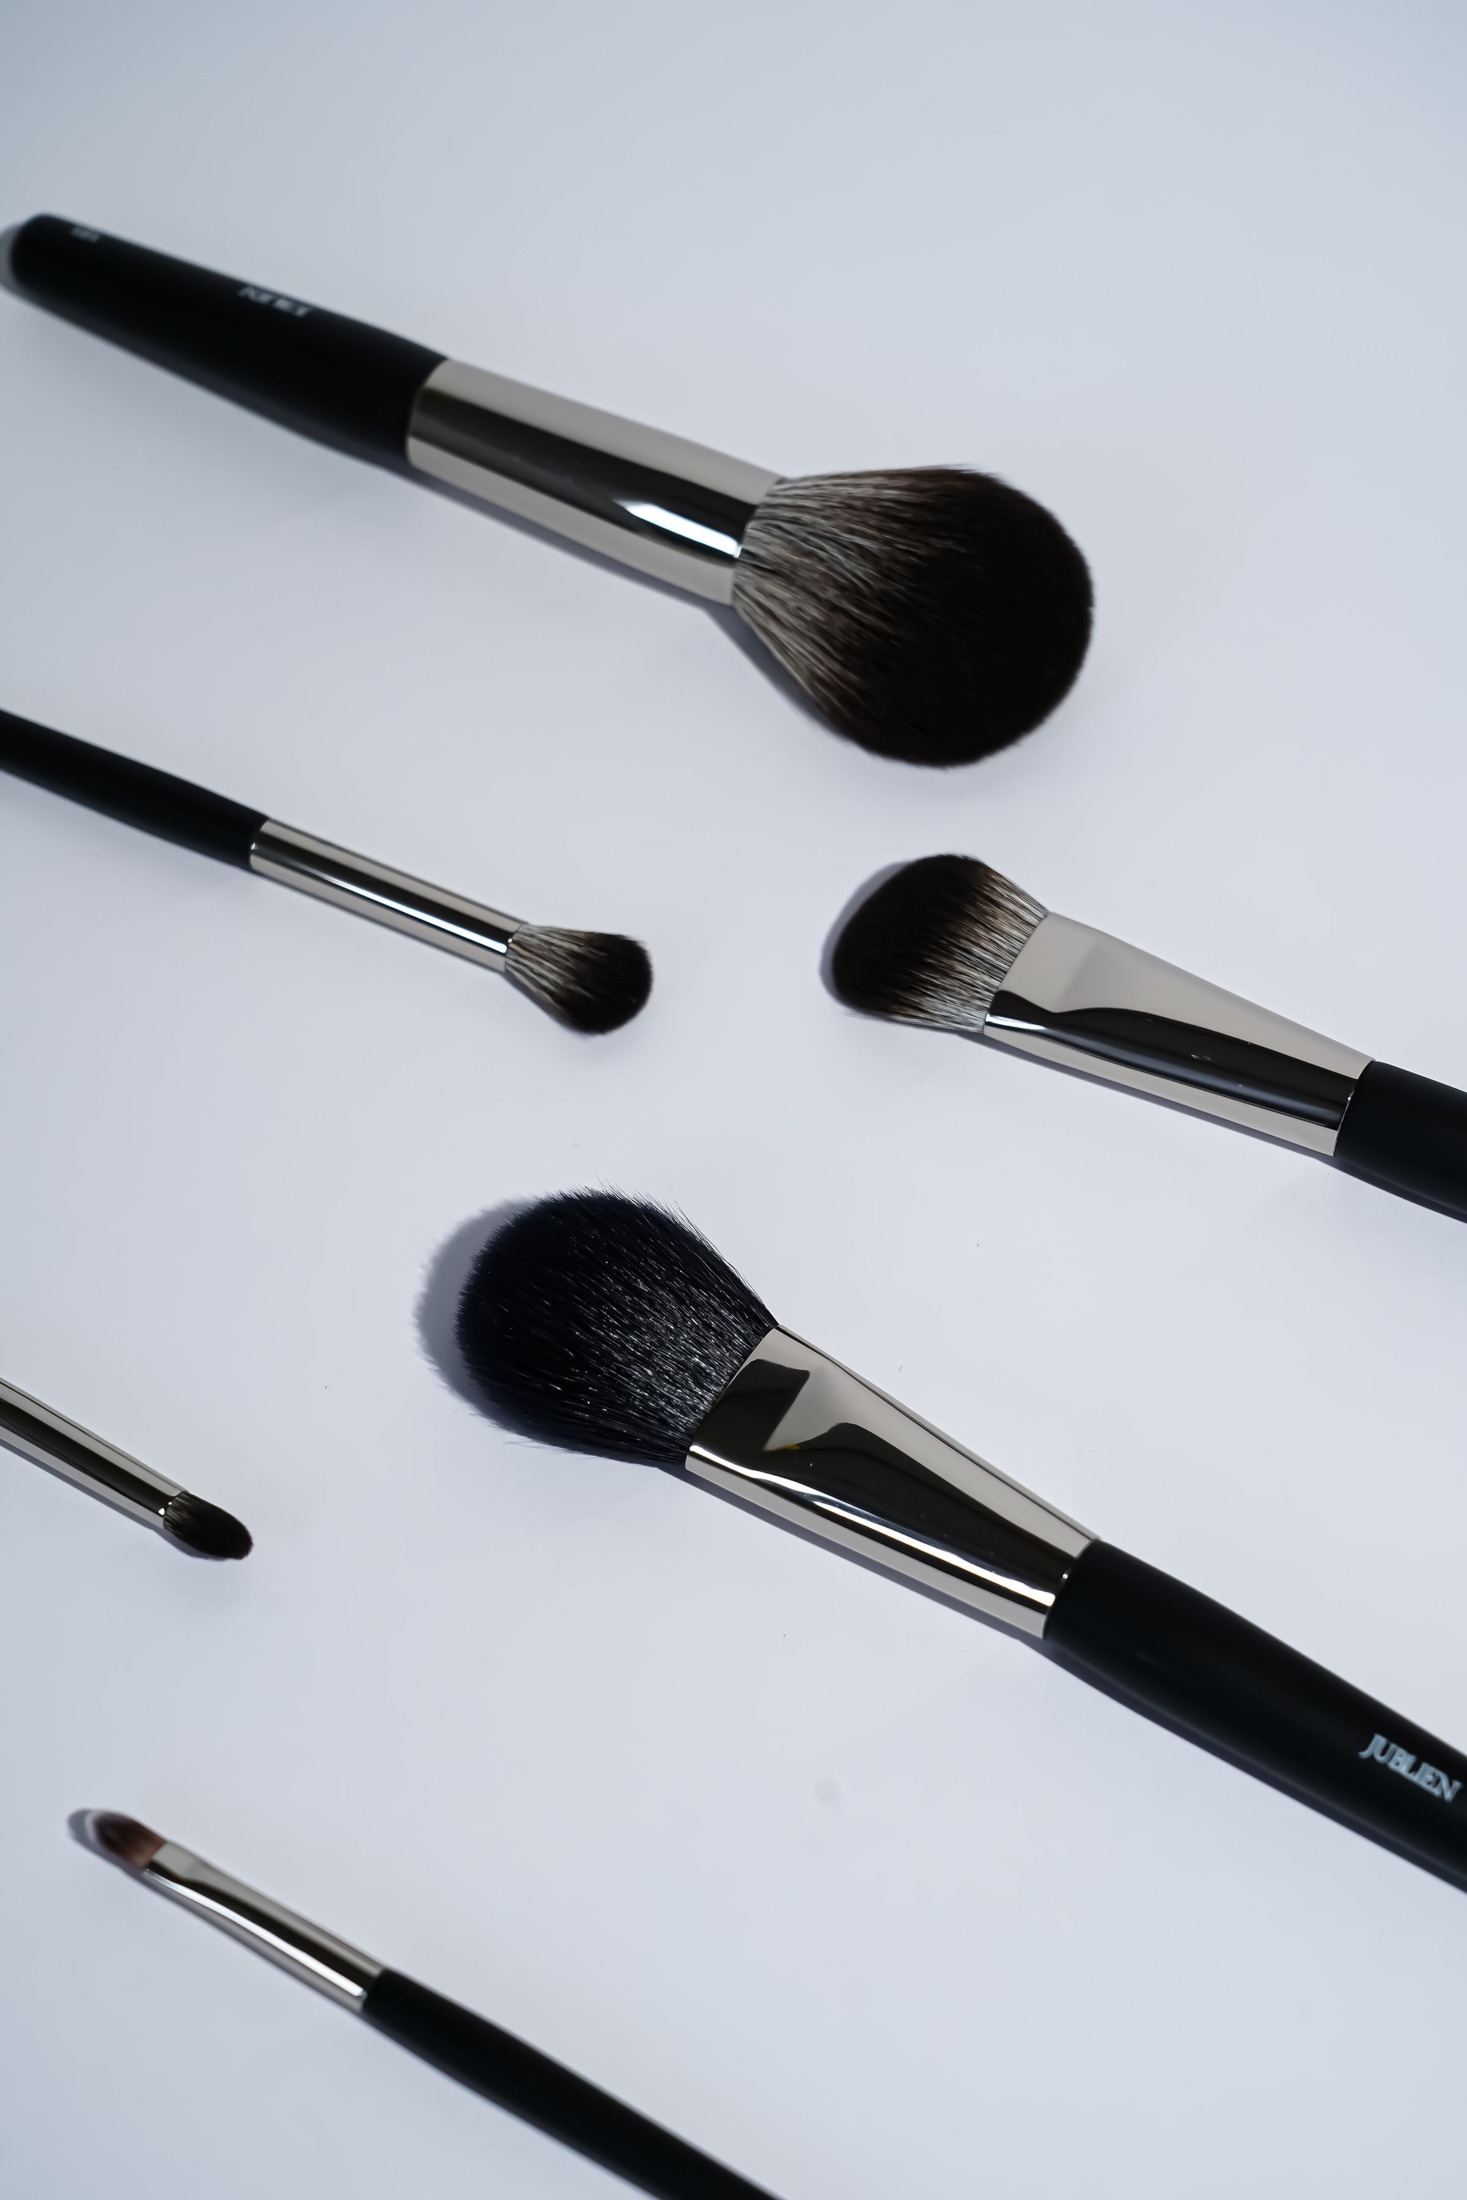
A makeup brush can look fairly tidy while still holding yesterday’s cream foundation deep between its bristles. Washing is a separate task from wiping visible color off the outside. The useful goal is a brush that rinses clean, dries fully, and keeps the shape you need for application. Give drying as much attention as washing: putting a damp, tightly packed brush back into a cup defeats the practical purpose of preparing it for the next use.
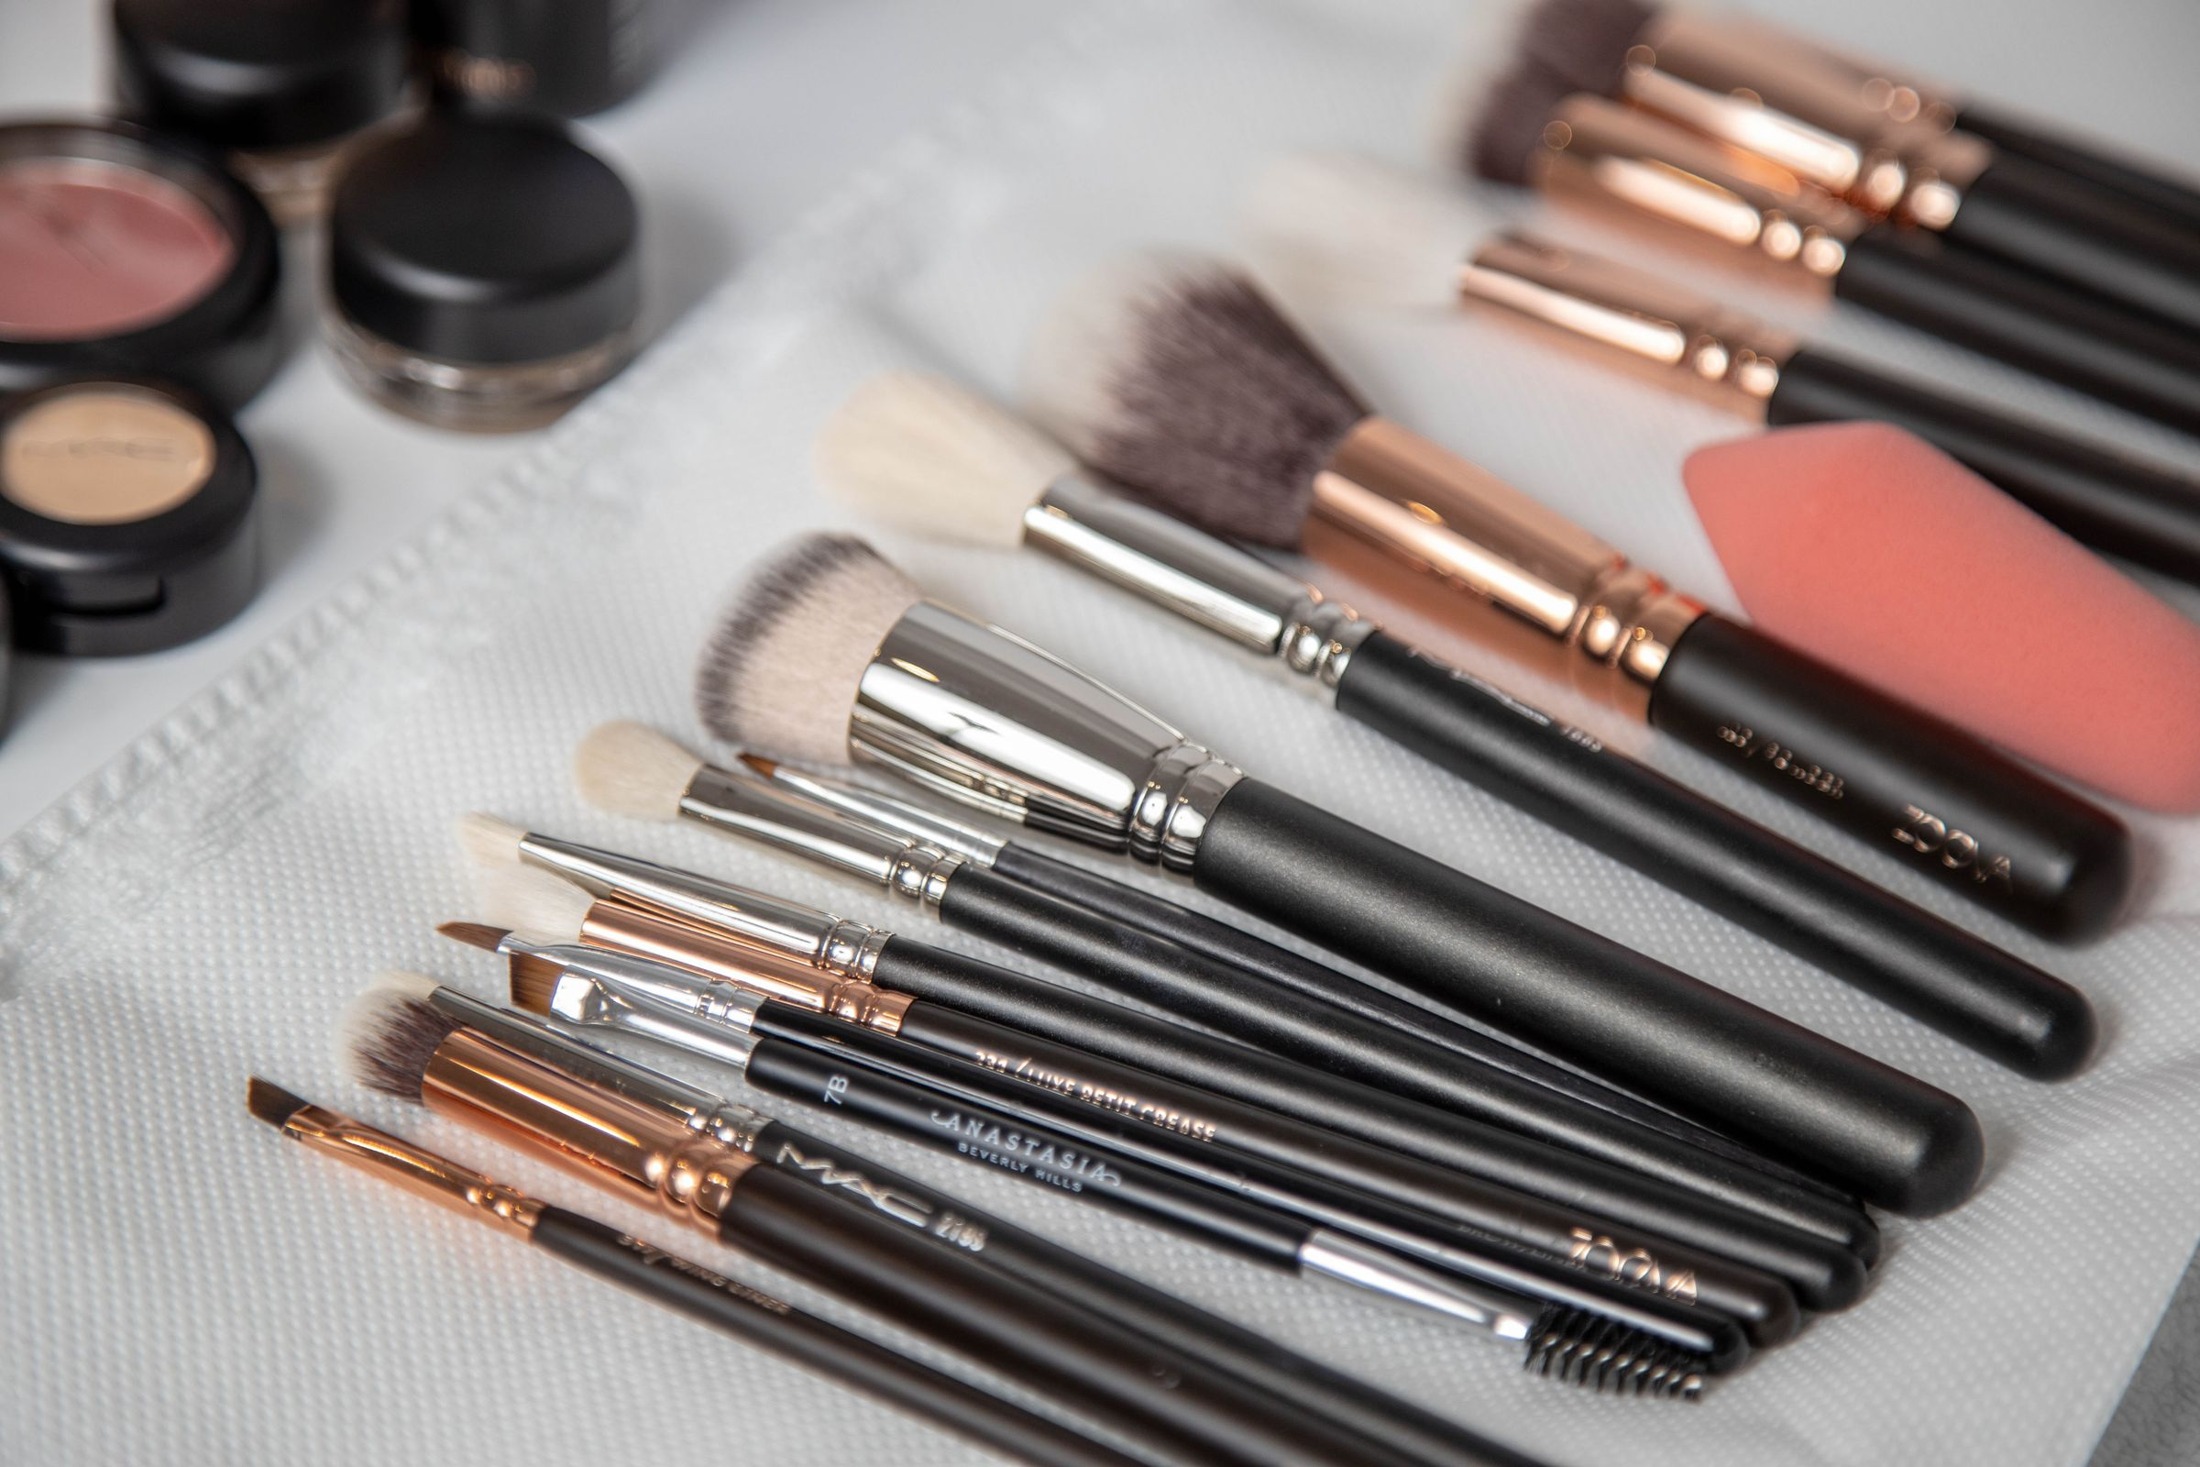
Make a washing group you can finish
Gather the brushes you actually use and separate them by the products they carry. A dense foundation brush, a small concealer brush, and a fluffy powder brush may need different amounts of attention. The AAD recommends washing makeup brushes every seven to ten days. Do not share your brushes, and follow any specific care directions supplied with unusual handles or brush materials.
Choose a time when the brushes will not be needed immediately afterward. Lay out a clean towel and leave room for each head to rest separately. If you own only one complexion brush, washing it after the day’s application is more practical than starting just before you need it. A small completed group is preferable to a sink full of partially washed tools.
Look for the buildup that changes application
Examine the brush before wetting it. Bristles that cling together in stiff little bundles can make a cream product apply in streaks. A powder brush with a heavy colored rim may deposit more pigment than expected on its first touch. Notice these patterns so you can recognize whether the washing has restored the brush’s usual flexibility and shape.
Compare the center with the outside. A brush may appear pale at the tips while holding a darker band farther down. You do not need to pry the bristles apart aggressively to inspect it. Gently fan the head and observe where product is concentrated. This also helps you distinguish residual pigment staining from a visibly thick coating of old makeup.
Keep the water on the working end
Rinse the bristle tips with lukewarm running water, keeping the handle and the joint out of the flow. The AAD cautions against submerging the entire head because that can loosen the glue holding it together. Keep your grip steady and work with a modest flow rather than blasting the brush into a new shape.
For the washing solution, the AAD describes lukewarm water with gentle or clarifying shampoo. Use the manufacturer’s directions if your brush has special requirements. Work on one brush at a time so you can keep track of which has been rinsed and which still contains cleanser. There is no need to leave every brush soaking while you move through the group.
Work through the product, then rinse patiently
Swirl the tips gently in the washing solution and lightly massage the bristles in your palm. Rinse and repeat until the water runs clear, as the AAD advises. Let the cleanser and repeated rinsing do the work instead of grinding the head against a rough surface. Dense brushes may require another gentle washing pass.
Use sight and feel together. A cream brush should no longer have an obvious slick pocket in its center, and rinse water should not keep releasing visible makeup. If a brush retains a slight tint after thorough washing, do not keep scrubbing indefinitely just to make every fiber its original color. Focus on removing product rather than achieving an unrealistic appearance of brand-new bristles.
Reshape before setting the brushes down
Squeeze out excess water gently with a clean towel or paper towel. Avoid wringing the bristles like a cloth. Guide the head back toward its normal shape with your fingers: a rounded powder brush should remain rounded, and a flat shader should not dry with a twisted corner. The shape it holds while drying affects how conveniently it works afterward.
For example, a small angled brow brush needs a neat, narrow edge. If it is left splayed open, its next pencillike stroke may become a broad smudge. Take a moment to align that edge before drying. Do the same with a fine concealer brush, especially if its tip tends to separate into several points after washing.
Dry flat with space around every head
Lay the brushes flat on a clean towel with the bristle tips extending beyond the counter edge. The AAD specifically recommends this arrangement rather than drying upright, which lets water run toward the glued joint. Place the brushes securely enough that they will not roll off. Leave room between heads instead of stacking wet bristles against one another.
Allow enough time for the densest brush, not just the smallest one. A fluffy outer surface can feel ready while the center still feels damp. Gently check near the base of the bristles before storing or using the brush. Do not assign a universal overnight deadline; head size, density, and drying conditions differ. Full dryness matters more than the clock.
Return only ready brushes to the makeup area
Once dry, compare the brush with the problem you noticed before washing. The foundation brush should separate product more evenly through its head; the powder brush should feel loose rather than stiffly coated. Check the handle and joint too. Persistent wobbling, substantial shedding, or a badly distorted edge may make the tool difficult to use accurately even after a good wash.
Store dry brushes where their heads will not be crushed under palettes or coated in loose powder. Keep used tools distinct from freshly washed ones if you are not returning everything at once. Before the next application, a quick glance at the bristles is enough to confirm you have the right tool in usable condition. The payoff is practical: predictable pickup, cleaner-looking blending, and no last-minute discovery of a damp brush.