
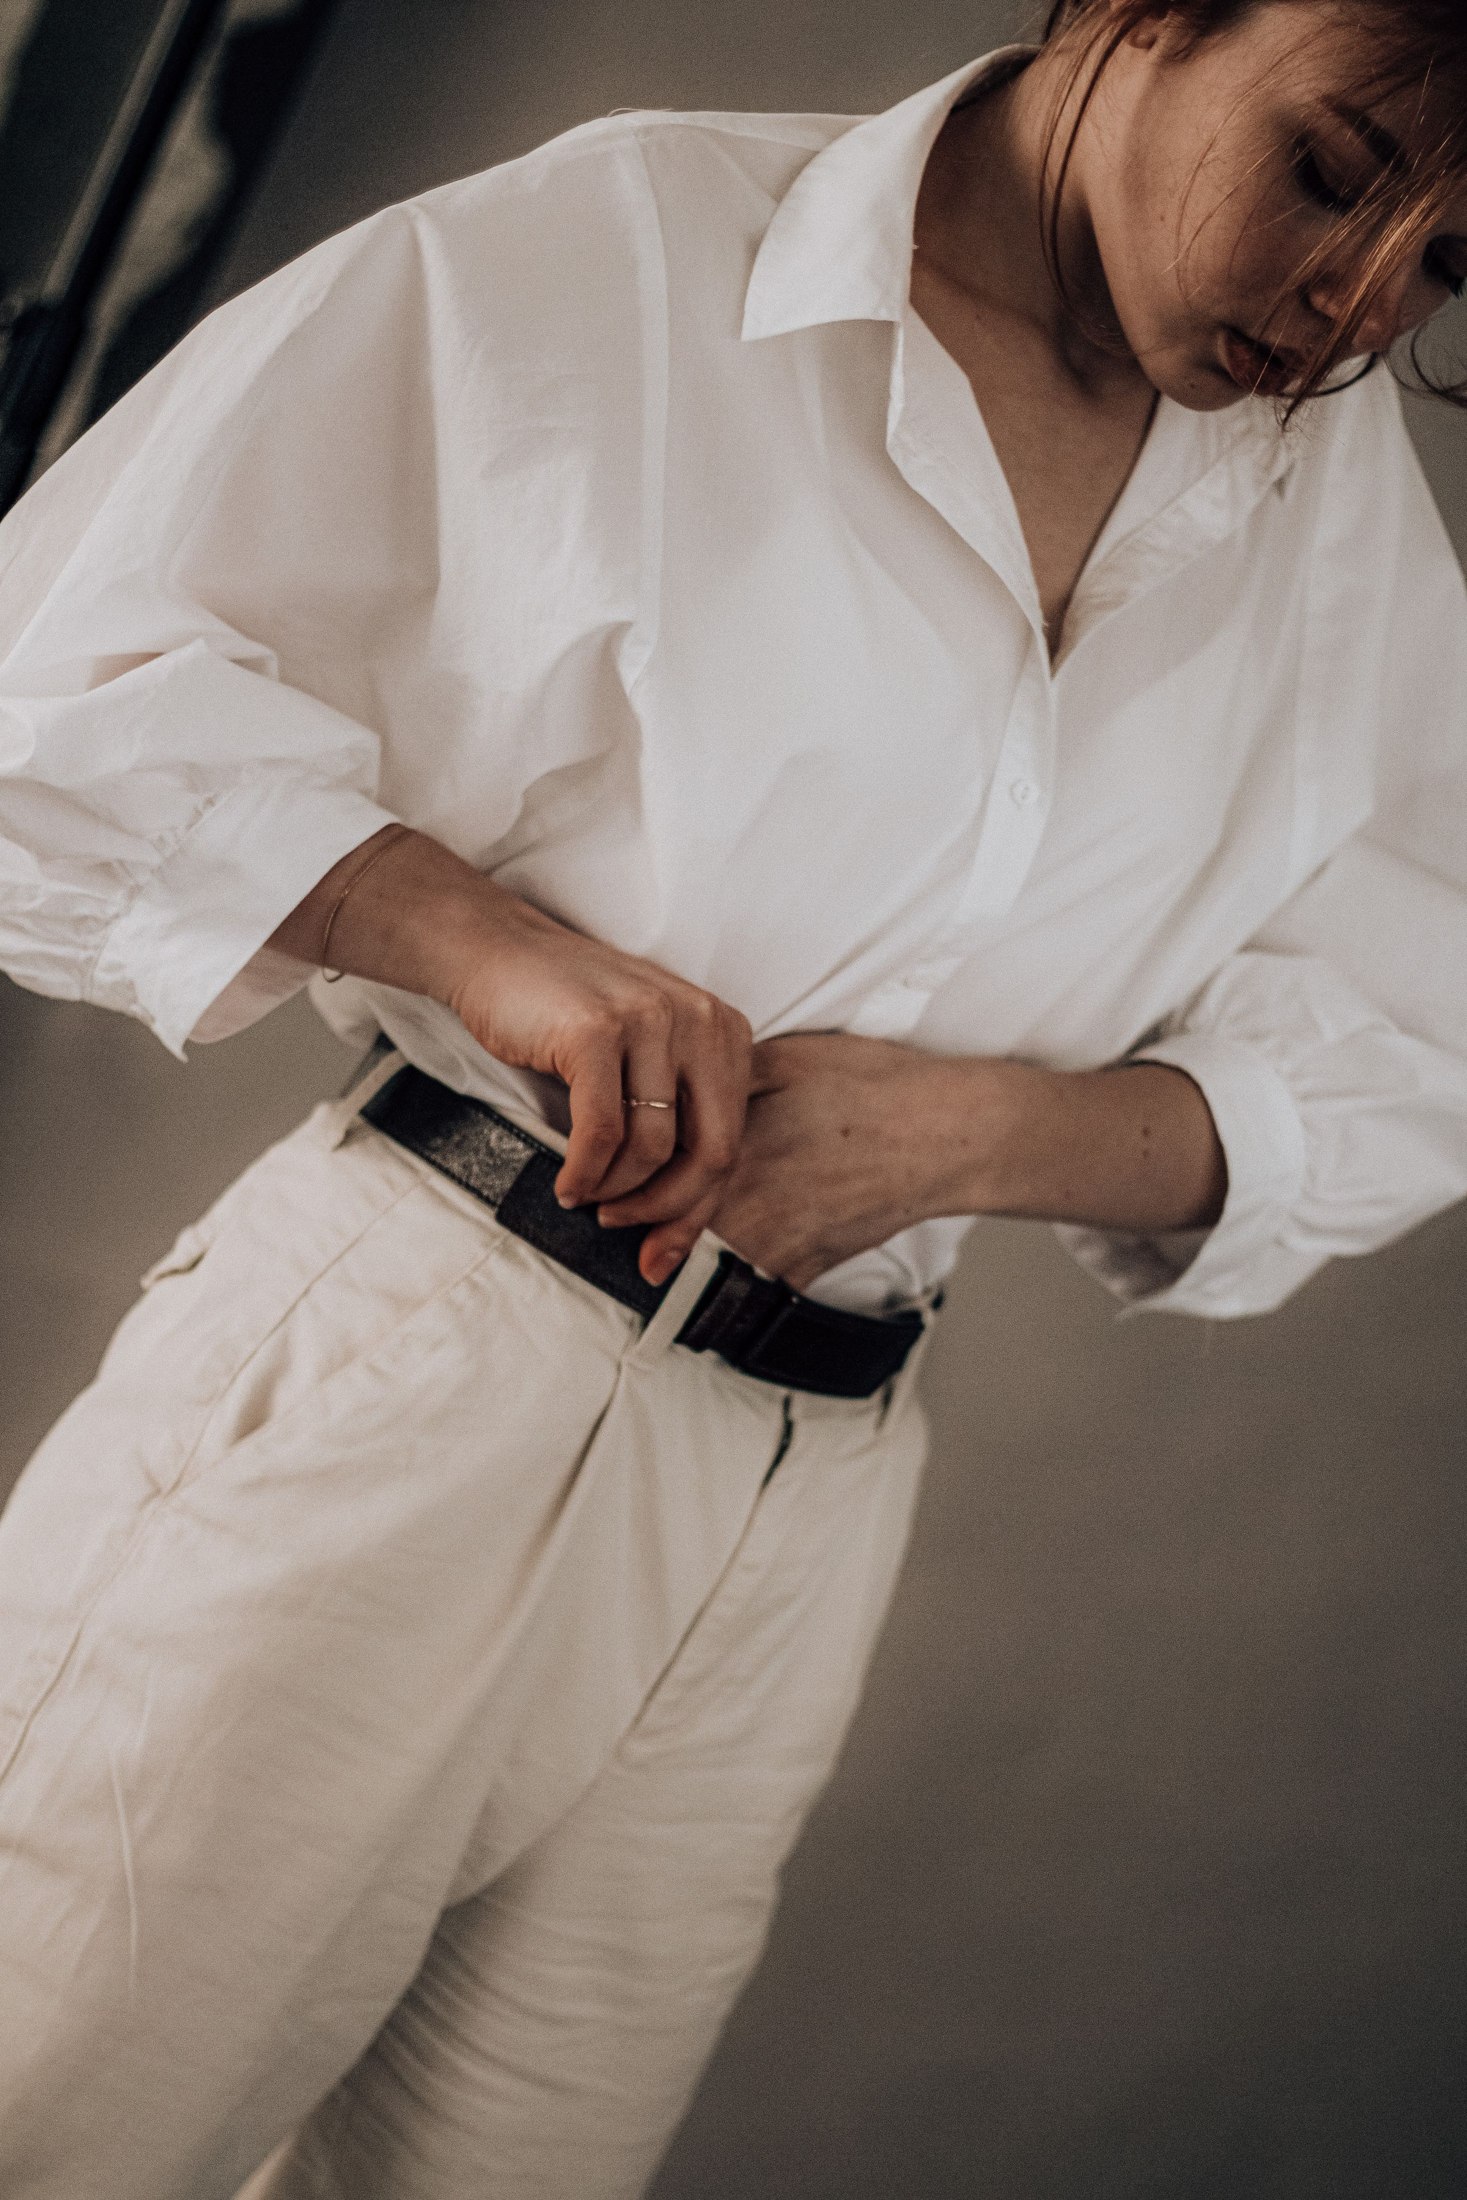
A front tuck is meant to give a shirt some waist definition while leaving the rest relaxed. When it produces a lump behind the fly or a shelf above the waistband, the usual response is to tuck harder. That often makes the problem worse. A cleaner result comes from using less fabric, giving the shirt enough ease, and choosing a waistband that has room for the extra layer.

Start by checking the untucked shirt
Button the shirt as you normally would and let it hang completely free. Look at where the front tails end and how much fabric gathers around the hips. A long, oversized shirt may contain more material than a small front tuck can absorb gracefully. That does not make it a bad shirt; it may simply work better untucked, tied if the fabric allows, or worn open over another top.
Notice the fabric’s stiffness. Crisp poplin can create a deliberate little fold, while a fluid weave tends to drape closer. Thick cloth and heavy seams occupy more waistband space. Check the button placket too: several layers meet there already, so placing the whole placket directly behind a tight fly can create the exact mound you want to avoid.
Leave space in the waistband
Try the trousers or skirt without the shirt tucked in first. If the waistband already feels tight while seated, inserting more cloth will not improve it. The tuck should not be used to force the waistband into a different position. Choose a comfortable rise and fastening, then let that establish where the shirt can sit.
A smooth-front trouser can reveal a thick tuck more readily than a softly pleated style, but pleats are not a hiding place for unlimited fabric. Check that they remain relaxed rather than springing open. With a skirt, pay attention to the zipper area and any lining. There must be room for the shirt without twisting the waistband or pulling its top edge outward.
Tuck a narrow center section first
Begin with a small section at the center front rather than sweeping both shirt tails into the waistband. Guide the cloth downward with flat fingers, keeping it spread rather than rolled. You are creating a short anchor, not packing a pocket. Fasten the waistband without trapping a folded button or the thick bottom corner of the placket against the fastening.
Release the shirt and pull up a little ease just above the waistband. The goal is a soft transition, not a tight triangle pointing toward the fly. If the shirt forms a visible wad underneath, remove it and use less width. Starting again with a smaller tuck is more effective than attempting to redistribute a large bundle after it has been compressed.
Manage the sides without creating wings
Let the side seams hang naturally, then inspect where the tucked section becomes untucked. A sharp change can make the shirt flare sideways. Loosen a little fabric near that transition so the edge follows a gentler diagonal. Avoid pulling both sides far backward, which can concentrate cloth at the hips and make the front look artificially tight.
A slight off-center tuck can help when a rigid placket feels too bulky at the fly. Treat this as an optional styling choice, not a required trick. Keep the shift modest and check that the shirt does not look twisted through the shoulders. If the collar rotates or one sleeve feels tighter, reset the garment and move only the lower front section.
Try the method in three different outfits
For a workday, pair a pale blue cotton button-down with navy straight trousers and loafers. Use a narrow central tuck and leave enough blousing to reach forward comfortably. The shirt should suggest a waist without looking cinched. A slim belt can finish the waistband if needed, but leave it off initially so you can see whether the tuck itself works.
For a casual outfit, try a soft striped shirt with straight jeans and simple trainers. The looser cloth may need less pull-out above the waistband. With an A-line midi skirt, use a shorter shirt or a smaller tuck because the skirt already adds volume below the waist. Let the skirt’s shape remain visible rather than covering its upper section with a large shirt overhang.
Diagnose the specific lump or pull
A bump directly at the center often means too much placket or too many folded layers sit behind the fastening. A ridge across the whole waist suggests the tucked section is too wide. Fabric ballooning on just one side may indicate that the shirt is caught on a belt loop or that its side seam has been pulled forward.
Button gaping above the tuck is a different problem. Release the tuck and check whether the shirt fits comfortably through the chest before attempting another arrangement. Do not use a tighter tuck to drag the buttons closed. If the shirt hangs well untucked but strains only after styling, add more ease above the waistband or reduce the amount anchored inside. A tuck should not change your ability to breathe or move normally.
Keep the version that survives sitting
Raise your arms, sit down, and stand up before making the final decision. The tuck will shift somewhat; it does not need to remain frozen. What matters is whether the result still looks intentional and feels comfortable. If it comes out completely, anchor a slightly deeper section rather than immediately making the tuck much wider.
There are also days when an untucked shirt is the better choice. A curved hem with a clean length can look finished without any waist manipulation. Use the front tuck when it improves the outfit, not because it has become an automatic step. The successful version creates a visible waist reference with a small amount of cloth and lets the rest of the shirt move freely.