
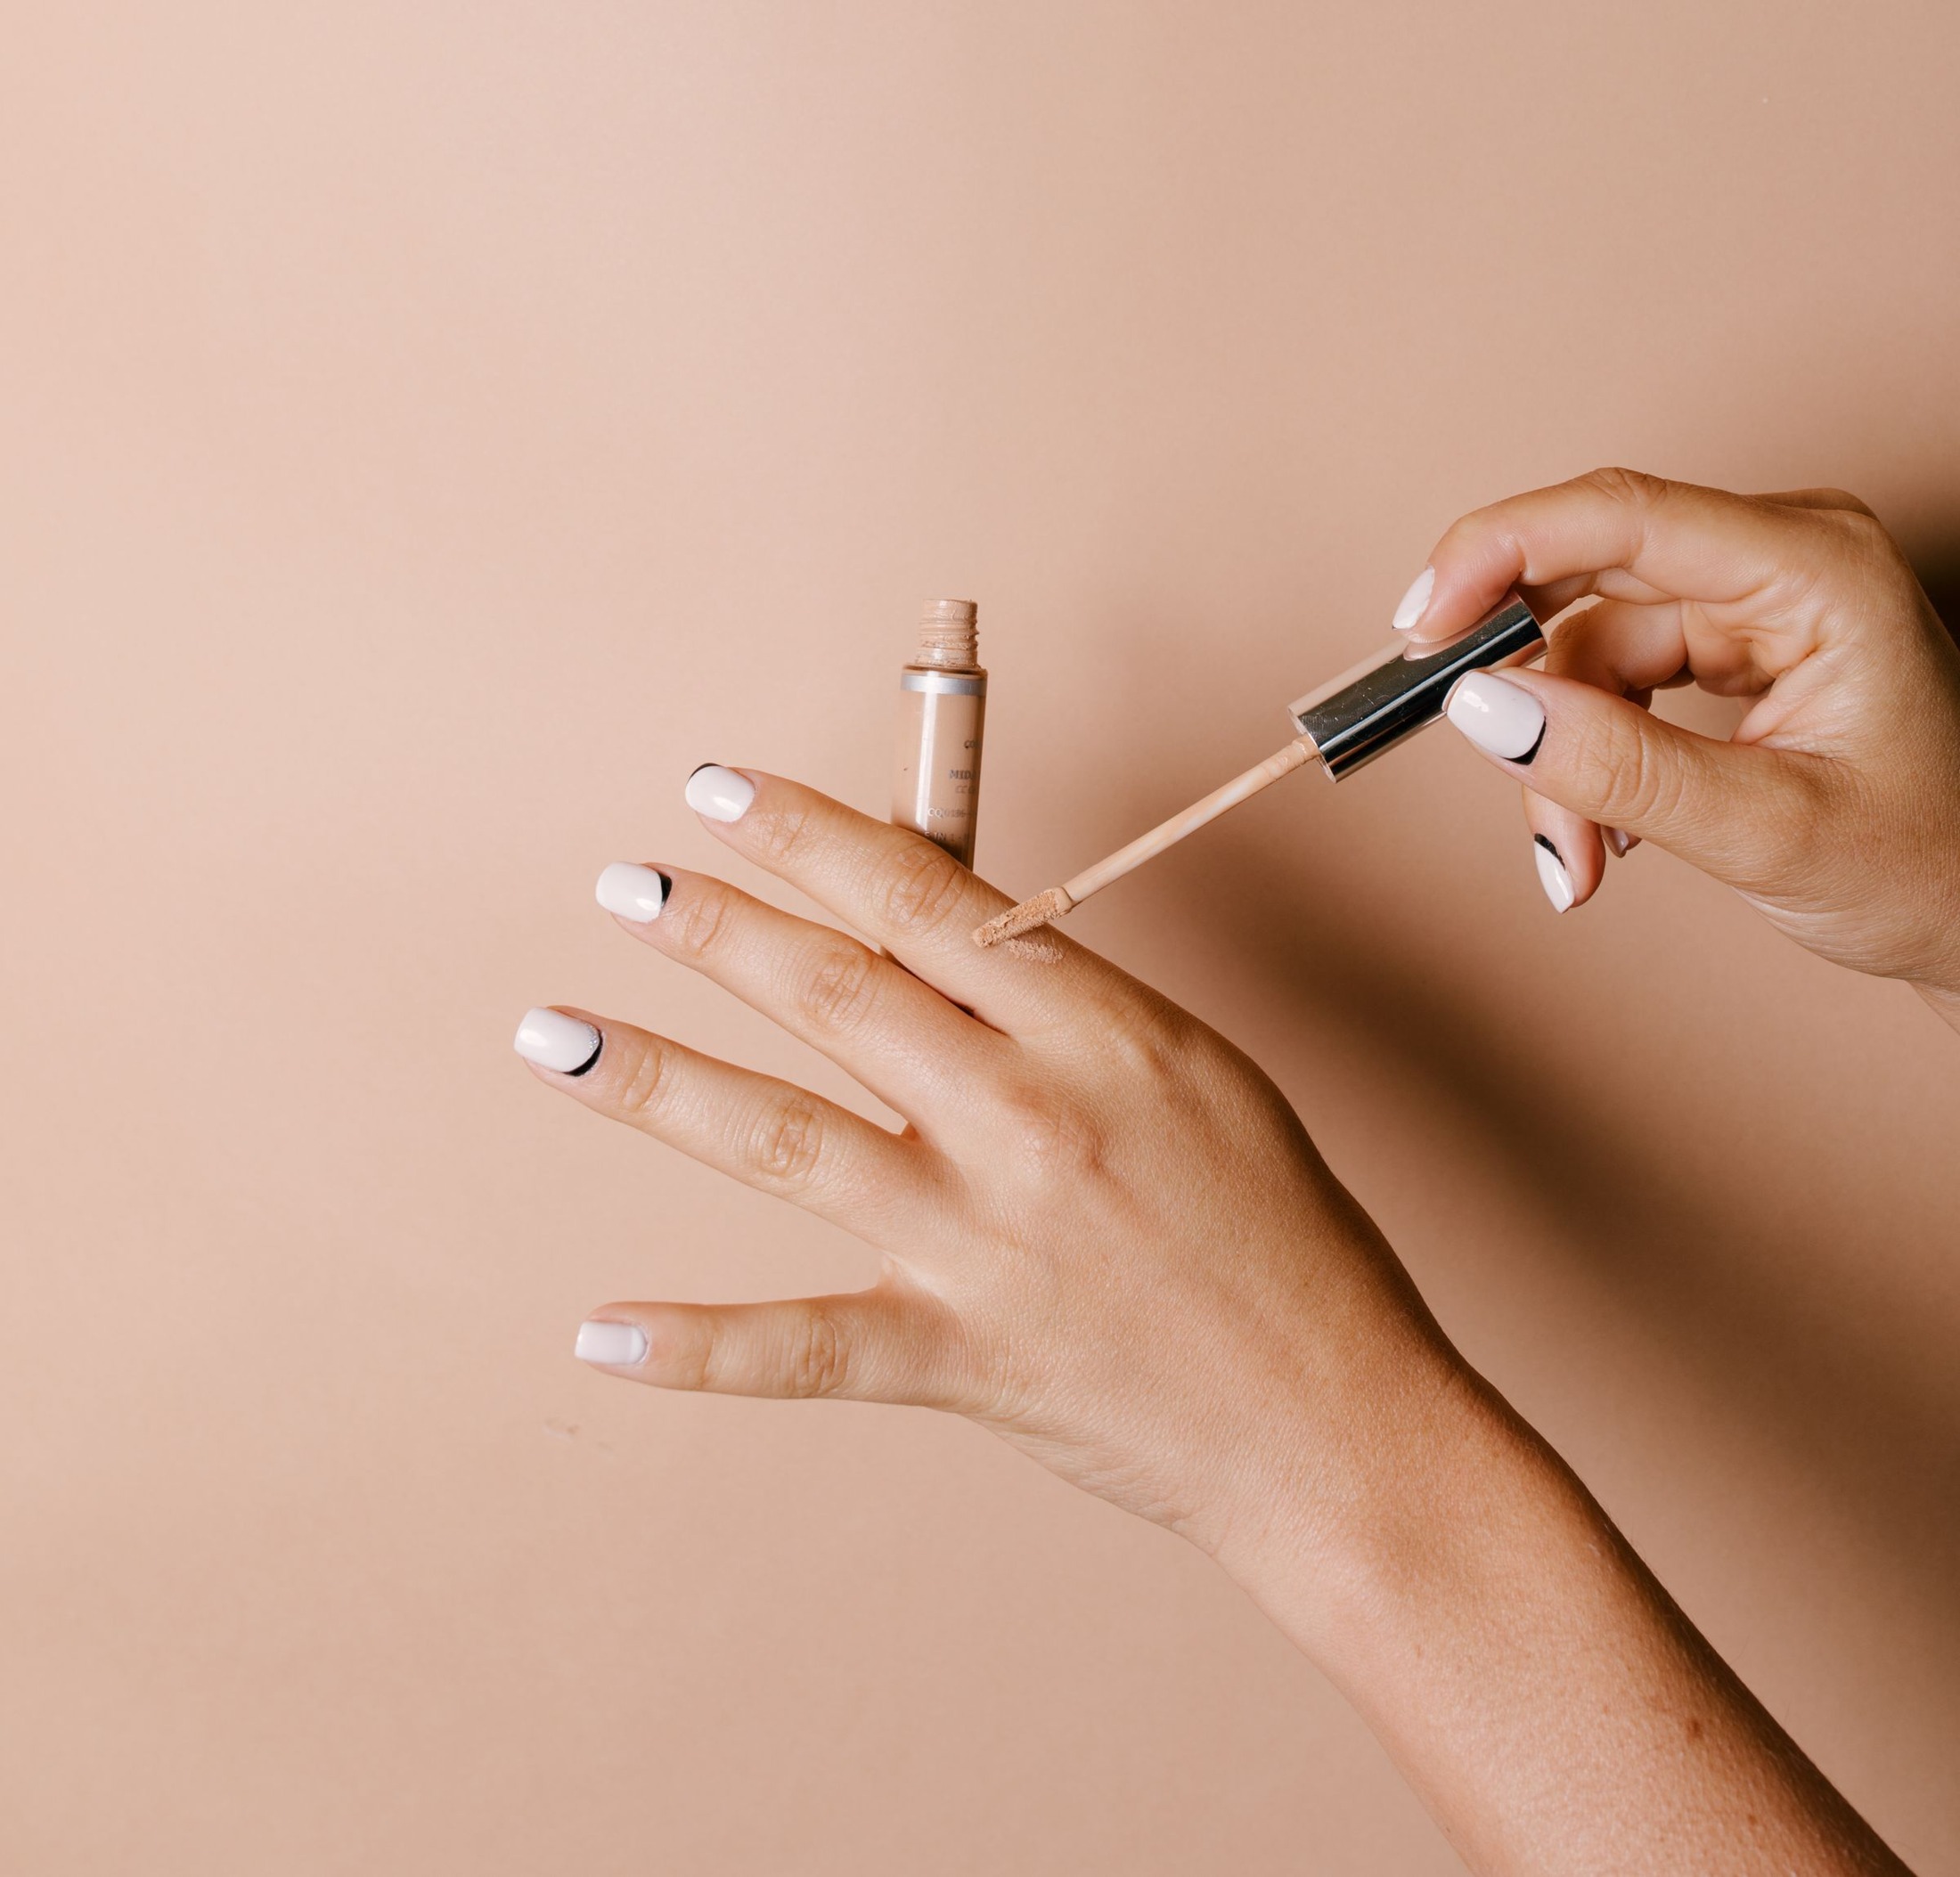
Under-eye concealer has a demanding job: it sits on an area that moves whenever you smile, blink, or look down. A completely line-free result is not a realistic standard for every face or formula. A more useful goal is a light application that softens the shadows you want to soften and remains easy to tidy. Instead of drawing a large triangle under each eye, start with the smallest shadow you can identify.

Find pigment, shadow, and movement separately
Face a window and examine the area with your head level. Then tilt your chin slightly. A shadow that changes dramatically with the angle may be partly created by facial structure, not simply by color. Concealer can alter the appearance of darkness, but piling it onto a natural hollow will not make the surface physically flat. Keeping that distinction in mind prevents unnecessary layers.
Smile gently and notice where your skin folds. These are moving areas, not application mistakes waiting to happen. You may decide to leave the outermost fold nearly bare while concentrating coverage near the inner corner. For example, if the deepest visible darkness occupies only a small crescent beside the nose, the entire under-eye does not need the same amount of product.
Choose a believable shade and workable finish
A concealer close to your complexion can be easier to blend than one several shades lighter. Excessive brightness may draw attention to the very area you hoped to soften. Compare the shade against the upper cheek and the rest of your completed base. The right choice should connect these areas rather than create a pale stripe under the lashes.
Texture matters as much as color. A very fluid product may spread farther than expected, while a thick cream may require an especially tiny pickup. Test the amount on a clean palette before touching your face. If you already own a formula, learn its spread and drying behavior before deciding that you need a different product or additional steps.
Prepare without leaving a slippery cushion
If you use a moisturizer suitable for the eye area, apply it gently and let the surface settle before makeup. Follow its label, keeping products out of the eyes. The AAD’s application-order guide places moisturizer and sunscreen before makeup and advises gentle handling around the eyes. More cream is not automatically better makeup preparation.
When the area looks visibly glossy with excess product, a large concealer layer can slide rather than stay precisely placed. Wait a little longer instead of immediately adding powder to absorb everything. If preparation consistently leaves your concealer mobile, try less of the preparatory product at the next application. Change one part of the combination at a time so you can identify what actually helps.
Apply dots to darkness, not to the whole rectangle
Put a tiny amount on a clean palette and load a small brush from there. Place one dot on the darkest inner area and, only if needed, another on an outer shadow. Keep the first touches below the lash roots rather than pushing product against the eye. A brush with a small head helps you see exactly where the concealer is going.
Tap over the deposit, then feather its boundary onto the neighboring skin. Leave the most coverage where the darkness is strongest. If the brush begins carrying concealer down onto the cheek, stop extending the shape. A targeted crescent with a translucent border usually looks lighter than an opaque band, even when both conceal the same central shadow.
Pause before deciding on a second pass
Let the first layer settle according to the formula’s behavior, then look from normal mirror distance. Do not judge only while leaning close enough to inspect individual pores. Ask whether the area looks more balanced with the rest of your face. The goal may already be met even though some natural darkness remains visible at close range.
If one small spot still needs coverage, use the residue on the brush before loading it again. A second tiny press is more controlled than another full swipe from an applicator. For example, reinforce the innermost shadow but leave the lower border alone. This maintains a gradual transition instead of building a distinct edge that needs increasingly wide blending.
Set selectively, after smoothing any gathered product
Look down and then straight ahead. If a little concealer has collected in a fold, smooth that excess with a clean brush before setting. Powder placed over a ridge can make the ridge more noticeable. Use a small amount of finely textured powder on a compact brush or puff, remove excess from the tool, and press only where the concealer remains mobile.
You may not need powder across the entire under-eye. Compare one lightly set area with an unset area on a day when you can observe the finish. If powder makes the skin look more textured without improving wear, reduce the amount next time. There is no prize for completing every possible step when your formula looks better with fewer interventions.
Refresh by redistributing, not automatically reapplying
Later in the day, inspect the actual issue. A crease may contain excess product even when the surrounding skin still has coverage. Gently smooth that accumulation with a clean tool, keeping the movement small. Adding fresh concealer over every line can increase the material available to gather again. Add more only where coverage has genuinely worn away.
Keep your final expectations human. Skin moves, and some visible lines are part of that movement. A successful thin-layer routine softens selected shadows, avoids a heavy lower border, and can be adjusted without rebuilding the entire face. Once you know your smallest useful amount, repeat that amount consistently before experimenting with brighter shades, extra powder, or additional products.