
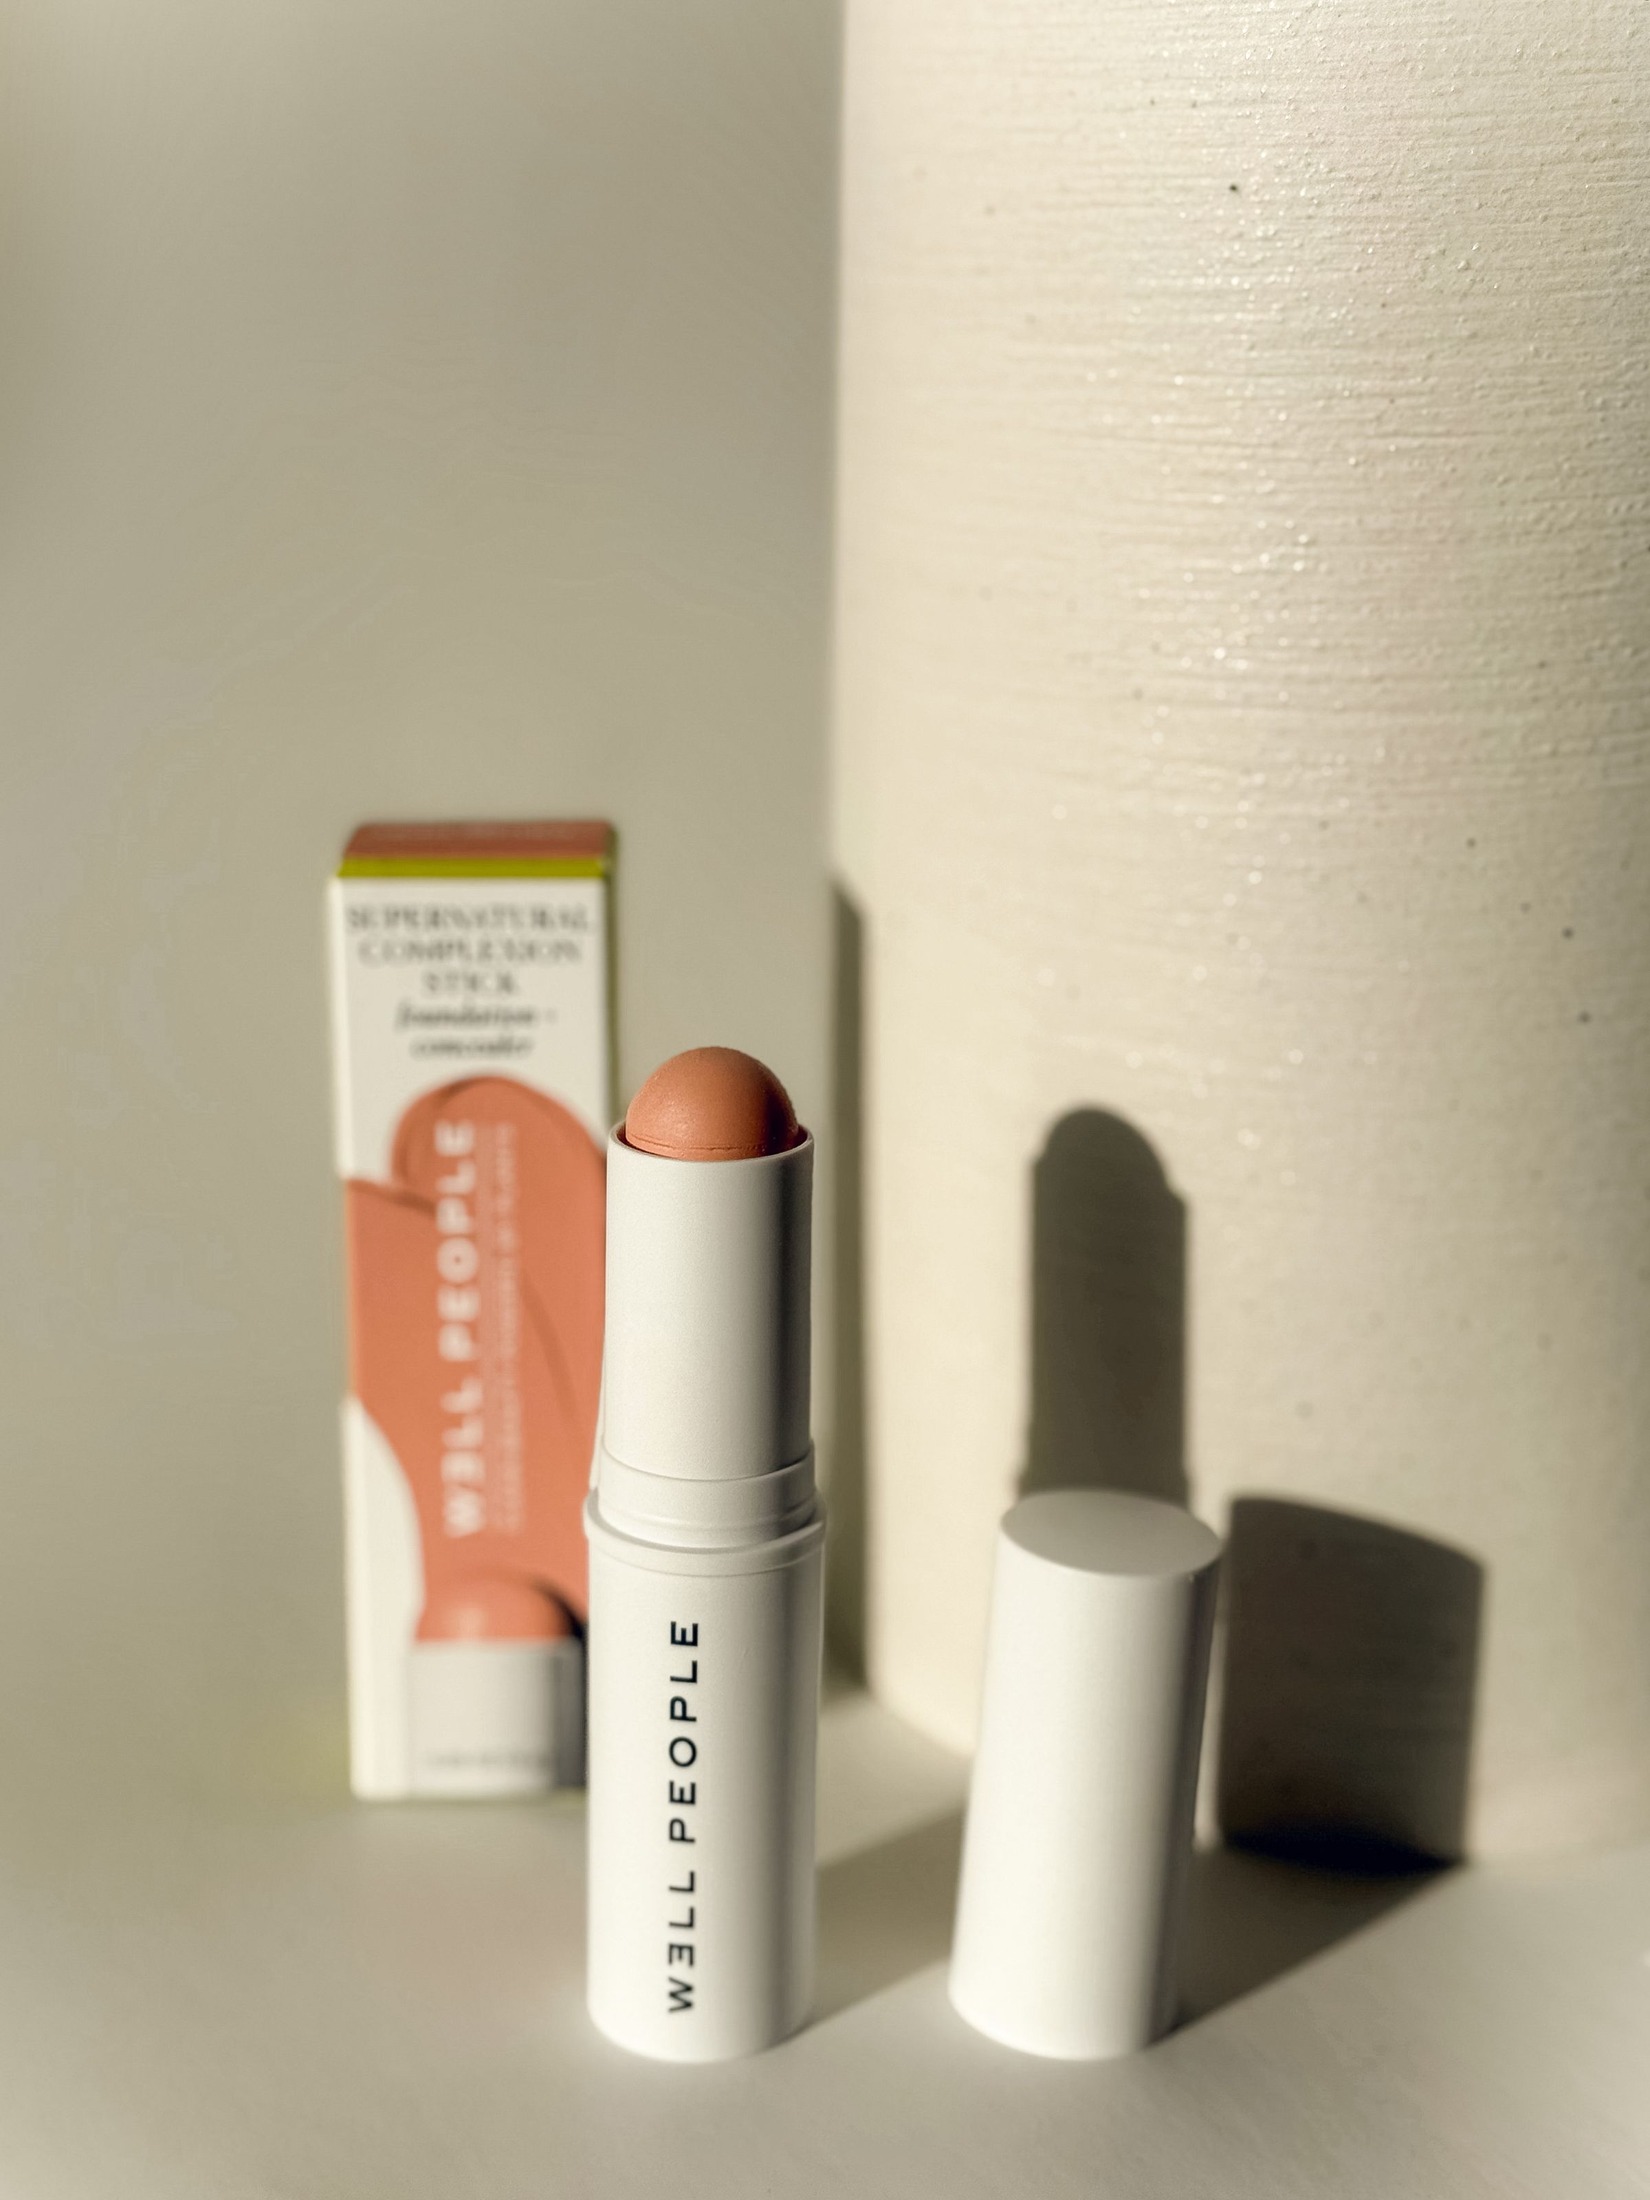
Cream blush is easiest to control when the first layer looks almost too quiet. You can always add a second veil, but softening a dense spot often disturbs everything underneath. The aim is not to make cheeks look perfectly uniform. It is to place a little color where you enjoy seeing it, then leave enough variation for skin to remain visible. Work on one cheek at a time, with a mirror far enough away to show your whole face.
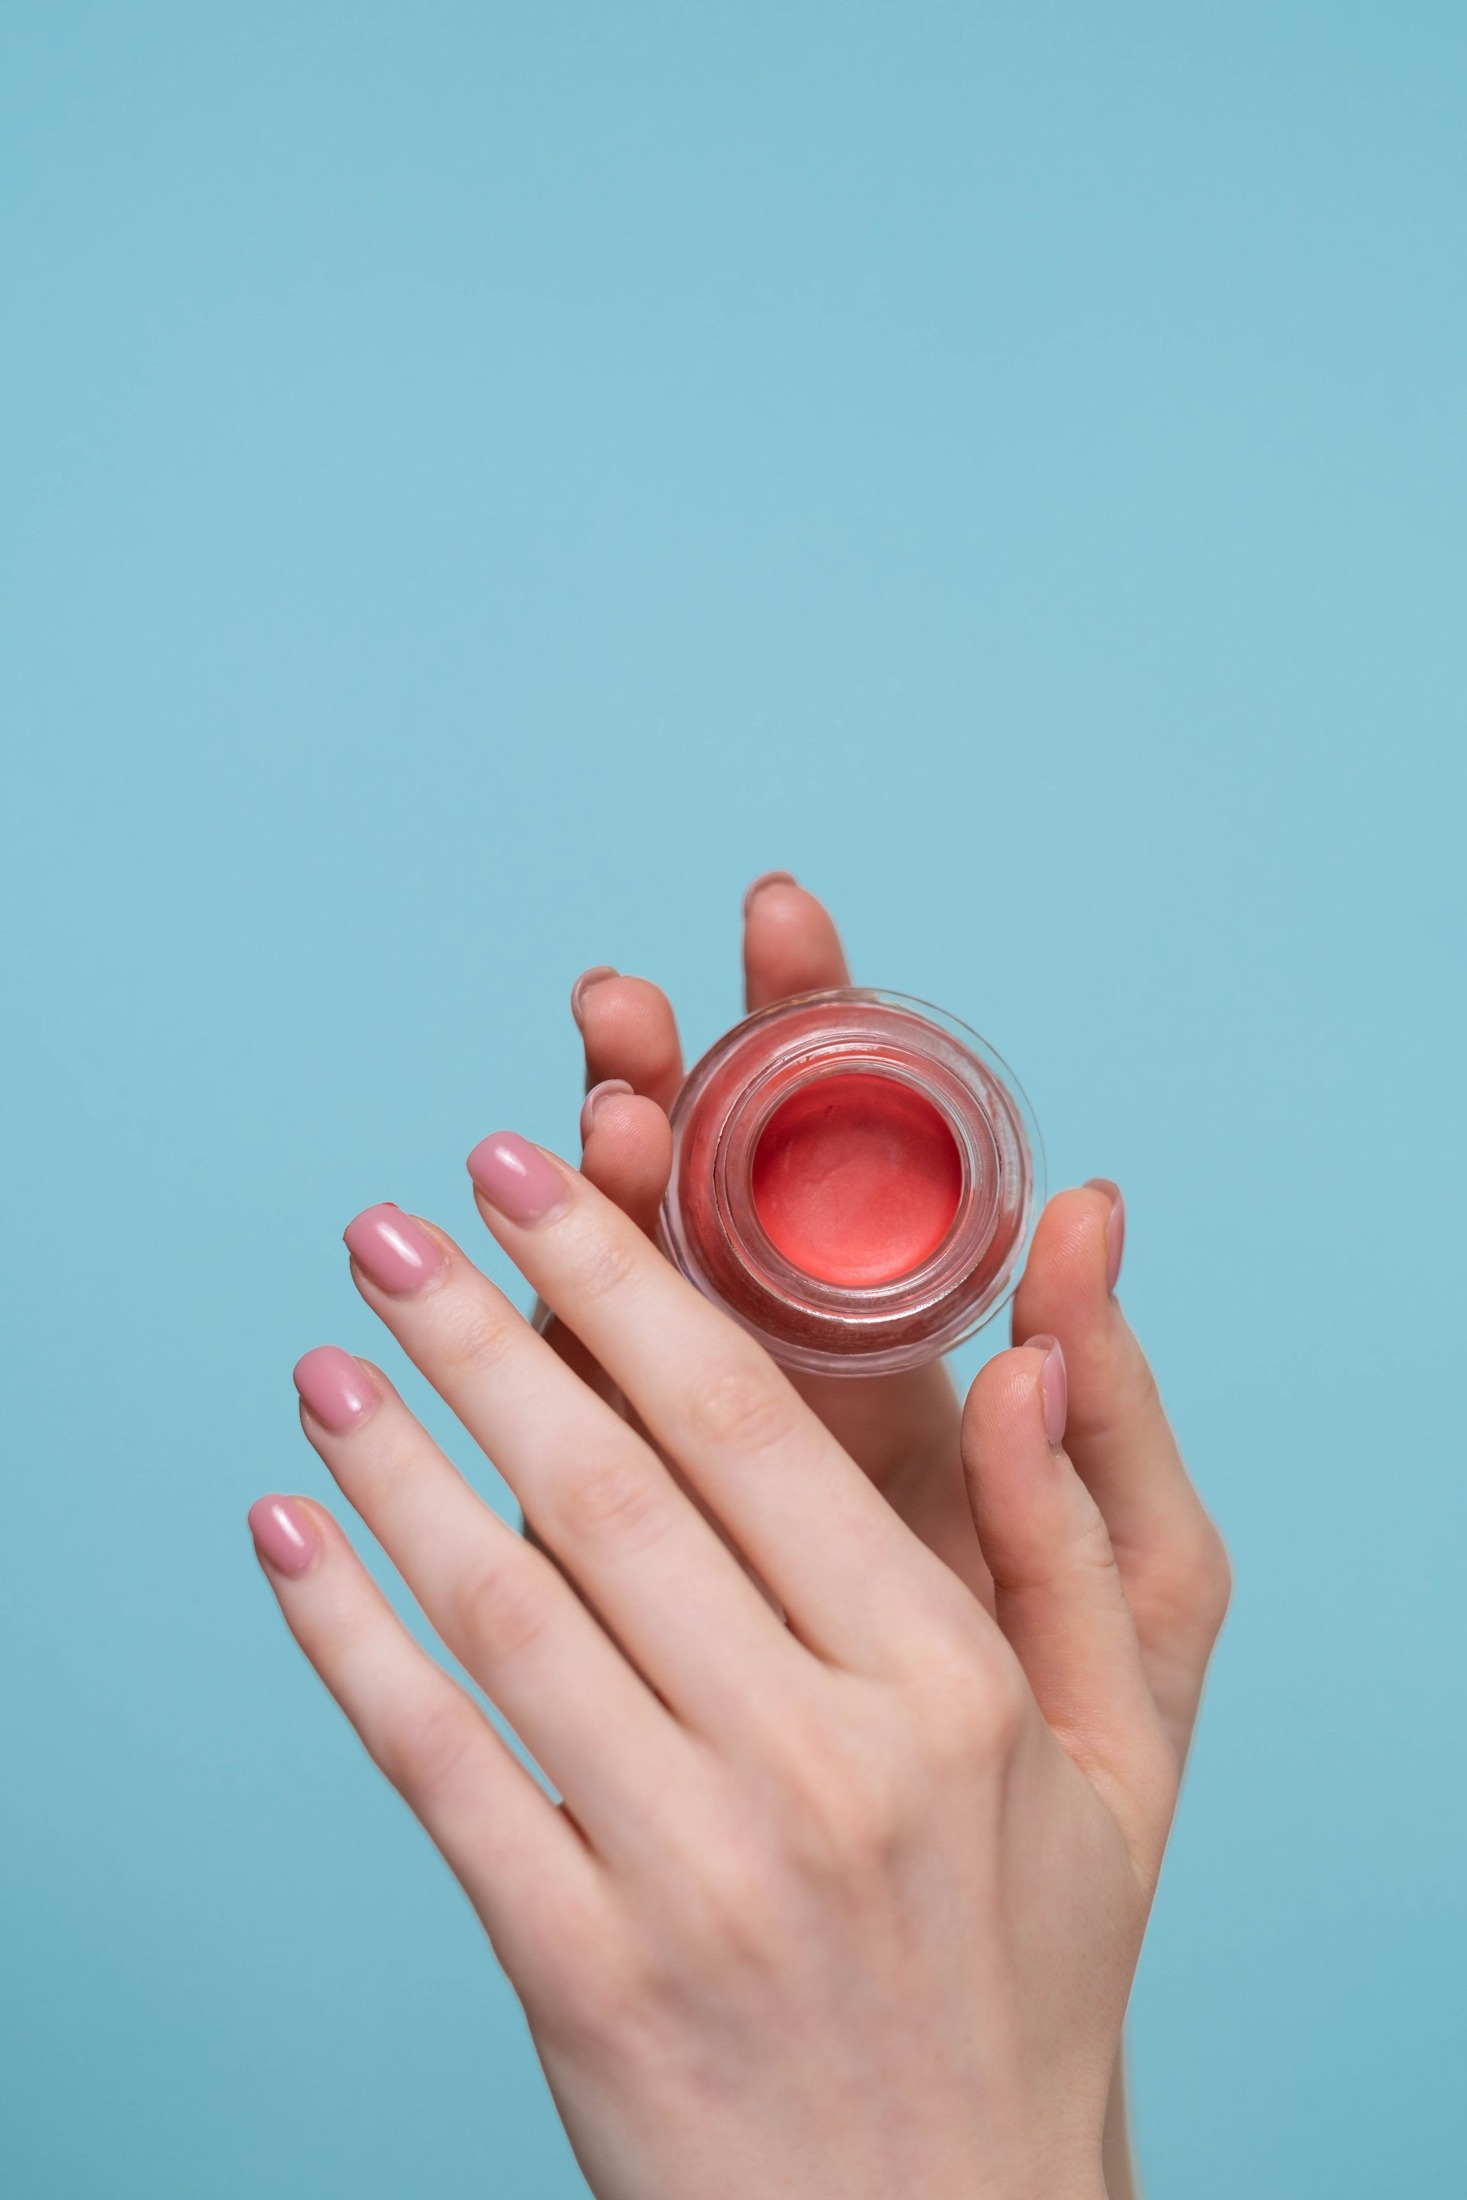
1. Decide what subtle means on your face
A subtle blush is not necessarily a pale blush. On deeper complexions, a very light cream can look chalky before it looks colorful, while a richer berry used sparingly may blend into a convincing flush. On lighter complexions, a muted rose or peach may need only the smallest touch. These are possibilities, not shade rules. Look at how the color appears against your own skin rather than relying on the shade name.
Choose one goal before applying anything: a narrow sweep high on the cheek, a rounder central flush, or a soft wash across the cheekbone. If you keep changing the shape halfway through, the colored area tends to expand. A clear starting shape makes the eventual stopping point easier to recognize.
2. Give the base a moment to settle
Apply blush after any liquid complexion makeup has stopped feeling freshly wet. A thick, slippery layer underneath can move when you tap over it. You do not need to wait for your face to feel dry or tight; you simply want the base to stay where you placed it. Check an inconspicuous point near the outer cheek with a light touch before committing.
If you use powder foundation, try a very small blush application on a limited area first. Some combinations sit smoothly together, while others gather into little dots. There is no universal rule that every cream must work over every powder. If this pairing catches, use your cream blush before a light finishing powder next time rather than forcing today’s layers together.
3. Load the tool away from the cheek
Pick up a trace of product with a small brush, then distribute it through the bristles on a clean makeup palette. A finger can work too, especially with a softer cream, but avoid taking a large scoop. The useful comparison is a translucent stain on the tool rather than an opaque blob. Highly pigmented formulas may need considerably less than a sheerer balm-like blush.
For example, touch a stippling brush to the pan once, tap it on the palette, and make two gentle presses near the outer cheek. Assess those marks before collecting more. Starting directly from a loaded stick can work, but it gives you less room to correct a strong deposit. Controlled pickup is particularly helpful when you are learning a new formula.
4. Place the center before blending the border
Look straight ahead with your expression relaxed. Set the first touch where you want the most color, keeping it away from any boundary you want to remain clear. For a restrained cheekbone effect, that might be the outer half of the cheek rather than close to the nose. For a softer central flush, start on the fuller cheek area but leave space around the nostril.
Use short presses to carry a little pigment outward. Keep your pressure light enough that the brush barely splays. Long rubbing motions can widen the patch and lift foundation, especially if you repeatedly cross the same spot. Blend the edge more than the middle; otherwise, you may erase the color you intended to keep and compensate with unnecessary extra product.
5. Build only where the first veil needs support
Step back before adding another layer. If the shape is pleasing but too faint, reinforce its center, not its entire footprint. The untouched outer edge will remain soft while the middle gains depth. This is the difference between building color and simply enlarging a colored area. Repeat on the other cheek, allowing for natural differences in light and facial shape.
A practical check is to turn slightly left and right near a window. You want the blush to stay connected to the cheek from both angles, without an obvious hard stop near the ear. Exact symmetry is unnecessary. If one cheek faces stronger light, it may look brighter even when the applications are similar, so move your face before adding more.
6. Correct a strong spot without covering the whole cheek
If the color is concentrated in one dot, try pressing its perimeter with a clean part of your application tool. Lift between presses. If the whole area is too strong, a tiny amount of your original foundation tapped over the center can soften it. Avoid sweeping a thick new foundation layer across the cheek, which can replace one heavy patch with another.
When the base has already lifted, stop blending. Carefully remove the small disrupted area and rebuild it rather than continuing to polish the surrounding skin. A slightly imperfect blush application often looks better from conversational distance than a heavily corrected one. Judge the result in the same mirror position you used at the start, not only in extreme close-up.
7. Finish according to the shine you actually see
Cream blush may supply enough sheen on its own. Before adding highlighter, check whether the upper cheek already catches the light. If you prefer less shine, press a minimal amount of finishing powder onto the shiny edge instead of blanketing the whole cheek. Keep the first powder pass light so you can judge its effect on the color.
For a later touch-up, look for missing color rather than assuming the whole application has disappeared. Add a trace only to that area, preferably with the same tool and tapping motion. The repeatable routine is simple: modest pickup, deliberate placement, soft borders, and a pause before the second layer. Those choices create subtlety more reliably than choosing the palest shade on the shelf.