
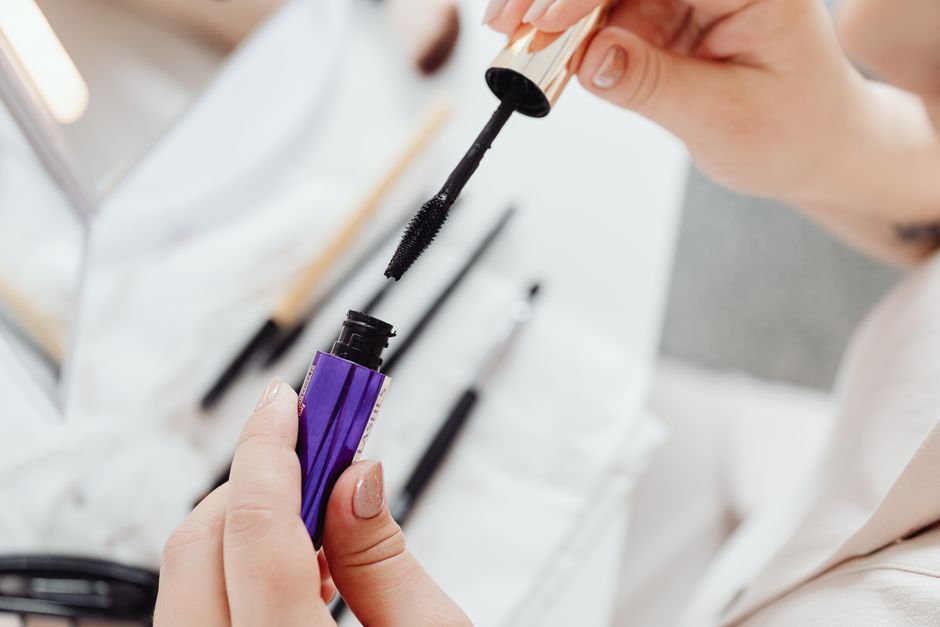
Waterproof mascara can give your lashes definition for a humid afternoon, a long celebration, or a day when your eyes tend to water. Getting a light, separated finish comes down to how much formula reaches the lashes and where you place it. If you keep brushing until every lash looks dramatically thicker, the result can become heavy surprisingly quickly. Start with a lightly loaded brush, work through small sections, and stop while individual lashes are still easy to see.
Decide what a finished lash should look like
Before opening the tube, choose a simple goal. Perhaps you want your pale tips to show, your upper lash line to look more defined, or the outer lashes to stand out a little. That gives you a stopping point. Without one, it is easy to keep adding mascara simply because the wand is still in your hand.
For fine or sparse lashes, including lashes that have become less dense over time, separation can make a particularly pleasing finish. Look for visible spaces between the lashes, with enough color to show their shape. You do not need to make every lash equally thick or make both eyes perfectly identical.
Begin with clean, dry lashes
Apply mascara after your other eye makeup so you can brush away any loose shadow first. Your lashes should feel dry and free of leftover mascara. Coating yesterday’s residue makes it harder to control today’s application and can leave small hardened lumps along the hairs.
Let your eye-area skincare settle before you begin. Keep creams away from the lashes themselves, and gently blot any excess sitting on the surrounding skin. There is no need to add powder directly to your lashes as a preparation step. Extra layers make it more difficult to judge how much mascara you are depositing.
Wash your hands and use a stable mirror in good light. If close work is difficult to see, a suitable magnifying mirror may help you check the brush position. Keep the mirror at a comfortable distance so you can move slowly without leaning awkwardly toward it.
Control the amount on the wand
Pull the wand out slowly and look at it before bringing it toward your eye. A bead of mascara at the tip can leave a thick blob on the first lashes it touches. Gently remove that excess with a clean, lint-free tissue, taking care to avoid leaving fibers on the brush.
The bristles should remain visible through the coating. If they are buried beneath a thick mass, remove a little more excess. You can always add a small amount later. Starting with an overloaded wand forces you to spend the rest of the application trying to redistribute it.
- Check the tip. Remove any obvious lump before approaching the inner or outer corners.
- Avoid pumping. Repeatedly pushing the wand in and out introduces air and makes loading less predictable.
- Keep the formula intact. Never add water, oil, saliva, or remover to thin mascara inside the tube.
- Notice texture changes. Replace mascara that has become dry, unusually thick, or changed in smell, and follow its labeled replacement guidance.
Apply a thin first coat in small sections
Set up a steady position
Rest your elbow on a firm surface if that helps steady your hand. Tilt your chin slightly upward and look gently down into the mirror, keeping your eye comfortably open. Adjust the angle until you can see your upper lashes clearly without pulling the eyelid taut.
Hold the brush horizontally for the main upper lashes. Bring it close to the base of the hairs, while leaving space between the brush and your eyelid. Keep mascara off the waterline and out of the eye. A comfortable, controlled position matters more than getting the wand as close as possible.
Use a short movement at the base
Start around the middle of the upper lashes. A small side-to-side movement can help the bristles catch the hairs, followed by a smooth sweep toward the tips. Keep that movement modest. Repeated broad wiggling through the entire length can push neighboring lashes together and deposit more product than you intended.
Work outward, then address the inner section with the lighter amount left on the brush. Follow the direction the lashes naturally grow instead of dragging every section toward the same point. Use the end of the wand cautiously around shorter hairs, keeping its tip directed away from the eye.
Leave the tips light
Try to complete each sweep without stopping midway along the lash. Pausing and pressing can leave a thicker patch. Once the tips have enough color to show, leave them alone. Repeatedly brushing just the ends may create little beads that make otherwise separated lashes look blunt.
Check before adding anything else
Lower the wand and look straight ahead. Check the lashes from your normal mirror distance as well as close up. Tiny irregularities that seem obvious under magnification may disappear when you see your whole face. If your lash line looks defined and the hairs remain distinct, your application may already be finished.
If one section needs more color, add a light pass there while the formula remains workable, following the product’s application directions. Avoid automatically dipping back into the tube for a full second coat. Use what remains on the brush first, and stop if the bristles begin to drag through tacky mascara.
Bottom lashes are optional. If you want definition there, use a nearly bare brush and a light touch on the most visible hairs. There is no need to coat every tiny lower lash. Leaving some untouched can help you keep the overall effect airy.
Handle a clump without building another layer
If lashes start joining together while the mascara is still workable, pause the application. A clean, dry spoolie may help separate a small cluster with a gentle outward stroke. Use it carefully, away from the eye, and stop if it catches or pulls. Clean the tool after use and let it dry fully before storing.
Once waterproof mascara has set firmly, repeated combing or another wet coat can make the finish more uneven. Leave a minor imperfection alone. For a substantial clump that feels uncomfortable, gently remove the mascara using a remover labeled for waterproof eye makeup, then begin again on clean, dry lashes. Never pick at hardened mascara or use sharp objects to separate hairs.
Keep the routine comfortable
Follow the mascara’s directions, keep the wand clean, and avoid sharing it. For a new formula, follow any patch-test instructions on the label and keep test product away from the eye. Stop using a product that causes irritation. Persistent eyelid or surrounding skin problems warrant advice from a dermatologist, while eye pain or vision changes need prompt medical attention.
At the end of the day, remove waterproof mascara gently according to the remover’s instructions, allowing it time to loosen the coating before wiping. Your best guide at the next application is the finished lash itself. When you can see its shape, its tapered tip, and the space beside it, you have a clear reason to put the wand away.