
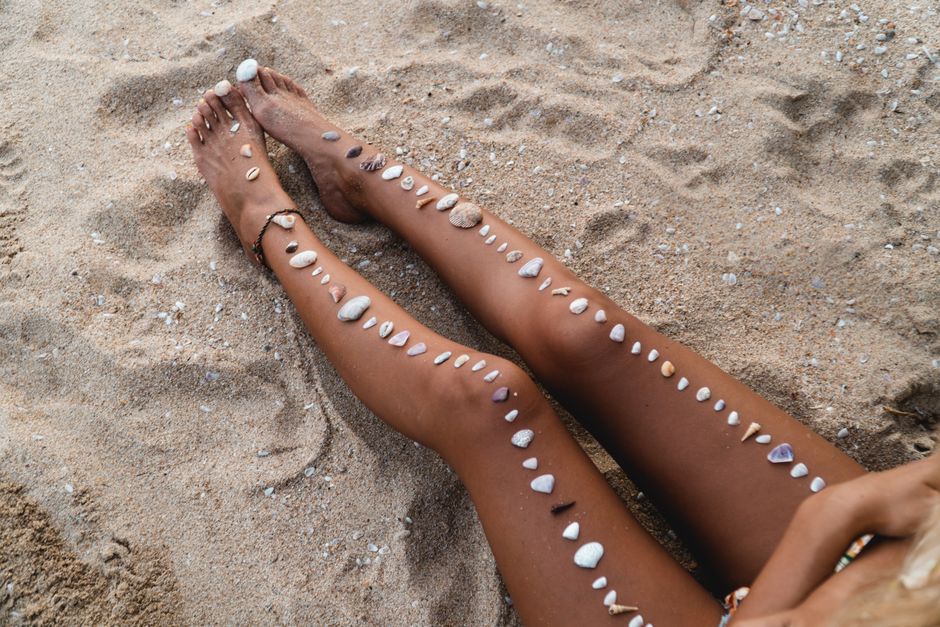
Self-tanner can look beautifully even along your shins, then suddenly appear darker over a knee or around an ankle. Those changes in texture and shape make application less straightforward, especially when your skin feels dry. The answer is usually a lighter touch, careful positioning, and less product at the joints. Applying Self-Tanner Around Knees and Ankles is about creating a soft transition between areas, so you can wear a skirt or cropped trousers without a sharply defined patch catching your eye.
Understand where extra color can collect
Knees and ankles have curves, folds, and areas that may feel rougher than the surrounding skin. Self-tanner can develop unevenly across those surfaces. A generous amount that spreads easily over your calf may leave too much color on an ankle bone or along the edge of a kneecap.
You do not need to make every part of your leg an identical shade. Natural skin has variations, and your knees have texture whether you use self-tanner or not. Aim for a gentle connection between your lower leg, knee, and foot rather than an opaque finish that covers every difference.
Prepare gently before application
Start by reading your self-tanner’s directions, including its patch-test guidance, application requirements, and development time. Patch test before broader use, allowing the time specified on the label. Avoid applying it to broken, irritated, or freshly inflamed skin. If dryness, itching, or irritation persists, see a dermatologist before continuing.
Smooth roughness without scrubbing hard
If your skin tolerates exfoliation, use a soft washcloth with gentle pressure before your tanning session. Pay attention to rough areas rather than repeatedly rubbing the whole knee. Leave skin comfortable, with no tenderness or redness. Follow the product’s preparation instructions, and avoid stacking several exfoliating methods together.
Do hair removal separately if it tends to leave your skin sensitive, allowing irritation to settle completely before applying self-tanner. There is no benefit to squeezing shaving, vigorous exfoliation, and tanning into one hurried routine. If your knees or ankles are currently cracked or sore, let them recover first.
Use moisturizer as a small, targeted buffer
When the tanning directions allow it, smooth a thin layer of plain moisturizer over dry knees, ankle bones, and dry edges of the feet. Let it absorb before proceeding. The surface should feel comfortable rather than slippery. A thick coating can interfere with application and make the surrounding color harder to blend.
Think of this as treating the dry spots individually. You may need a little moisturizer across one knee and only a small dab at the other ankle. Skin can become drier as you get older, but your own skin’s condition matters more than following an age-based rule.
Set up so you can reach comfortably
Choose good lighting and a stable chair. Keep your application mitt, a clean damp cloth, and the product directions nearby. Protect the floor with a washable towel. Remove socks and ankle jewelry before starting, so you can see the whole area and avoid working around an obstruction.
Position yourself so reaching your ankles does not involve balancing on one leg. You can sit with your foot supported on a low, stable surface if that feels comfortable. If bending is difficult, take breaks and adjust your position. A relaxed setup makes controlled blending much easier.
Apply the main leg color first
Following the label, spread your usual light layer over the larger areas of your legs. Work in manageable sections so you can blend before the product starts to set. Approach the knee and ankle with less product on your mitt, instead of placing a fresh pump directly onto either joint.
Use what remains on the mitt for the tricky areas. After covering a shin or thigh, there is often enough residue to sweep across the neighboring knee or ankle. Begin there. You can assess the developed result later; a wet surface or temporary guide color cannot reliably tell you the final depth.
Blend knees with a comfortable bend
Gently bend your knee so the skin across the front opens out. It should feel natural, without pulling the joint into an uncomfortable position. With the nearly empty mitt, make light, overlapping passes across the kneecap, then soften the edges into the treated thigh and shin.
Avoid pressing harder to push product into every line. Pressure and repeated passes can leave more tanner on the raised or rough sections. Move your leg slightly between a relaxed bend and a straighter position to check the sides. Blend any visible edge with the remaining residue rather than adding another dose.
Behind the knee, use the same restrained approach. Open the fold with a comfortable leg position, sweep lightly, and check that no wet product is sitting in the crease. If you spot an obvious excess while it is still fresh, gently lift it with the clean damp cloth without scrubbing the surrounding area.
Feather the color around ankles and onto feet
Move down from the lower leg toward the ankle with very little product left on your mitt. Sweep lightly around both sides, including the ankle bones, and soften the transition toward the top of the foot if you are tanning that area. Avoid finishing with a firm horizontal stroke that creates a visible band.
Shift your foot gently to expose folds at the front of the ankle. Check around the back as well, where excess can collect near the heel. Do not keep loading the mitt to chase every pale-looking spot. Different angles and shadows can make a freshly applied layer look uneven before it develops.
- Keep the ankle bones lightly covered rather than repeatedly polishing over them.
- Use a fading touch toward the sides of the feet instead of a hard stopping line.
- Check the heels, soles, toenails, and spaces around the toes for misplaced product.
- Wipe accidental deposits gently while fresh, following any cleanup directions on the label.
Let the result develop before making adjustments
Allow the product to dry and develop according to its instructions. Choose loose clothing, and follow the label’s advice about water, sweating, and rinsing. Tight sock cuffs or straps can rub the ankle area during development. Plan your application for a time when you can give the skin the space the directions require.
Once development and any required rinse are complete, look at both legs in even light. If a knee or ankle looks darker, resist vigorous scrubbing or household remedies such as lemon juice. Let the color fade with normal gentle washing and moisturizing. Before your next application, use less residue there and check whether dryness needs attention. A small adjustment in placement often makes the routine easier to repeat.