
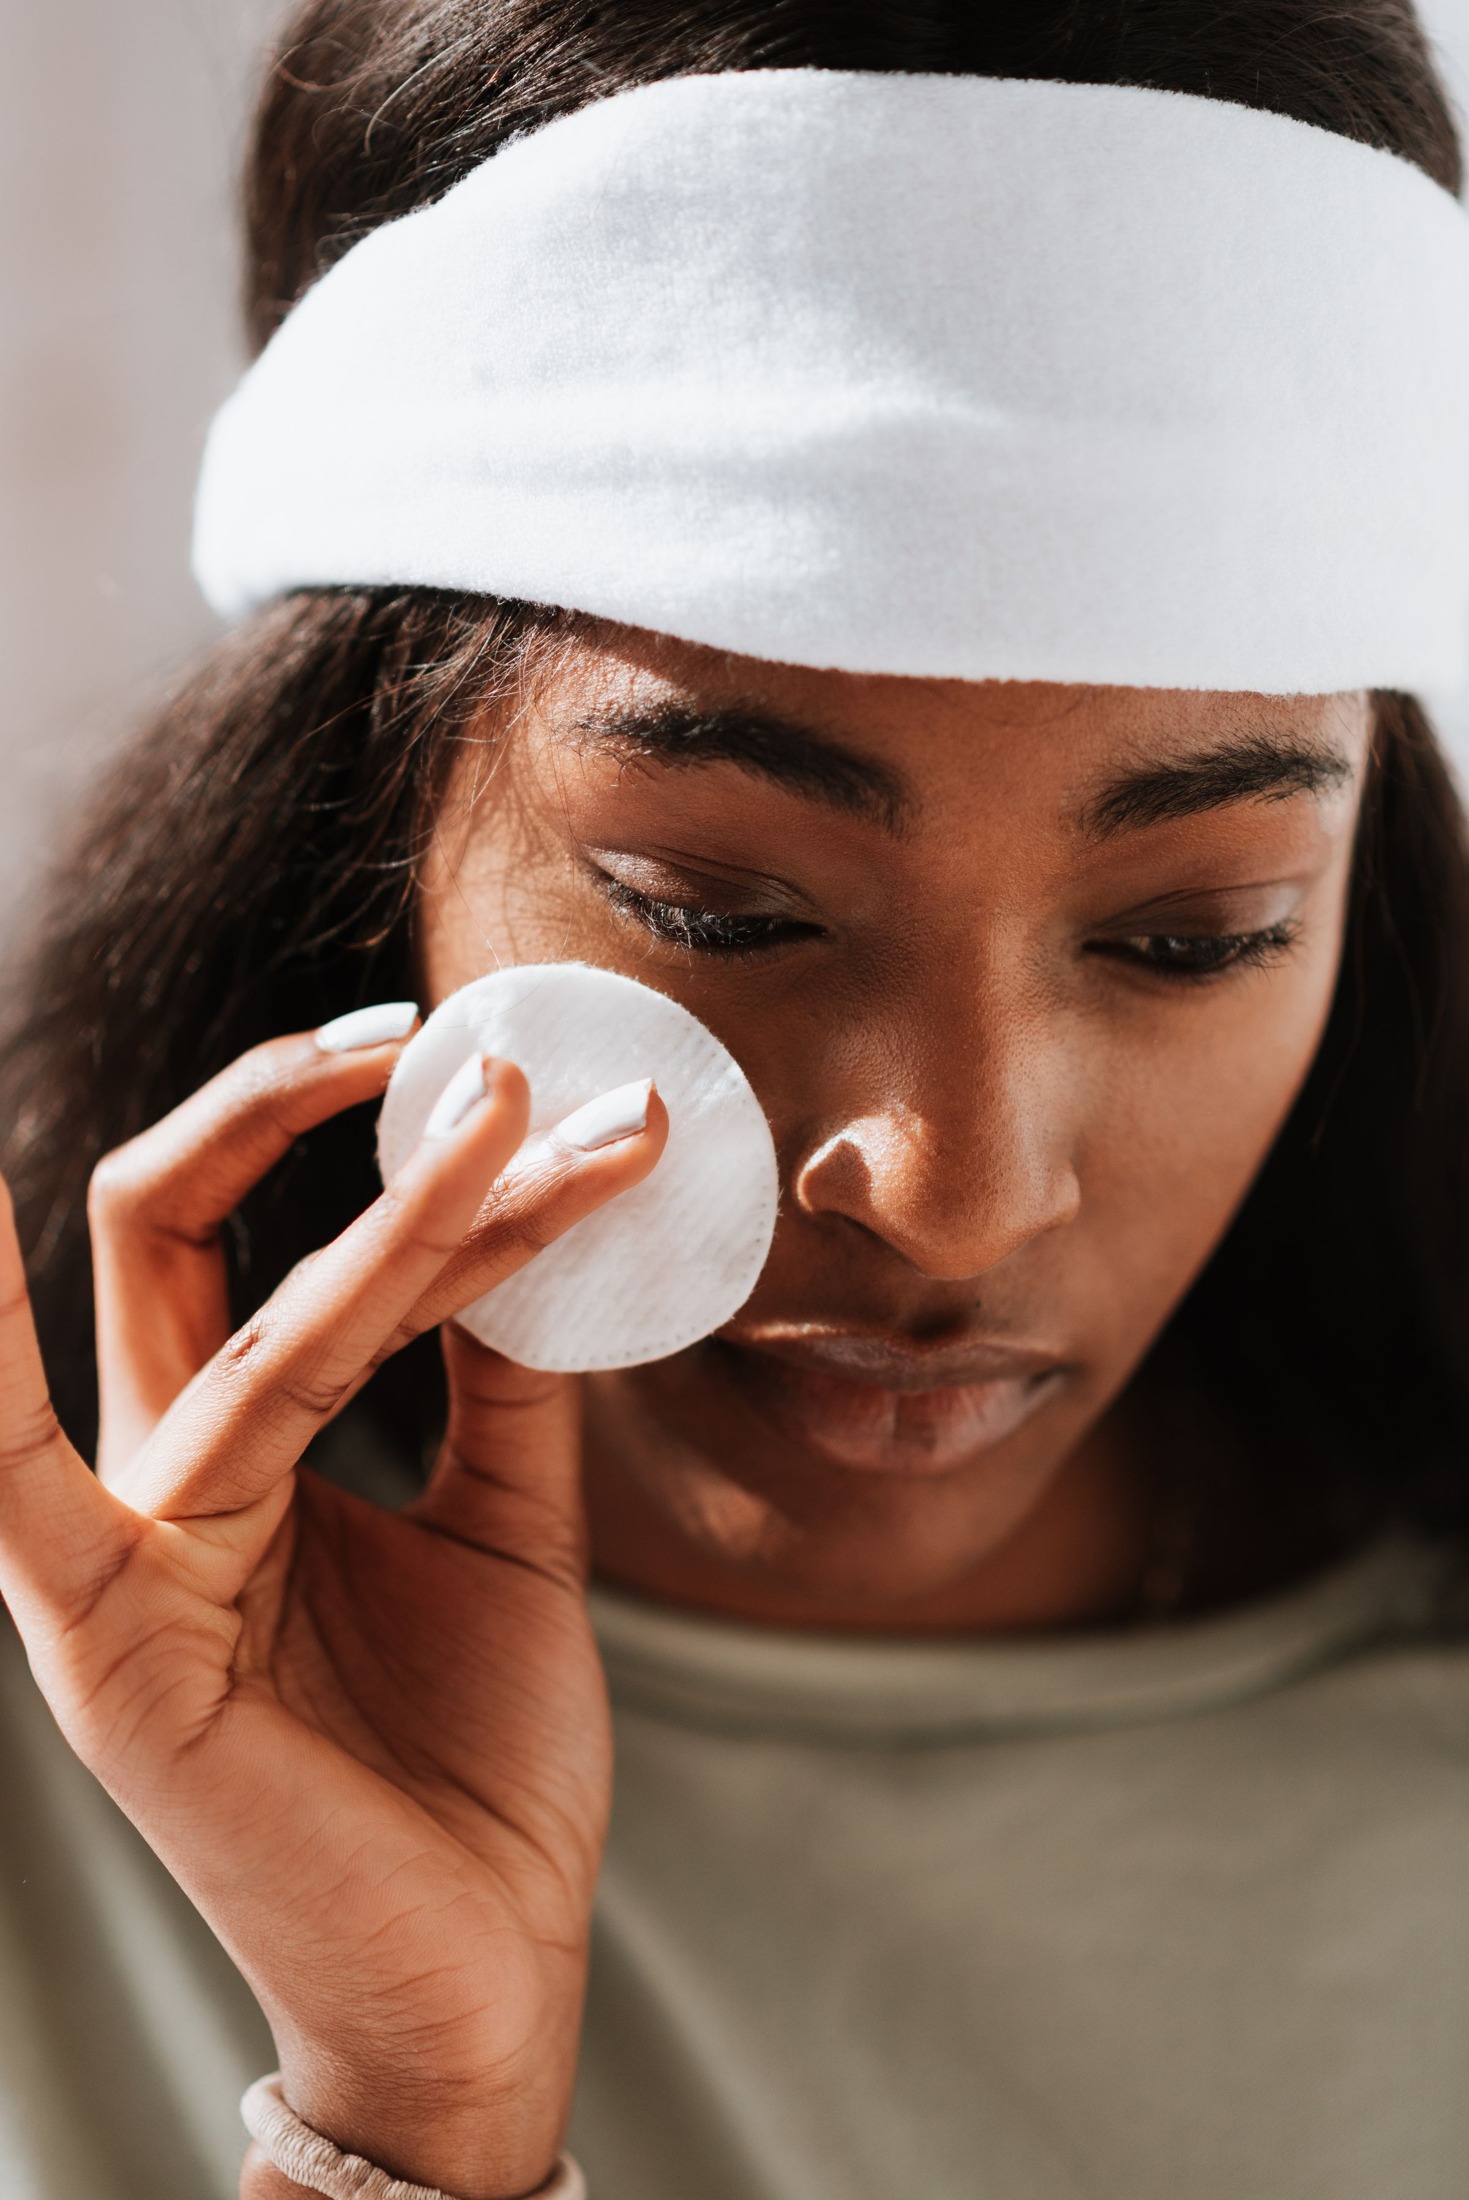
Makeup removal should not feel like erasing a stubborn mark from a hard surface. Your face moves, the eye area is delicate, and different cosmetics release in different ways. The most useful evening routine begins with identifying what you are removing. A light skin tint may need less effort than water-resistant mascara and a long-wear lip color. Choose products that suit those jobs, follow their directions, and let the remover work before increasing pressure.

Separate the products that need special removal
Think through the makeup you applied: foundation, concealer, brow product, mascara, liner, and lipstick. Check the labels on products advertised as waterproof, tubing, or long-wear. Their removal instructions may differ. A tubing mascara that calls for warm water should not automatically be treated like a waxy waterproof mascara, and a general face cleanser may not be intended for use around the eyes.
Set out the appropriate remover and any clean pads or cloths before starting. This avoids searching for another product with makeup already smeared across your face. You do not need an elaborate set of bottles. One remover that handles your actual makeup, plus a suitable cleanser when needed, can be more practical than several overlapping products with unclear roles.
Begin with clean hands and a comfortable setup
Keep your hair away from your face without pulling it tightly. Remove accessories that will interfere with rinsing, and place a clean towel within reach. Use comfortably lukewarm water rather than water that feels hot. The AAD’s face-washing guidance recommends a gentle, non-abrasive cleanser, fingertips rather than scrubbing tools, lukewarm rinsing, and gentle towel drying.
Read whether your remover belongs on dry or damp skin. A balm designed to start on dry skin may feel quite different if you immediately add water. A liquid remover may require shaking before use. These details are more useful than assuming that every cleanser should be handled the same way. Let the individual label guide the first step.
Give eye makeup time to release
Use a remover specifically suitable for the eye area, and follow its instructions. If it directs you to use a pad, wet the pad adequately rather than dragging a nearly dry surface over the lid. With the eye closed, hold it gently in place for the time indicated, then make a controlled movement to lift away released pigment. Keep the remover out of the eye.
Do not tug at lashes or repeatedly rub the same outer corner to remove one remaining speck. Reapply the appropriate remover and give it another opportunity to work. The FDA’s eye-cosmetic guidance emphasizes clean hands and tools and stopping use when a product causes irritation. Discomfort is a reason to stop, not a sign that removal is becoming more thorough.
Take lip color off before spreading it elsewhere
A strongly pigmented lipstick can travel across the surrounding skin if you use broad circles immediately. Apply a lip-appropriate remover as directed, then lift the color with a small, controlled motion. Fold or replace the pad so you are not returning the same pigment to the mouth. Work on the visible border as well as the center.
If the stain leaves some color behind, distinguish that residual tint from a thick layer of product. Do not scrub until the lip surface looks perfectly blank at any cost. Follow the product’s removal directions and stop if the process becomes uncomfortable. For your next application, consider whether that particular long-wear finish is worth the removal effort for the occasion.
Remove the complexion layer without racing
Spread a face-appropriate remover over the areas wearing makeup, using the amount and method on the label. Include the hairline, sides of the nose, and jaw where foundation often extends. Keep the movement light and systematic instead of vigorously massaging one cheek while overlooking the other. A small mirror check can reveal a missed foundation edge before rinsing.
If the product calls for emulsifying with water, add the water as directed and continue gently until the texture changes. Rinse thoroughly. If it calls for lifting with a cloth, use a soft clean one and avoid treating its texture as a polishing tool. A fresh section of cloth is more useful than pressing harder with an already makeup-covered section.
Decide whether another cleanse has a purpose
Double cleansing is not a compulsory badge of thoroughness. After the remover, assess the directions and what remains. You may need a gentle cleanser to finish removing residue, or your cleansing product may already perform the whole job for the makeup you wore. The number of steps is less important than following the products’ instructions and avoiding repeated unnecessary washing.
Use fingertips to distribute cleanser and rinse carefully around the hairline and jaw. Do not chase a squeaky sensation as proof that your face is clean. If the routine consistently leaves your skin uncomfortable, simplify the products or removal method rather than adding an exfoliating step. This is an everyday cosmetic routine, not a treatment plan for a skin condition.
Check small missed areas, then finish gently
Look at the outer lash area, brow tail, nose creases, and lip border in ordinary light. If there is one visible patch of makeup, address that patch with the appropriate remover instead of starting the whole process again. A clean towel should be used to pat rather than scrub. Follow with your usual suitable moisturizer if desired, according to its directions.
Rinse reusable removal cloths as instructed and put them aside for proper laundering rather than leaving a damp, makeup-coated cloth ready for tomorrow. Close the remover containers and keep the labels readable. The routine is complete when the makeup has been removed comfortably and the tools are put aside appropriately, not when you have accumulated the longest possible sequence of cleansing steps.