
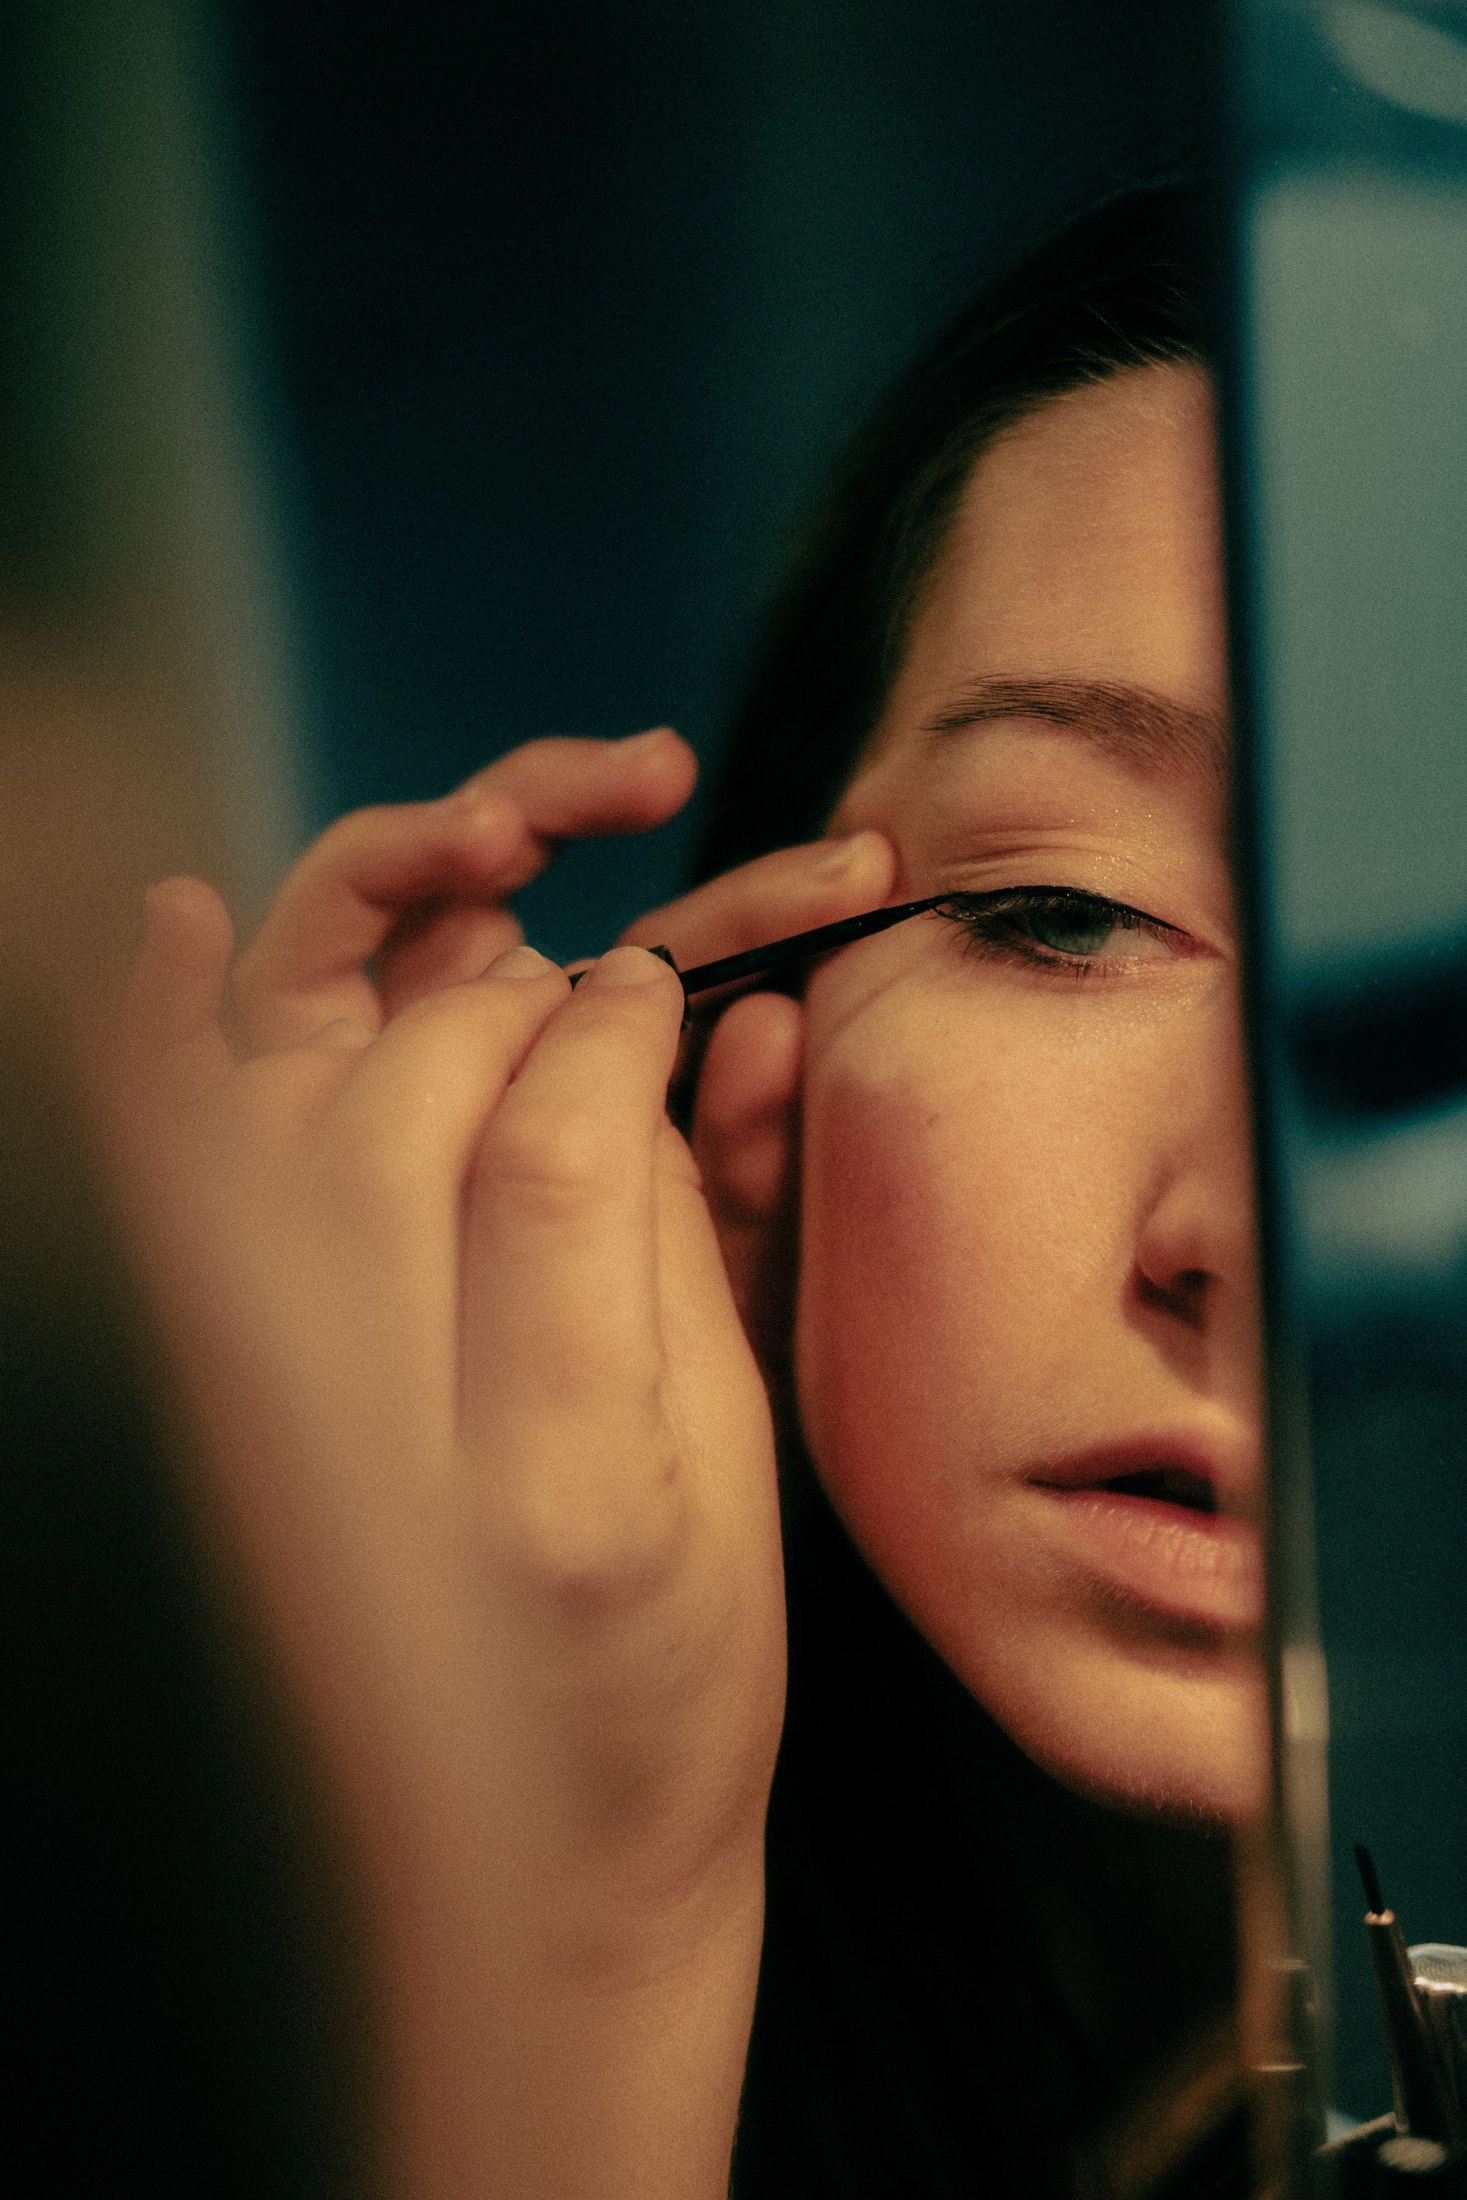
Hooded eyelids do not need to be corrected into another eye shape. They simply change how a drawn line appears when the eye opens. A broad stripe that looks elegant with the lid closed may occupy most of the visible lid space once you look forward. Softer eyeliner begins with that open-eye view. Use a small shape, an easy-to-control pencil or shadow liner, and permission to stop before the line becomes a wing.
Map the lid with your expression relaxed
Set a mirror where you can look straight ahead without raising your brows. Raising them creates temporary lid space that may disappear as soon as your expression relaxes. Observe where the fold meets the outer corner and how much of the upper lash line remains visible. Compare both eyes separately; their folds may not sit in identical positions.
Try an imaginary line before making a real one. Point the capped pencil toward the direction you want the outer edge to travel. If that direction runs into the fold, a shorter finish may look cleaner than a longer flick. The purpose of this check is to find a flattering visible shape, not to obey a fixed angle from a tutorial.
Choose softness through color and edge
Brown, charcoal, muted plum, and soft black can all create definition, depending on your coloring and preferences. A softer effect comes partly from contrast, but also from the edge. A sharp dark brown line may look more graphic than a lightly diffused black one. Consider both variables rather than assuming brown is automatically subtle on every complexion.
A pencil with a controllable tip is useful for short marks. A powder shadow used with a small angled brush can give an even hazier outline, though it may not produce the same crispness. Use products intended for the eye area and follow their directions. For this approach, keep the makeup on the external upper lash line rather than drawing inside the eyelid.
Connect tiny marks along the outer lashes
Start around the outer third of the upper lash line. Place several short marks close to the lash roots, then connect them. This creates definition without requiring a long, uninterrupted stroke across a moving surface. You can leave the inner third bare if a complete line would make the eye look more enclosed than you want.
Keep the outer segment slightly more substantial than the inner segment, but avoid adding height immediately. Open your eye after a few marks. If the line is already visible enough, concentrate on smoothing its edge rather than thickening it. A useful beginner exercise is to complete only the outer third on both eyes and assess the overall effect before extending anything inward.
Place the outer finish while looking forward
For a tiny flick, mark its endpoint with the eye open and your brow relaxed. Keep it close to the corner at first. Then connect that point back toward the upper lash line with a narrow stroke. If a fold crosses the proposed shape, shorten it or change its direction slightly instead of drawing over a much larger area.
You do not have to produce matching geometric triangles. One eye may need a shorter outer mark to look balanced with the other when both are open. Check the pair from arm’s length. If the two sides create a similar visual weight, small differences in the hidden drawing are irrelevant. Makeup is viewed on a moving face, not as two separate diagrams.
Diffuse the top edge without spreading it upward
With a small brush, soften only the upper boundary of the line. Use short, controlled touches rather than sweeping across the whole lid. Leave the lash-root edge more defined so the result retains its shape. If the pencil sets quickly, work on one small section at a time according to the product’s instructions instead of drawing both eyes fully before blending.
For a concrete comparison, make one short section near the outer corner and soften half of it. Look at the sharp and diffused halves with the eye open. This shows how little blending may be necessary. If the softened section begins occupying too much lid space, use a narrower brush next time rather than trying to disguise it with more shadow.
Troubleshoot transfer without endlessly adding powder
Before applying liner, check whether the lid is covered in an unusually slippery layer of another cosmetic. Let that layer settle. If you use eye primer, follow its directions and apply only the amount needed. Product combinations vary, so a transfer-resistant label is not a guarantee that every liner will behave identically on every lid.
A lower line can also reduce the amount of pigment touching the fold. If your outer flick repeatedly stamps upward, compare a shorter flick with a line that ends at the corner. On a trial day, change only one variable: line height, formula, or preparation. You will learn more from that comparison than from adding primer, powder, shadow, and another liner all at once.
Keep removal and tool care part of the technique
Work while stationary, with clean hands and clean tools. Do not share eye makeup. The FDA’s eye-cosmetic safety guidance advises stopping use if a product irritates the eye and using only cosmetics intended for the eye area. A polished line is not worth continuing through discomfort.
Remove the makeup with an eye-appropriate remover according to its label, using gentle motions instead of repeated scrubbing. At the next application, remember the visible shape that worked: perhaps a narrow outer lash line and no flick at all. That is a complete look. The most useful hooded-lid technique is the one that respects your actual open-eye space and gives you the softness you intended.